

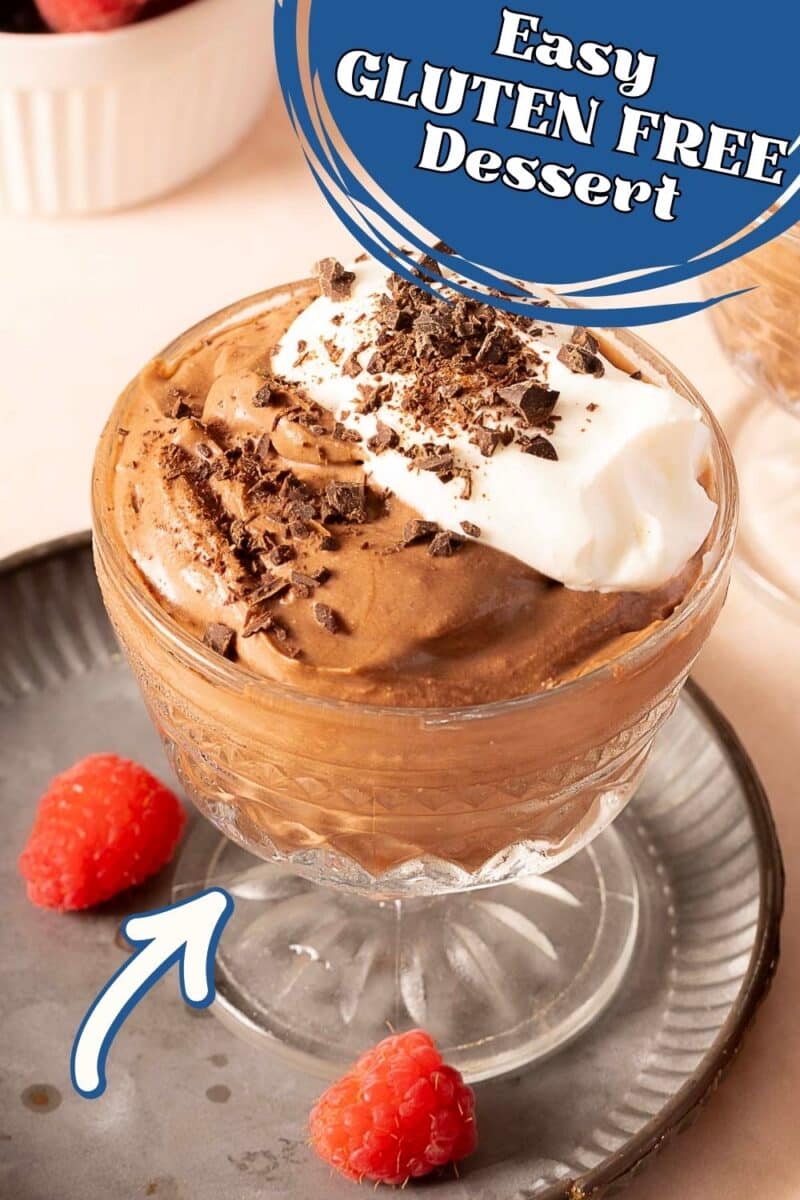

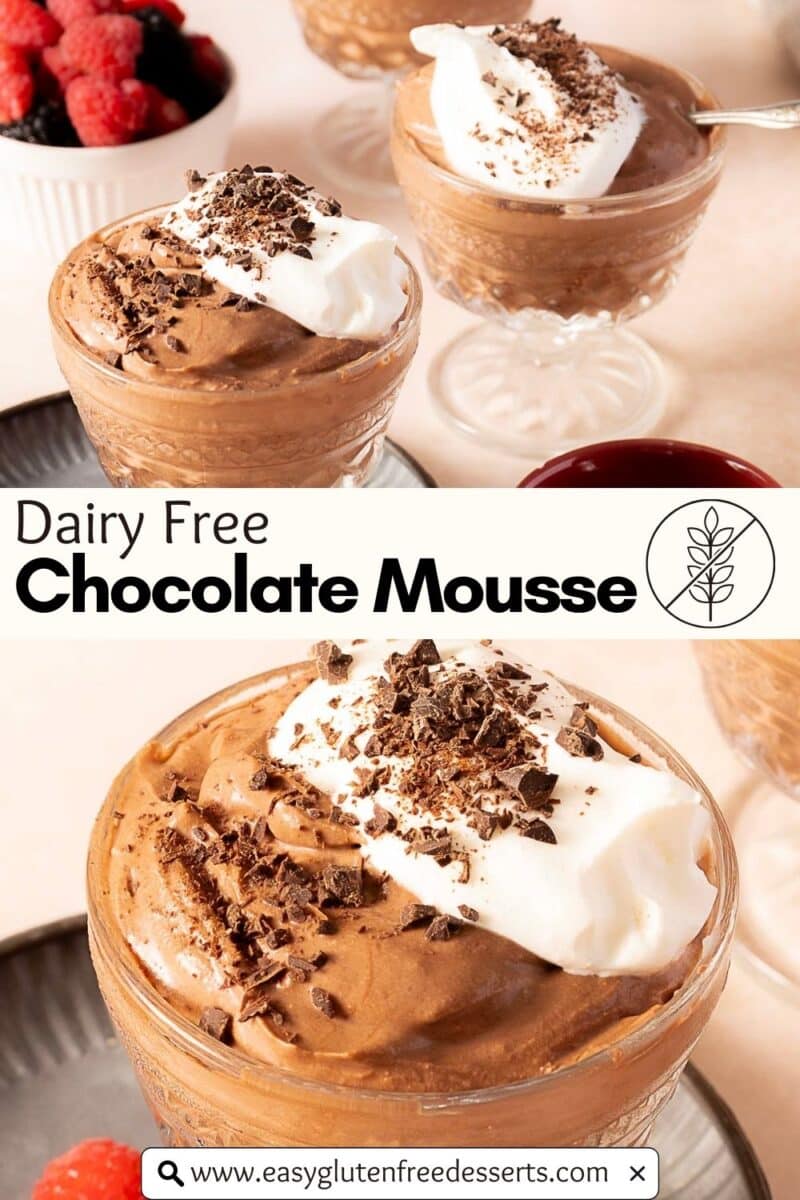

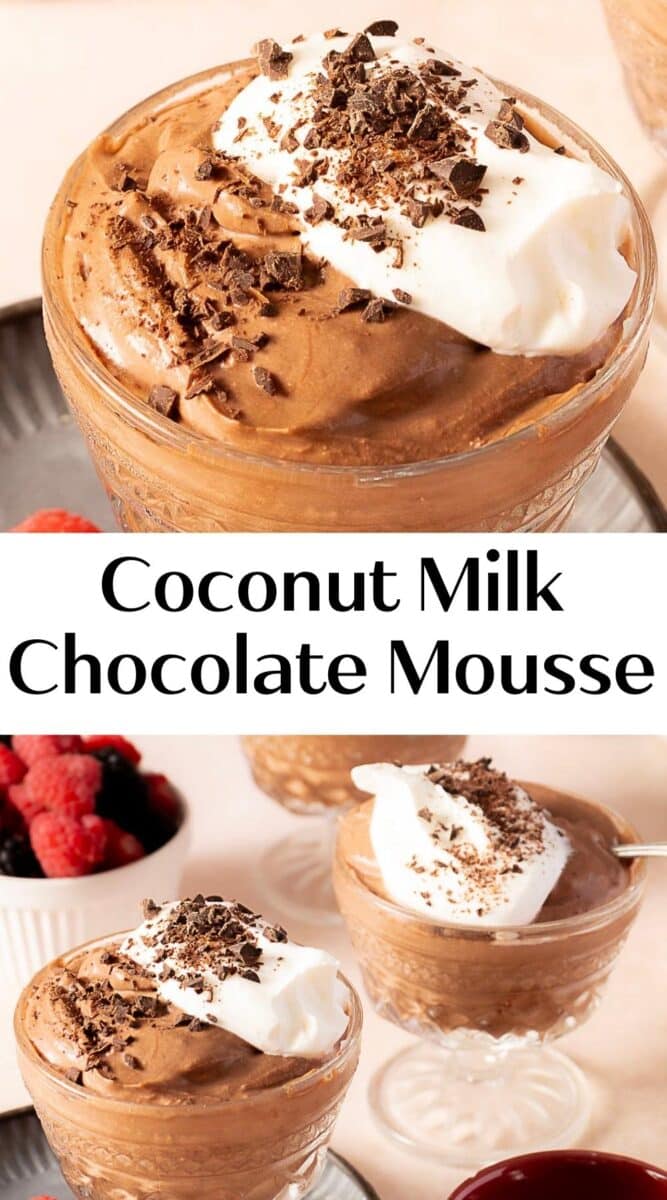
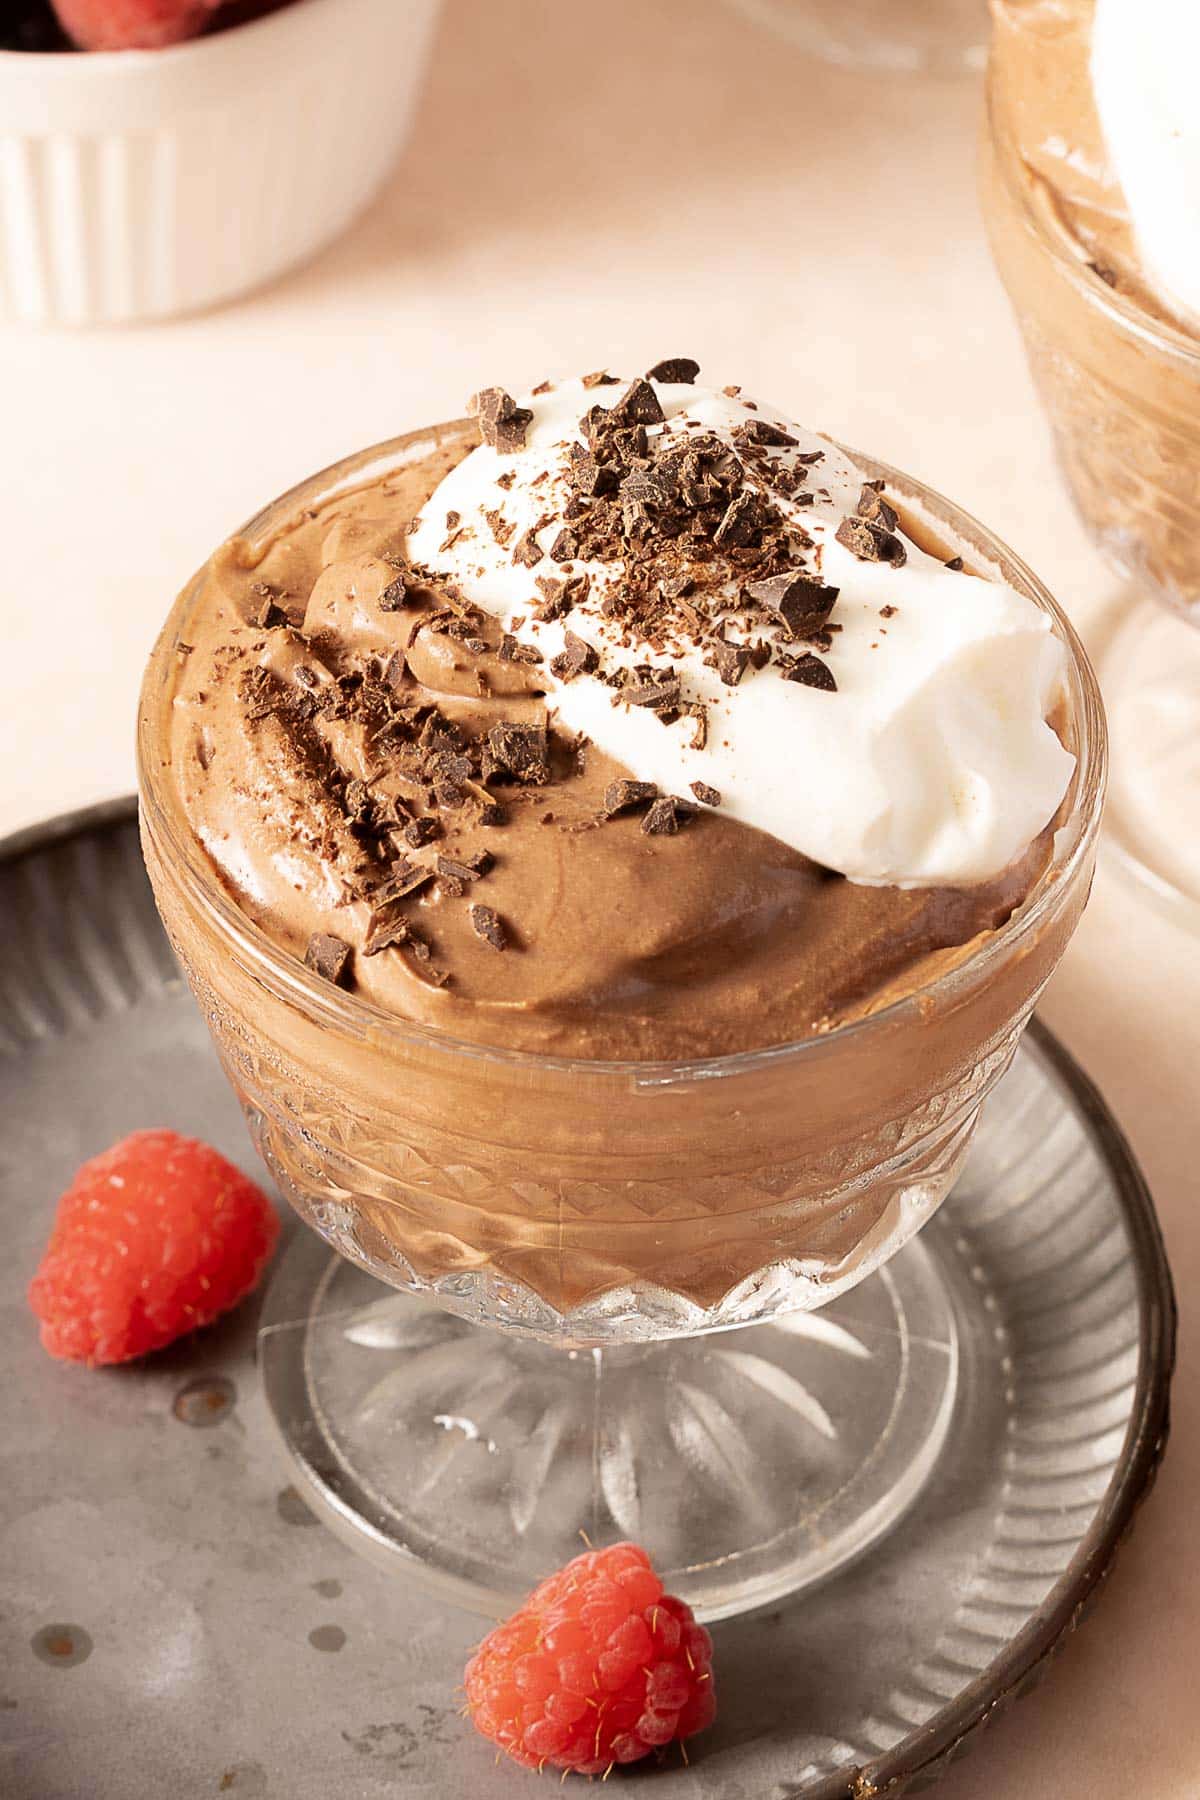
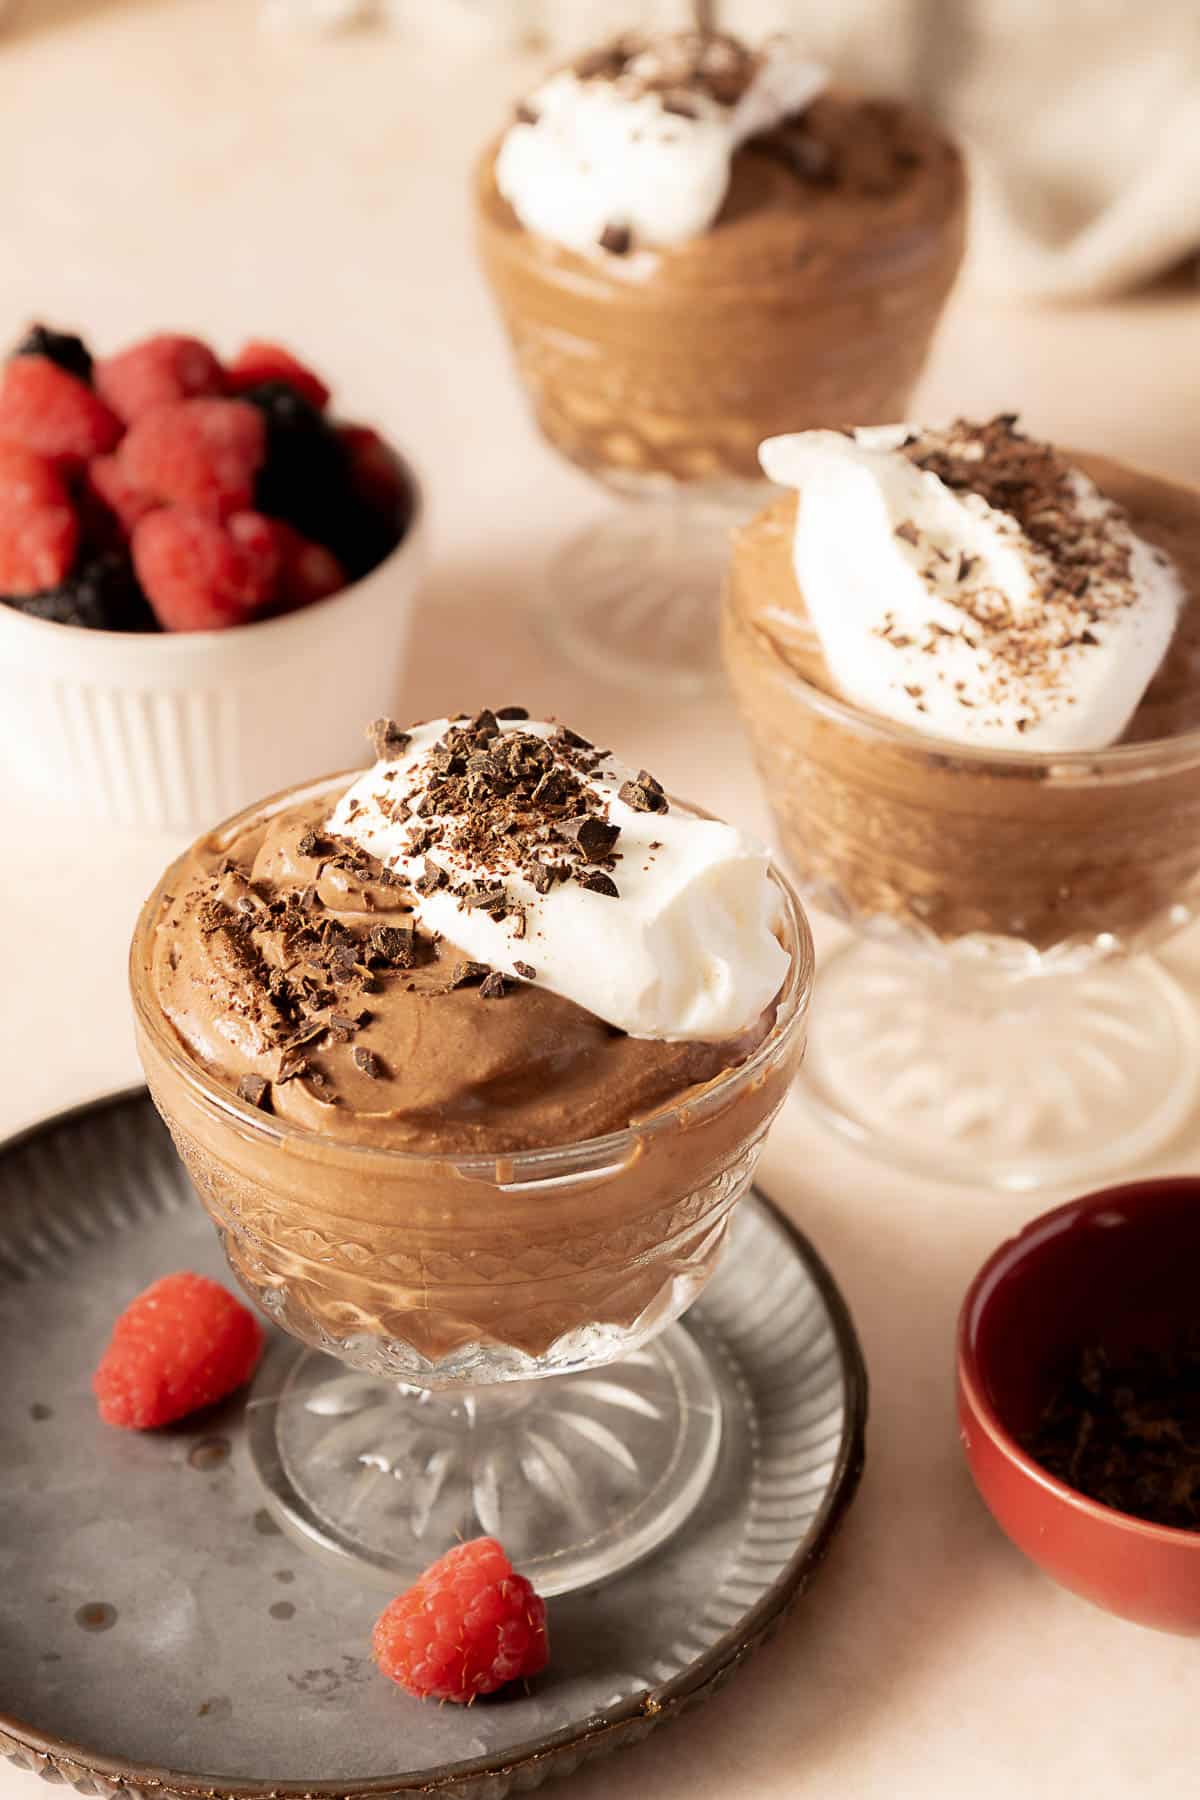
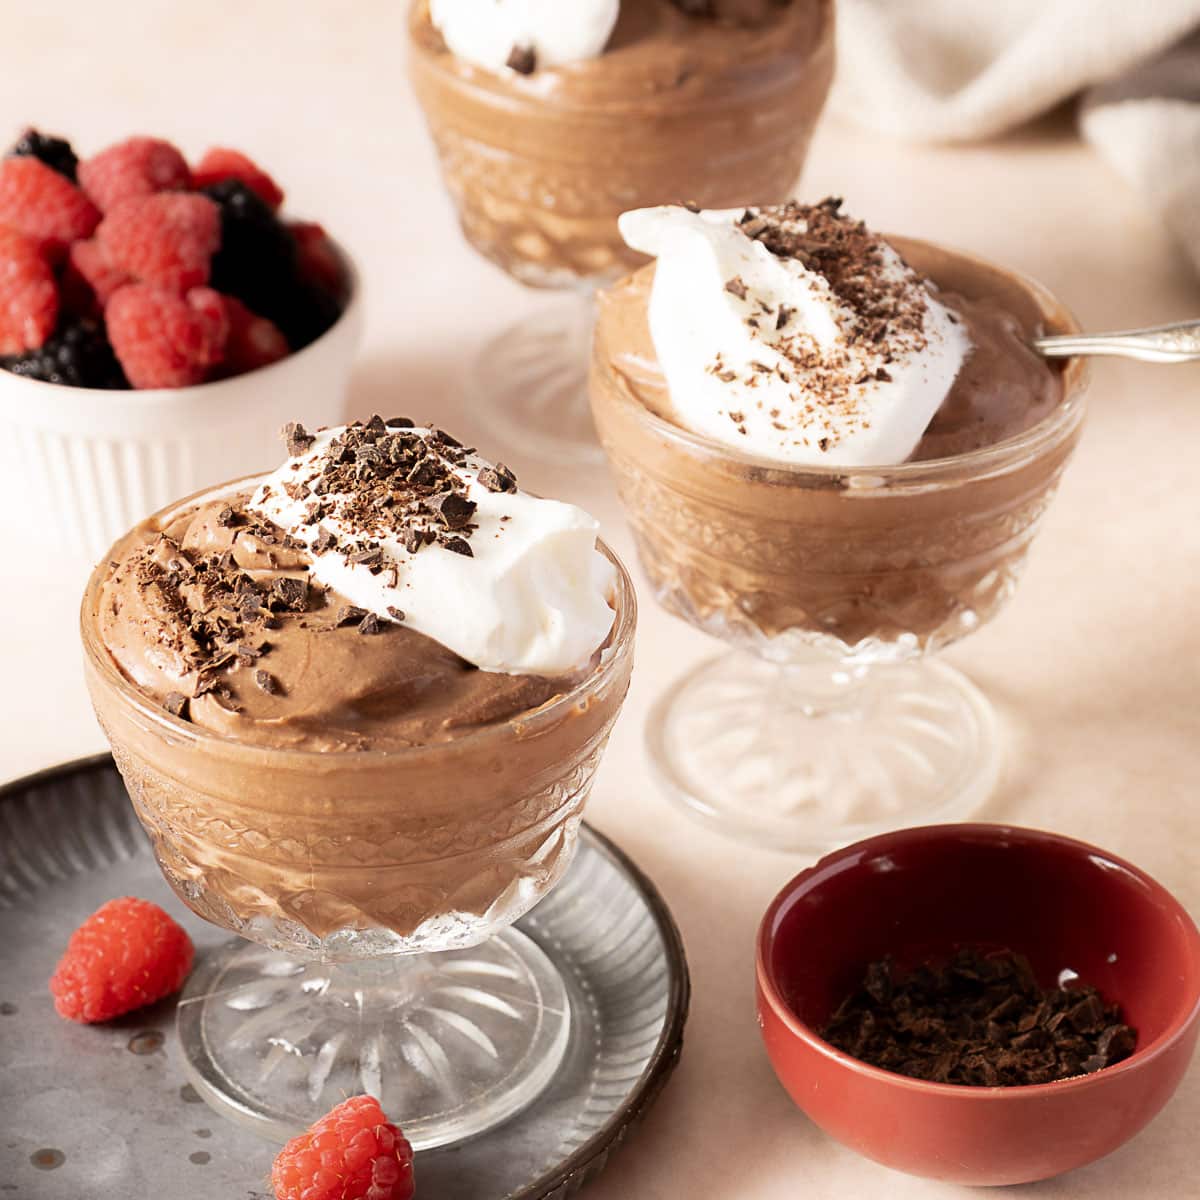
This rich and creamy chocolate mousse is made with coconut milk, cocoa powder, and a hint of espresso for a decadent flavor. It's incredibly easy to make-waiting for it to chill is the hardest part! It's dairy-free, gluten-free, and vegan, too!
Save This Recipe!
Skill Level: Beginner
Shortcut Central: Keep cans of coconut milk in the fridge so you can make this anytime.
Flavor Remix: Add grated orange zest to the mousse base for a bright, tangy contrast to the rich chocolate flavor.
Allergy Watch: Gluten Free, Dairy Free, No Eggs, Nut-Free. This recipe is vegan as written.
There are two reasons to try recipe. Frist off, the espresso powder cancels out any coconut flavor, so all you taste is rich chocolate. I had a full dinner party and no one even knew it was made without heavy cream.
Second, I tested many brands of coconut milk and coconut cream and I have one VERY important tip!
Don't use Thai Kitchen ORGANIC coconut milk. It doesn't separate when chilled, but the regular version does. You'll only need the solid part once it's chilled.
The method is effortless yet elegant-this mousse looks like something you'd order at a fancy restaurant!
Ingredient Notes
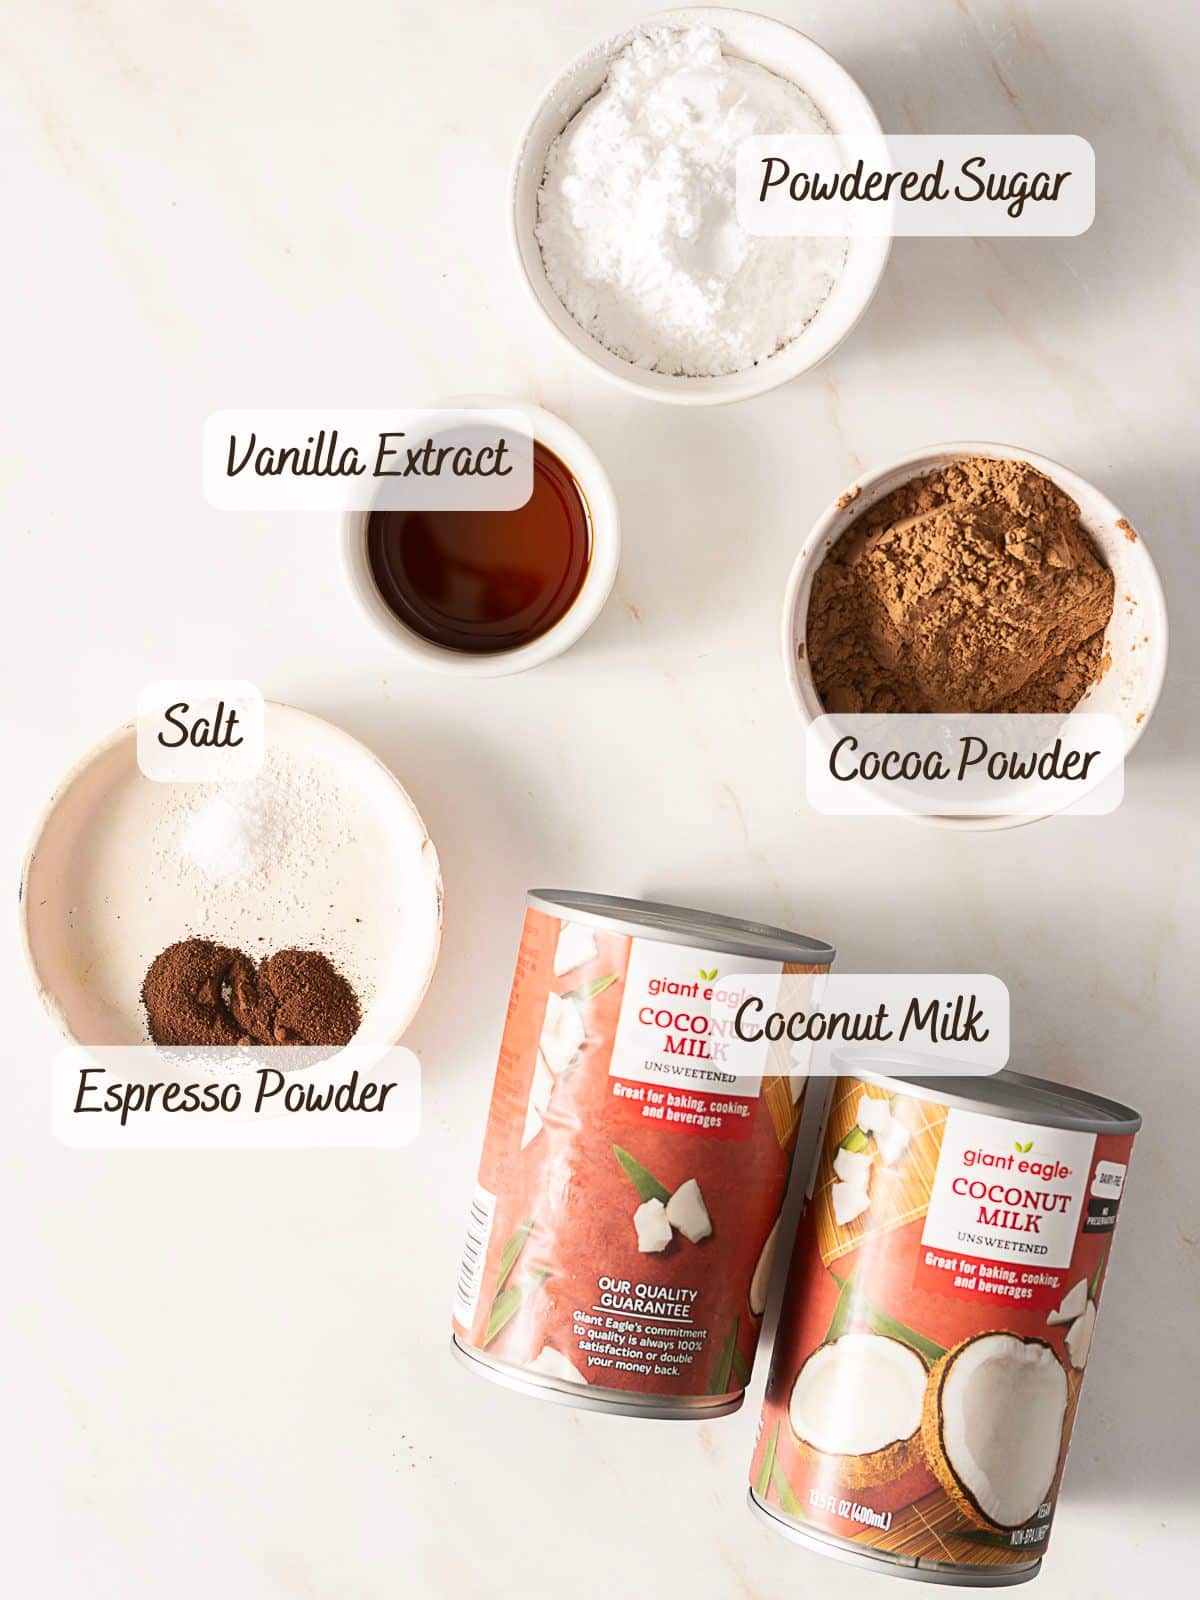
- Coconut Milk: Do not use any other non dairy milk, they don't have enough fat. Do not use coconut cream, it creates a stiff texture and doesn't blend seamlessly with the chocolate. You can make piña colada popsicles with leftover coconut milk.
- Cocoa Powder: I used natural unsweetened cocoa powder, but you can substitute it with Dutch-processed for a smoother, more intense dark chocolate flavor.
- Powdered Sugar: Don't skip-powdered sugar dissolves easily, so we're able to sweeten the mousse while keeping the texture silky smooth.
- Espresso Powder: Just a little goes a long way to boost the chocolate flavor.
How to Make Dairy-Free Mousse
A step-by-step visual guide for making dairy free mousse. You can skip to the recipe for the full written instructions.

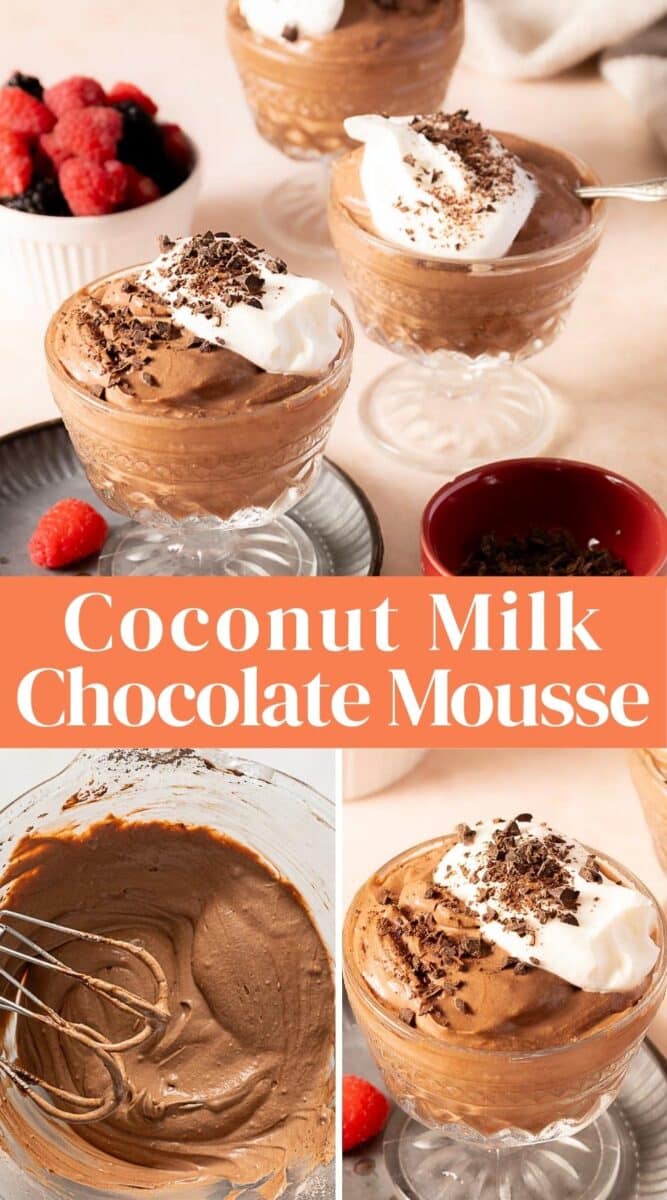
Scoop Out Coconut Cream
The key is to chill the coconut milk and cream overnight for a thick and smooth texture. Discard or save the liquid-we're not using it because it would make the mousse runny and less stable.

Whip the Cream
Beat the coconut milk at medium to high speed to incorporate air. Whipping for 1-2 minutes helps achieve a fluffy mousse texture.
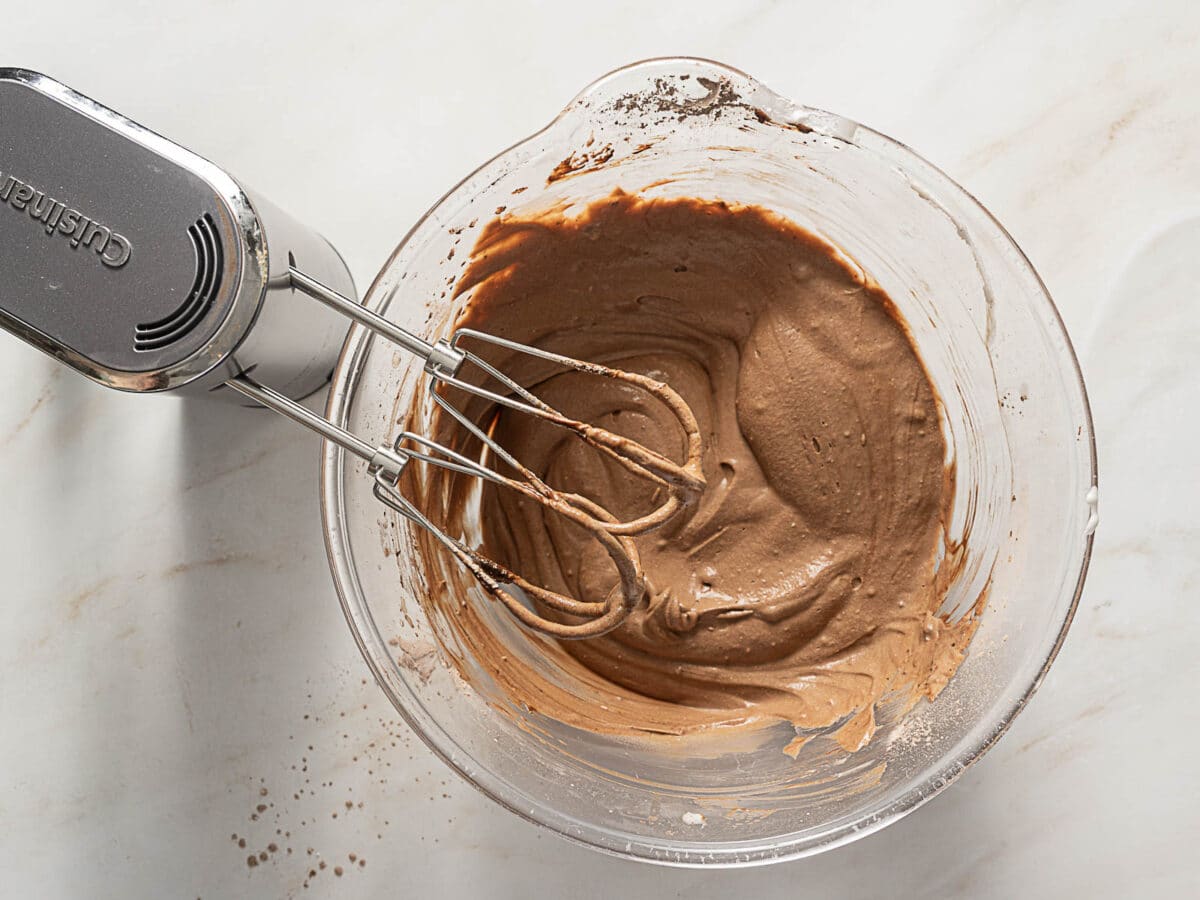
Sift the Dry Ingredients
Sifting is key to a smooth, lump-free mousse. Whip the chocolate mixture for another 1-2 minutes until fully combined and creamy.
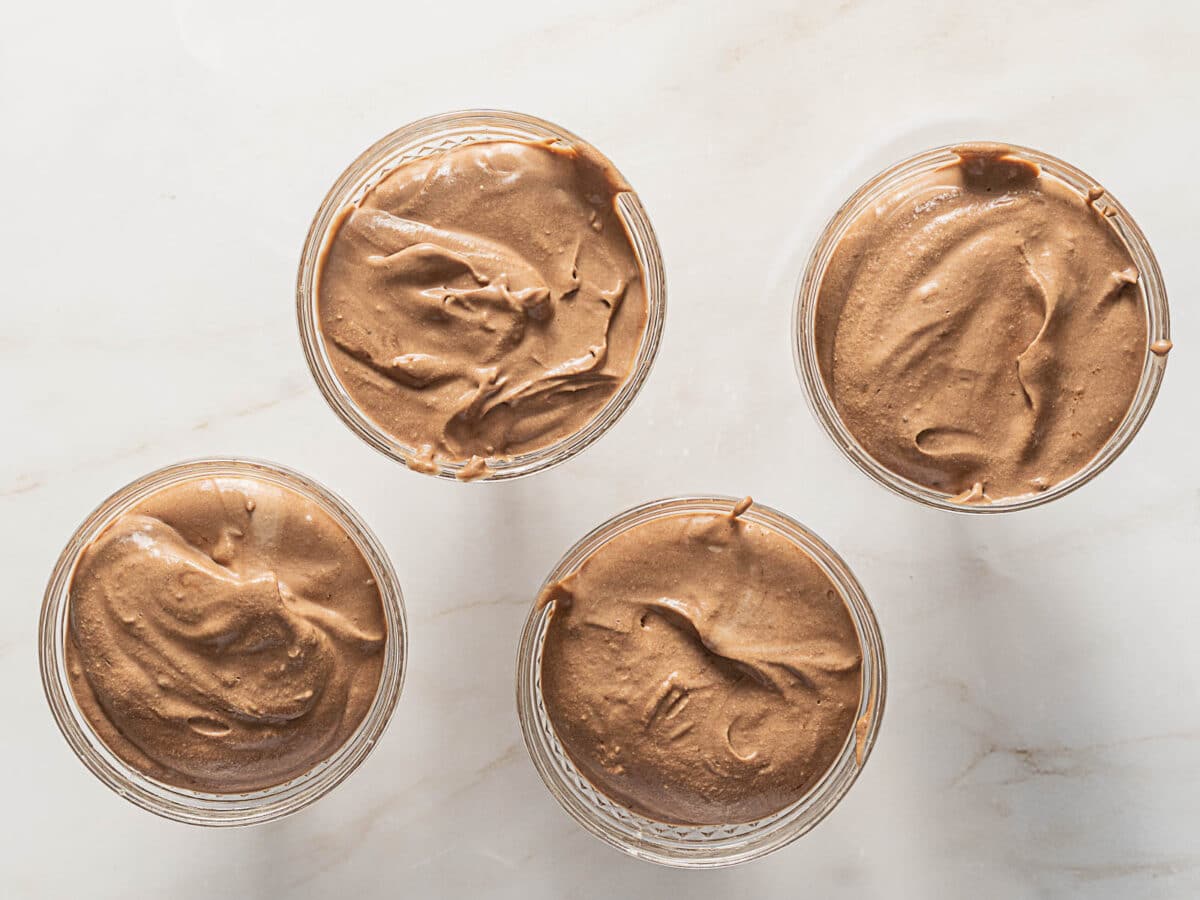
Chill and Serve!
Transfer to serving glasses or ramekins. Let the chocolate mousse chill at least 4 hours in the fridge-this step lets it firm up and develop its rich flavor. Overnight chilling works even better!
Jen's Recipe Notes
- Use an additional can of coconut milk to make a dairy-free whipped cream topping.
- Garnish with chocolate shavings, cacao nibs, or chocolate chips.
- You want the cream and liquid to stay separated, so handle the cans gently-no shaking or stirring before opening.
- The mousse will be ready to eat right away, but chilling will thicken it further. If you can wait!
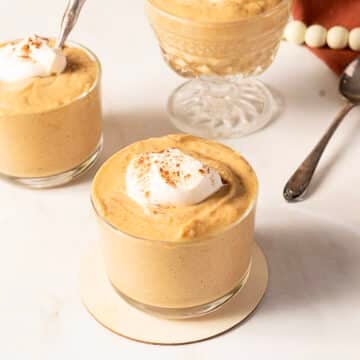
More Dairy Free Desserts


Make Ahead and Storing
Make Ahead: This mousse actually gets better after a night in the fridge, you can make it up to 2 days in advance.
Storing: Cover the mousse tightly with plastic wrap or a lid. Store in the refrigerator for 2-3 days.
Freezing: Do not freeze.
📖 Recipe
Dairy-Free Chocolate Mousse (No Eggs)
Save This Recipe!
Ingredients
- 2 13.5 oz full-fat coconut milk chilled overnight or in the freezer for 30 minutes
- 1 ½ teaspoons vanilla extract
- ⅓ cup unsweetened cocoa powder
- ¼ cup powdered sugar
- ⅛ teaspoon kosher salt
- ½ teaspoon instant espresso powder optional but recommended
Instructions
- Open both cans and scoop the solid coconut cream into a large mixing bowl along with the vanilla. Reserve the leftover liquid for smoothies or discard it.1 ½ teaspoons vanilla extract, 2 13.5 oz full-fat coconut milk
- Using a hand mixer or stand mixer, beat the coconut cream on medium-high speed for 1-2 minutes until fluffy and smooth.
- Sift together the cocoa powder, sugar, and salt before adding them to the cream mixture. Continue whipping for another 1-2 minutes until fully combined and creamy.⅓ cup unsweetened cocoa powder, ¼ cup powdered sugar, ⅛ teaspoon kosher salt
- Spoon the mousse into serving glasses or bowls. Cover and chill in the fridge for 2 hours, or until set and firm.
Equipment
- electric mixer or stand mixer
Notes
- Chilling the coconut milk helps the cream separate from the liquid. Chilling overnight will give better results than freezing.
- You can reserve the leftover liquid for smoothies or discard it.
- You can use 2 cans of coconut milk but the cream will give a richer flavor.


Comments
No Comments