


This is your go-to gluten-free pie crust recipe. It's buttery, flaky, and works for both sweet and savory pies. No fancy techniques or complicated ingredients-just a simple method that delivers consistent results. I have included visual step-by-step instructions to ensure your success!

Save This Recipe!
Skill Level: Intermediate
Flavor Remix: A dash of sugar is lovely for sweet bakes but omit for savory pies.
Allergy Watch: Nut-Free
This gluten-free pie crust has a higher protein content thanks to dry milk powder and sour cream, which improves structure.
It also uses slightly more fat than the standard 3-2-1 ratio for better texture, while apple cider vinegar and sour cream add tenderness and help prevent crumbling.
This recipe is written for a double-crust pie, i.e. two single-crust pies., for a 9-inch pie pan.
Even when I only need a single crust, I still make a full recipe. When going through the effort of making homemade pie dough, you might as well make two and freeze one for later!
Ingredient Notes
- Gluten-Free Flour: Use any 1:1 flour blend with xanthan gum, like Bob's Red Mill 1:1 Flour or King Arthur Measure for Measure.
- Dry Milk Powder: My homemade gluten-free flour has milk powder, if you use a different blend you will need to add.
- Baking Powder: Not often used in pie dough, this will increase flakiness.
- Unsalted Butter: Cut your butter into ½ inch cubes and freeze for 10 minutes before adding to the flour. If your butter is salted, reduce the added salt by 50%.
- Ice Water: Not cold water, but make an actual glass of ice water and then spoon out what you need.
- Apple Cider Vinegar: You can substitute rice vinegar or champagne vinegar.


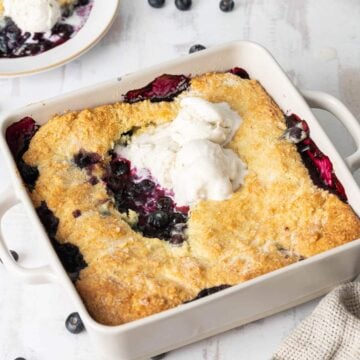
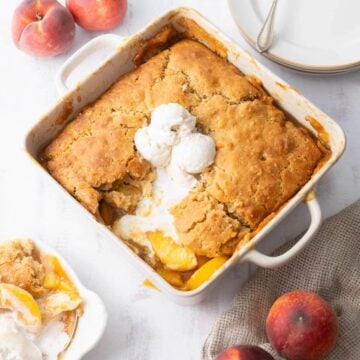
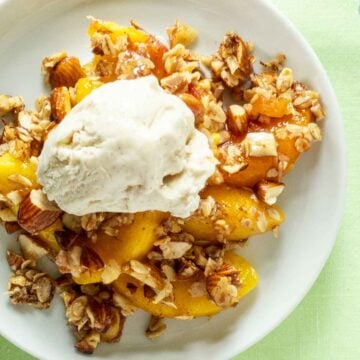
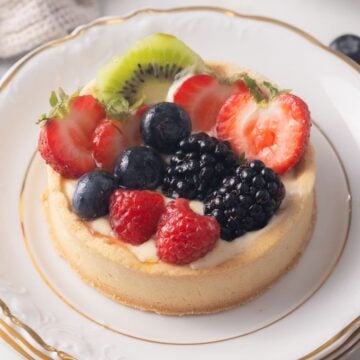
Gluten Free Pies
From classic favorites to bold new flavors, check out the best pie recipes!
How to Make Gluten Free Pie Crust
A step-by-step visual guide for making gluten-free pie crust. You can skip to the recipe for the full written instructions.
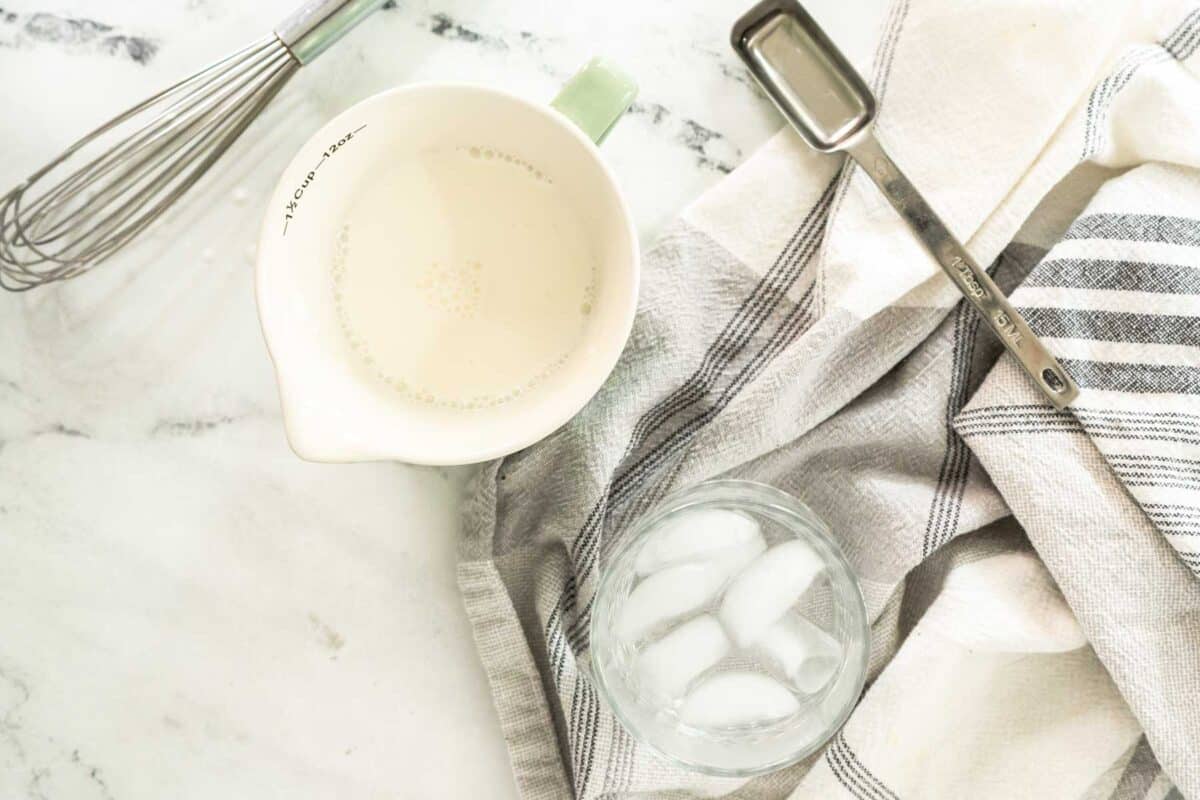
Prep the Liquids
Do not throw away your ice water. If you need more liquid, you add just a sprinkling of cold water.
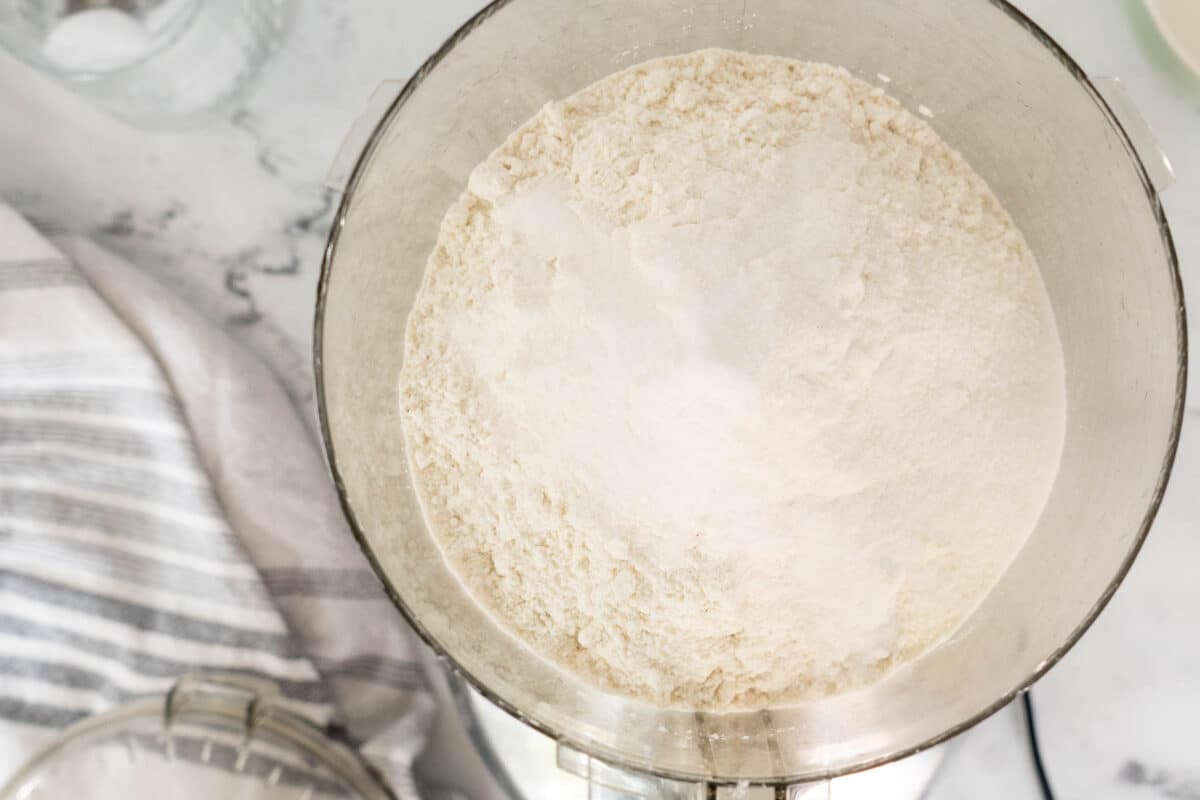
Mix Dry Ingredients
Sift together the dry ingredients.

Add Wet Ingredients
Break up the butter but do not mix it in. Add the wet ingredients.

Form the Dough
The dough will look dry. Use parchment to twist into a ball without kneading.
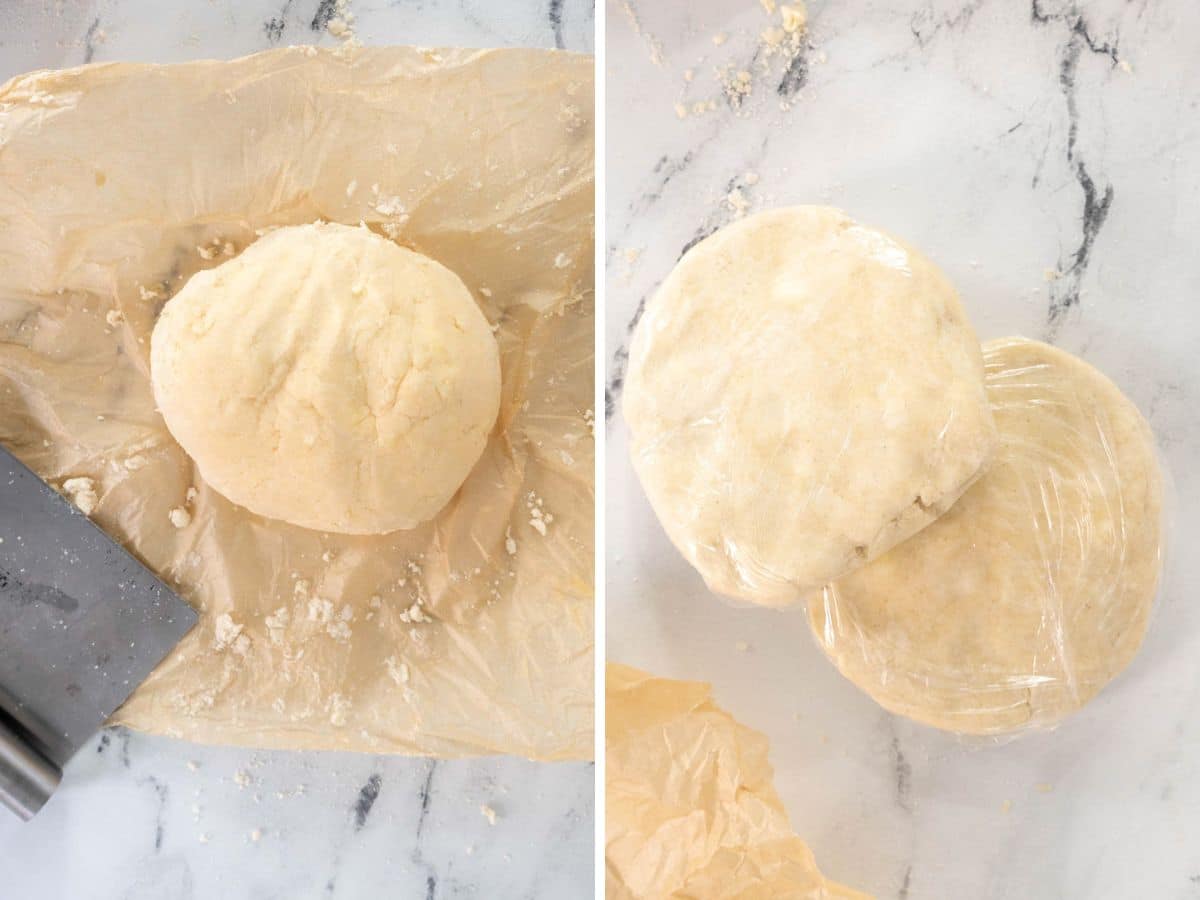
Chill
Wrap the dough and chill for at least 30 minutes before rolling it out, but 2 hours is better.

Roll
Roll quickly and lightly, always out from the center out. After every stroke, turn the dough to the right at 90 degrees.

Cut
The dough should be lifted frequently but never turned over during rolling. The final size should be 2 inches larger than your pie pan.

Trim
Start by trimming the edge with scissors. Then fold a ½ inch of the edge under to make a standing rim.
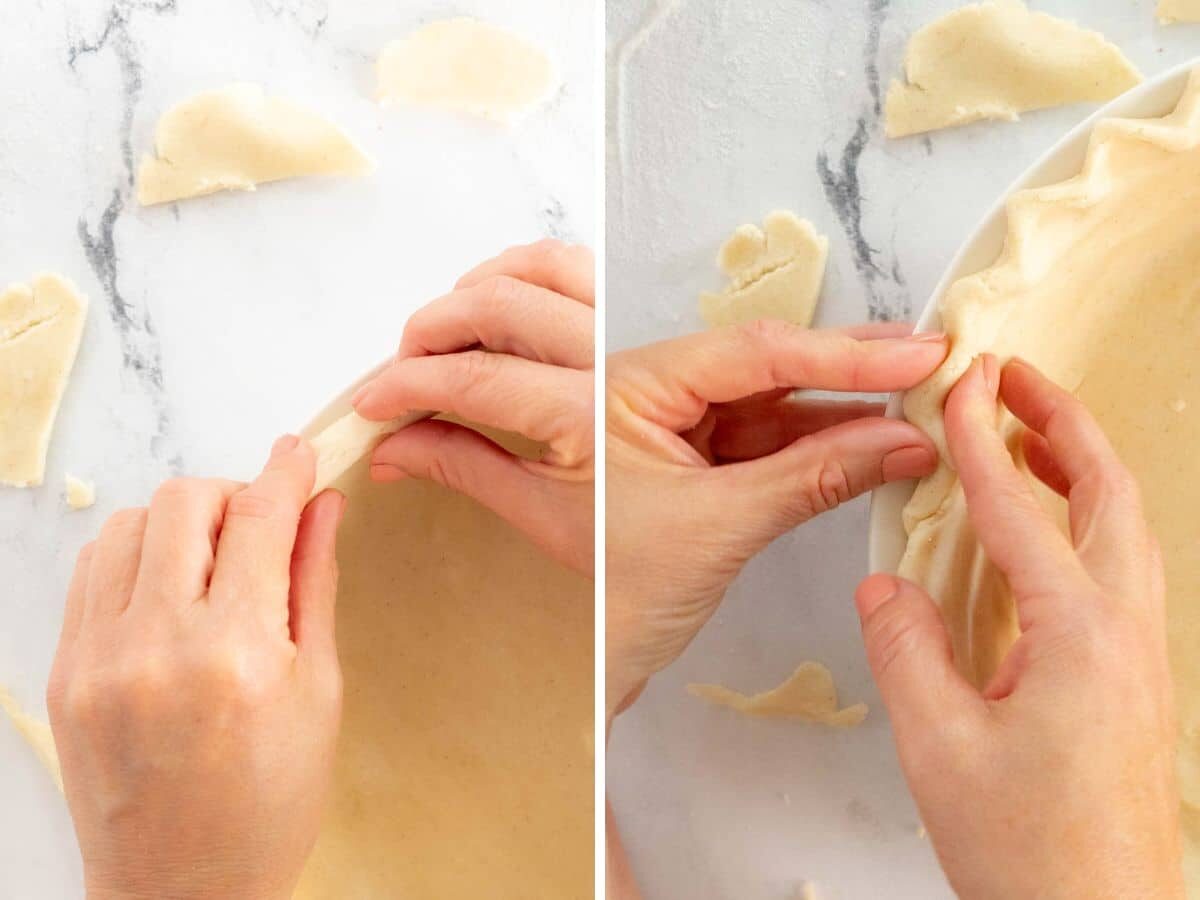
Edging
Gently flute the edge using two fingers from one hand and one from the other.
Jen's Recipe Notes
- Cold ingredients are key for a flaky crust.
- Sift the dry ingredients together. Pie dough isn't kneaded, and minimal handling is necessary for a flaky crust.
- You can use a food processor or a pastry blender.
- Don't overwork the dough-mix just until it comes together.
- You can use white rice flour or more of your all-purpose blend for rolling out the dough.
- As the rolling pin approaches the edge of the dough on each stroke, the pin should be lifted and never rolled over the edge.
- If the dough cracks, pinch it back together or patch it with scraps.
- Frozen dough may be a bit tougher to work with than fresh dough. If you are doing an intricate design, use fresh pie dough.
How to Par Bake a Pie Crust
Par-baking is where you partially bake the pie shell before adding the filling. This technique is used when the filling needs less time to cook than the crust.
- Dock the dough, meaning poke the bottom with a fork a few times.
- Line the bottom with a sheet of parchment paper and fill the bottom with pie weights. It keeps the bottom from puffing up and docking the dough allows steam to escape.
- Bake a chilled pie crust for 12-15 minutes at 425 F degrees. Just until the edge of the crust just begins to turn golden brown.
- Remove from the oven and set aside to cool.

Make Ahead and Storing
Make Ahead: This pie crust can be made up to 2 days in advance. After that, you need to freeze the pie crust.
Storing: Wrap the dough tightly in plastic wrap. Store in the refrigerator.
Freezing: Your unbaked crust can be frozen and stored for up to 3 months. Take your plastic-wrapped dough discs and place them in a zip-top freezer bag. Thaw in the refrigerator overnight and then roll out and bake according to your recipe instructions.
📖 Recipe

Gluten Free Pie Crust
Save This Recipe!
Ingredients
- 2 ¾ cups 1:1 gluten-free flour with xanthan gum
- 1 tablespoon granulated sugar omit for savory recipes
- 1 teaspoon dry milk powder omit if your blend contains it
- 1 teaspoon kosher salt
- ¼ teaspoon baking powder
- ½ teaspoon xanthan gum omit if your blend contains it
- 5 Tablespoon ice water
- 3 Tablespoon sour cream
- 1 tablespoon apple cider vinegar
- 17 Tablespoon unsalted butter cold, cut into ½ inch dice
Instructions
- In a chilled bowl, whisk together ice water, sour cream, and vinegar.5 Tablespoon ice water, 3 Tablespoon sour cream, 1 tablespoon apple cider vinegar
- Pulse the dry ingredients in a food processor 5 times, until combined.2 ¾ cups 1:1 gluten-free flour with xanthan gum, 1 tablespoon granulated sugar, 1 teaspoon dry milk powder, 1 teaspoon kosher salt, ¼ teaspoon baking powder, ½ teaspoon xanthan gum
- Sprinkle the butter over the flour in the bowl of the food processor. Pulse until you get large pea-sized pieces, about 10 to 12 pulses.17 Tablespoon unsalted butter
- Turn on the food processor and slowly pour in the water-sour cream mixture. You might not need all of it. Once the dough looks shaggy and just begins to come together, it's ready.
- Turn out the dough and form it into a ball. Divide it in half and press each portion into a flat disc. Wrap each disc individually in plastic wrap and chill for at least 30 minutes-2 hours is even better.
- Roll out the pie crust and bake it according to your recipe.
Equipment
- food processor
- pie plate
Video

Notes
- Please read the entire post the first time you make this recipe. I know it is long but it contains many helpful tips and tricks so that you can have success with your gluten-free baking!
- You may not need all the water mixture. If you need more, just use ice water.
- For the chilled water, do not use straight water. Instead, fill a glass with ice and water. Use this to measure out the cold water.
- Use as little flour as possible for rolling out the dough. You can roll it out on parchment paper or a Silpat, if needed.
Nutrition
Recipe Questions
Butter has a high volume of water content and this water converts to steam as the pie dough bakes. The steam separates the crust into multiple flaky layers, making this the most delicious pie crust ever.
My general rule of thumb on using an egg wash is to not use them on edges of single-crust pies, but I do use them on double-crust pies.
This dough lacks moisture. Make sure you use enough ice water when preparing your pie dough. And always scoop or weigh your flour to ensure you haven't added too much.
Tough pie crust is the result of not enough fat in the crust, as well as overworking the dough. This recipe uses slightly more fat than the standard 3-2-1 pie ratio, so follow the recipe and use the extra butter.
I first published this Gluten Free Pie Crust recipe on my food blog Peel with Zeal.
Comments
No Comments