
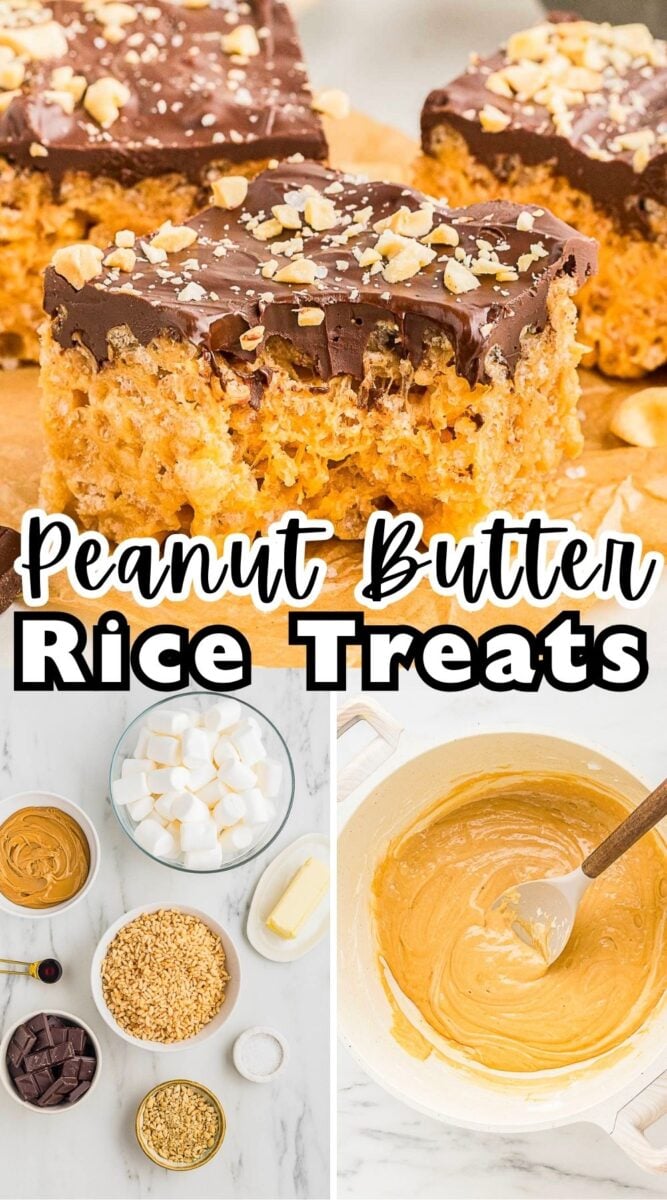


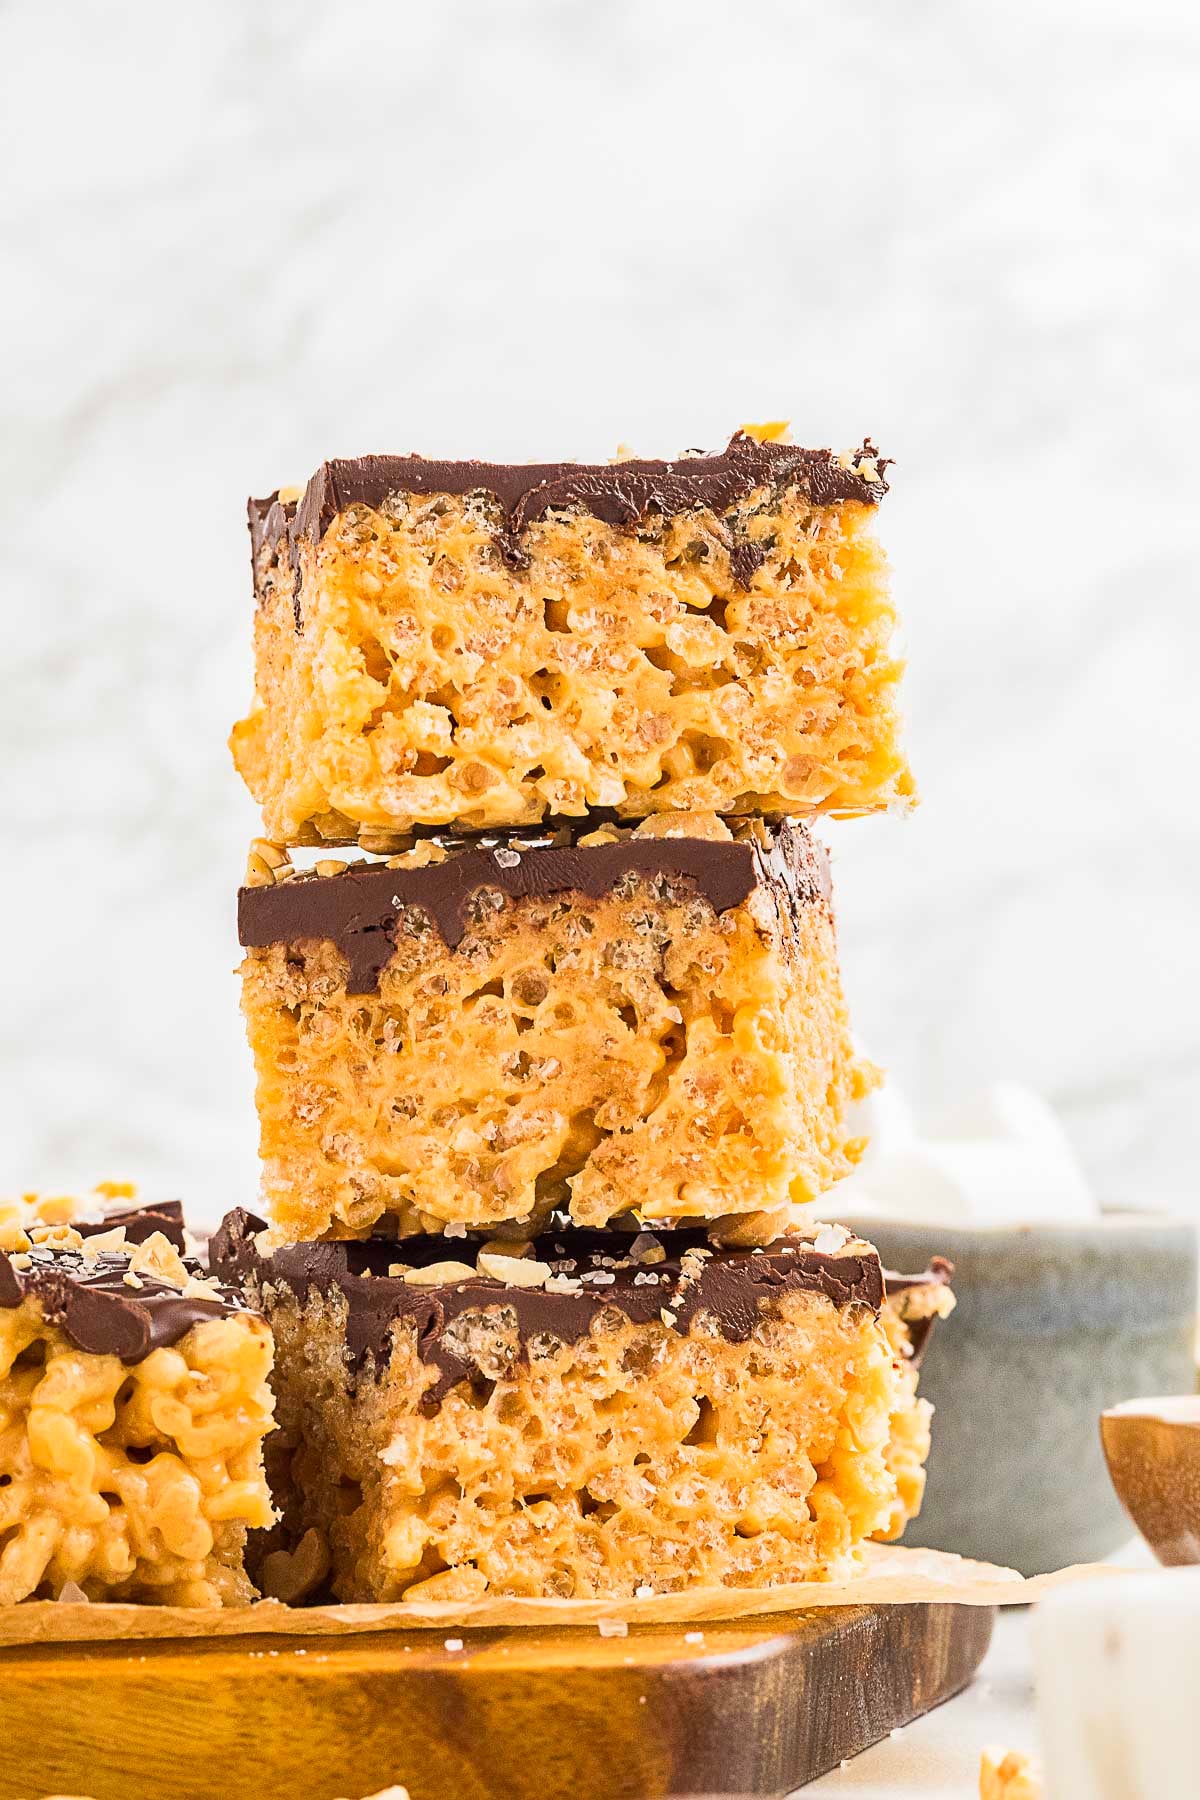
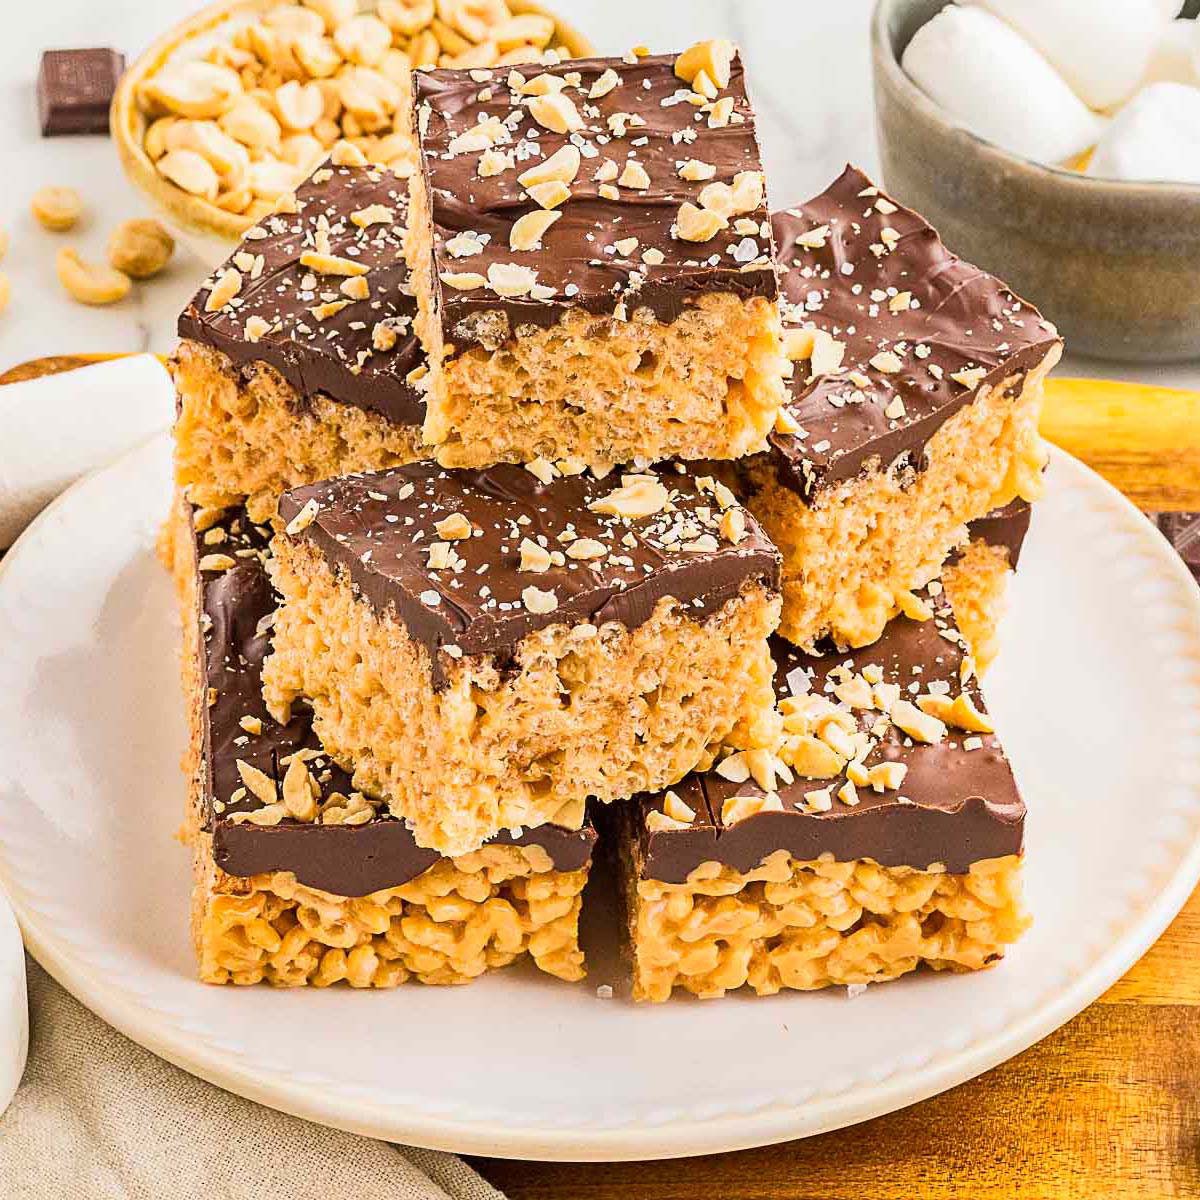
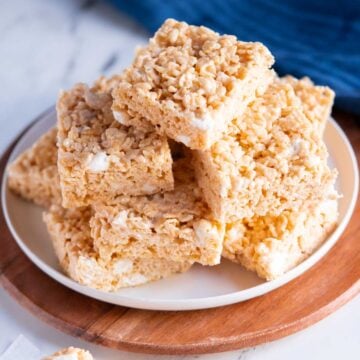
These peanut butter Rice Krispie treats taste like a mash-up between classic marshmallow cereal bars and homemade buckeye candy. The chewy peanut butter cereal base gets topped with a silky chocolate layer, crunchy roasted peanuts, and a sprinkle of flaky sea salt for the perfect sweet and salty finish.
Save This Recipe!
Skill Level: Beginner
Flavor Remix: Swap the semi-sweet chocolate for dark chocolate or white chocolate.
Allergy Watch: Gluten Free Option, Dairy Free Option, No Eggs
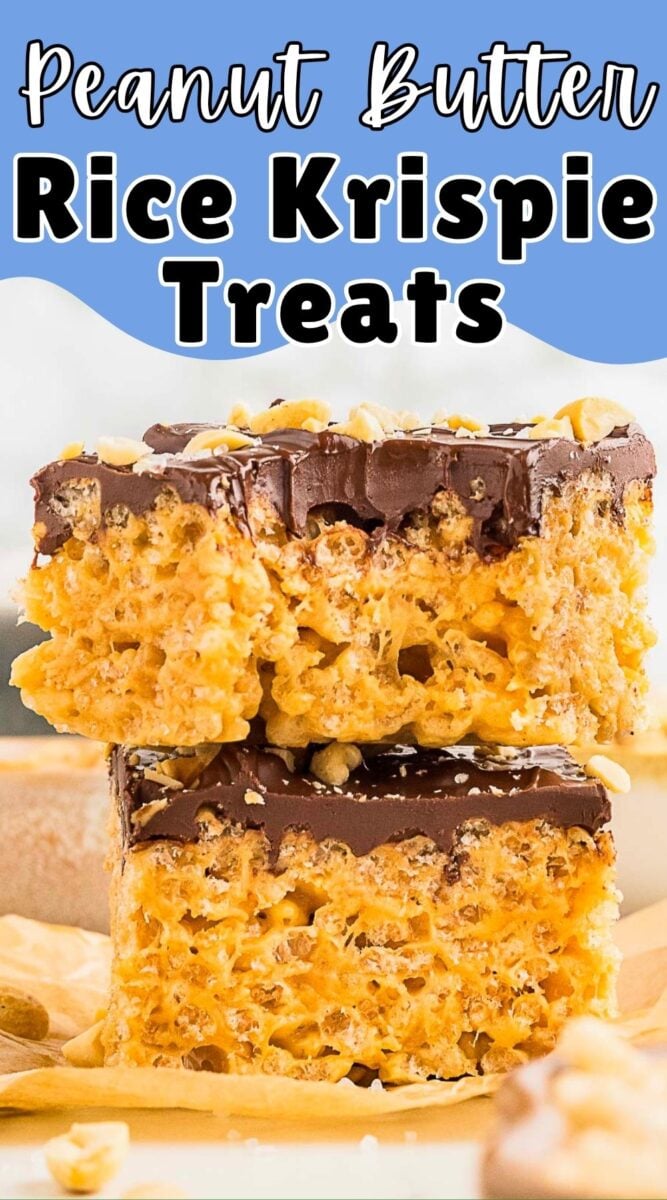
Unlike some homemade Rice Krispie treats that turn dense or hard after chilling, this version stays soft, gooey, and packed with creamy peanut butter flavor. They feel a little more grown-up than classic cereal bars thanks to the salted chocolate topping, but they still have that stretchy marshmallow pull everyone fights over.
I tested these several ways because I wanted the bars to stay soft even after chilling. Too much cereal made them firm and dry, while pressing the mixture too firmly into the pan turned them dense instead of chewy. Keeping the marshmallow mixture over low heat and using slightly less cereal gave these treats the soft, gooey texture I wanted.
I used If you are gluten free, the cereal matters just as much as the marshmallows. Kellogg's Rice Krispies cereal contains malt flavoring and is not safe for celiac disease. I usually use Aldi's Millville crispy rice cereal because the texture is very close to the original and it is what I use in my gluten-free rice treats.
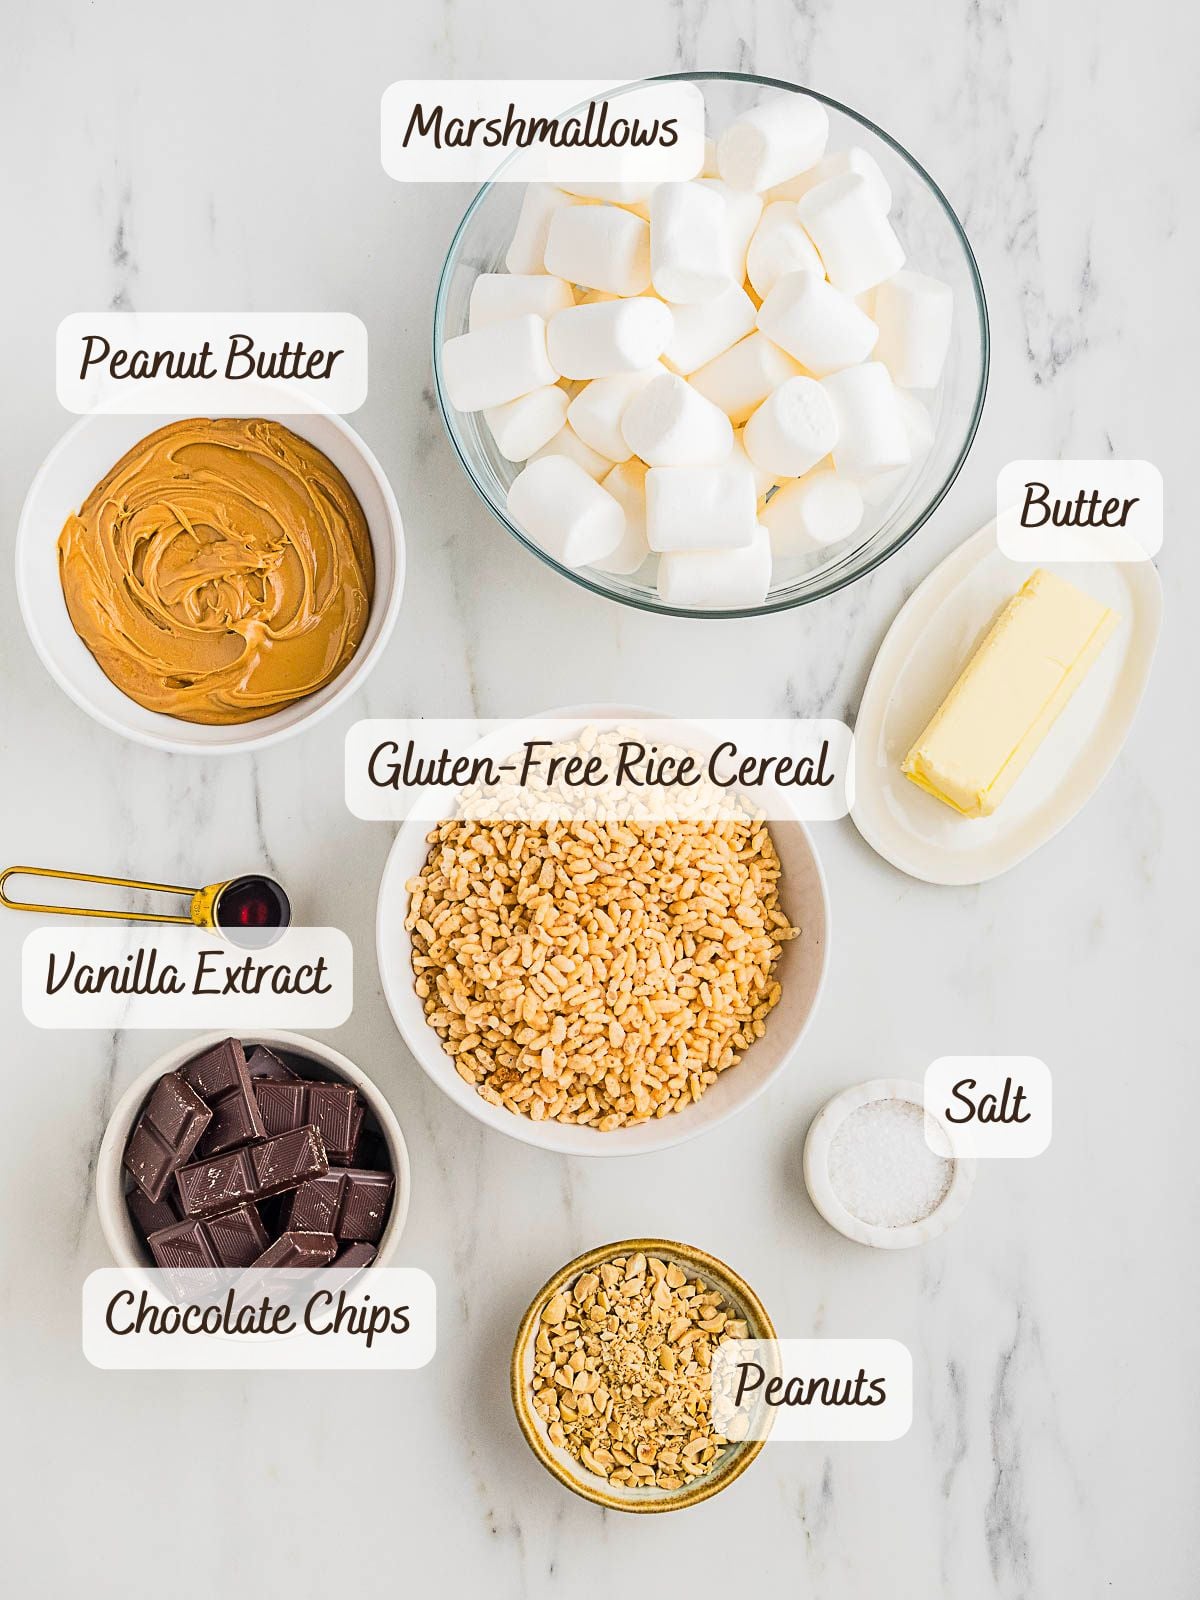
Ingredient Notes
- Marshmallows: Mini marshmallows melt faster but both work.
- Rice Cereal: Do not use puffed rice cereal. It has to be a crispy rice cereal to hold up to the weight of the marshmallow.
- Peanut Butter: Use standard creamy peanut butter like Jif or Skippy. Natural peanut butter is too oily and loose for this recipe and can make the treats fall apart.
- Chocolate Chips: Semi-sweet chocolate balances the sweetness of the marshmallow mixture best. Dark chocolate also works if you want a bolder chocolate flavor.
- Butter: Use dairy free butter if needed.
- Vanilla Extract: Or use an equal amount of vanilla paste.
- Peanuts: I use unsalted and add flakey sea salt on top.
Tips for Making Peanut Butter Rice Krispie Treats
A step-by-step visual guide for making peanut butter rice krispie treats. You can skip to the recipe for the full written instructions.
- Boiling marshmallows changes their texture and creates harder cereal treats once cooled. Keep the heat low and steady.
- Fresh marshmallows stay softer and melt more evenly than stale ones.
- Adding the peanut butter at the end prevents the oils from separating.
- Stir gently when you add the cereal. If you go at it too hard, you'll just crush the cereal.

- You can line your pan with parchment or coat it with cooking spray, coconut oil, or butter. Be sure to get up the sides of the pan.
- Wet your hands and gently press the mixture into the pan. Do not press too hard, it will create dense treats.
- Stirring often and heating in short bursts will keep the chocolate silky smooth.
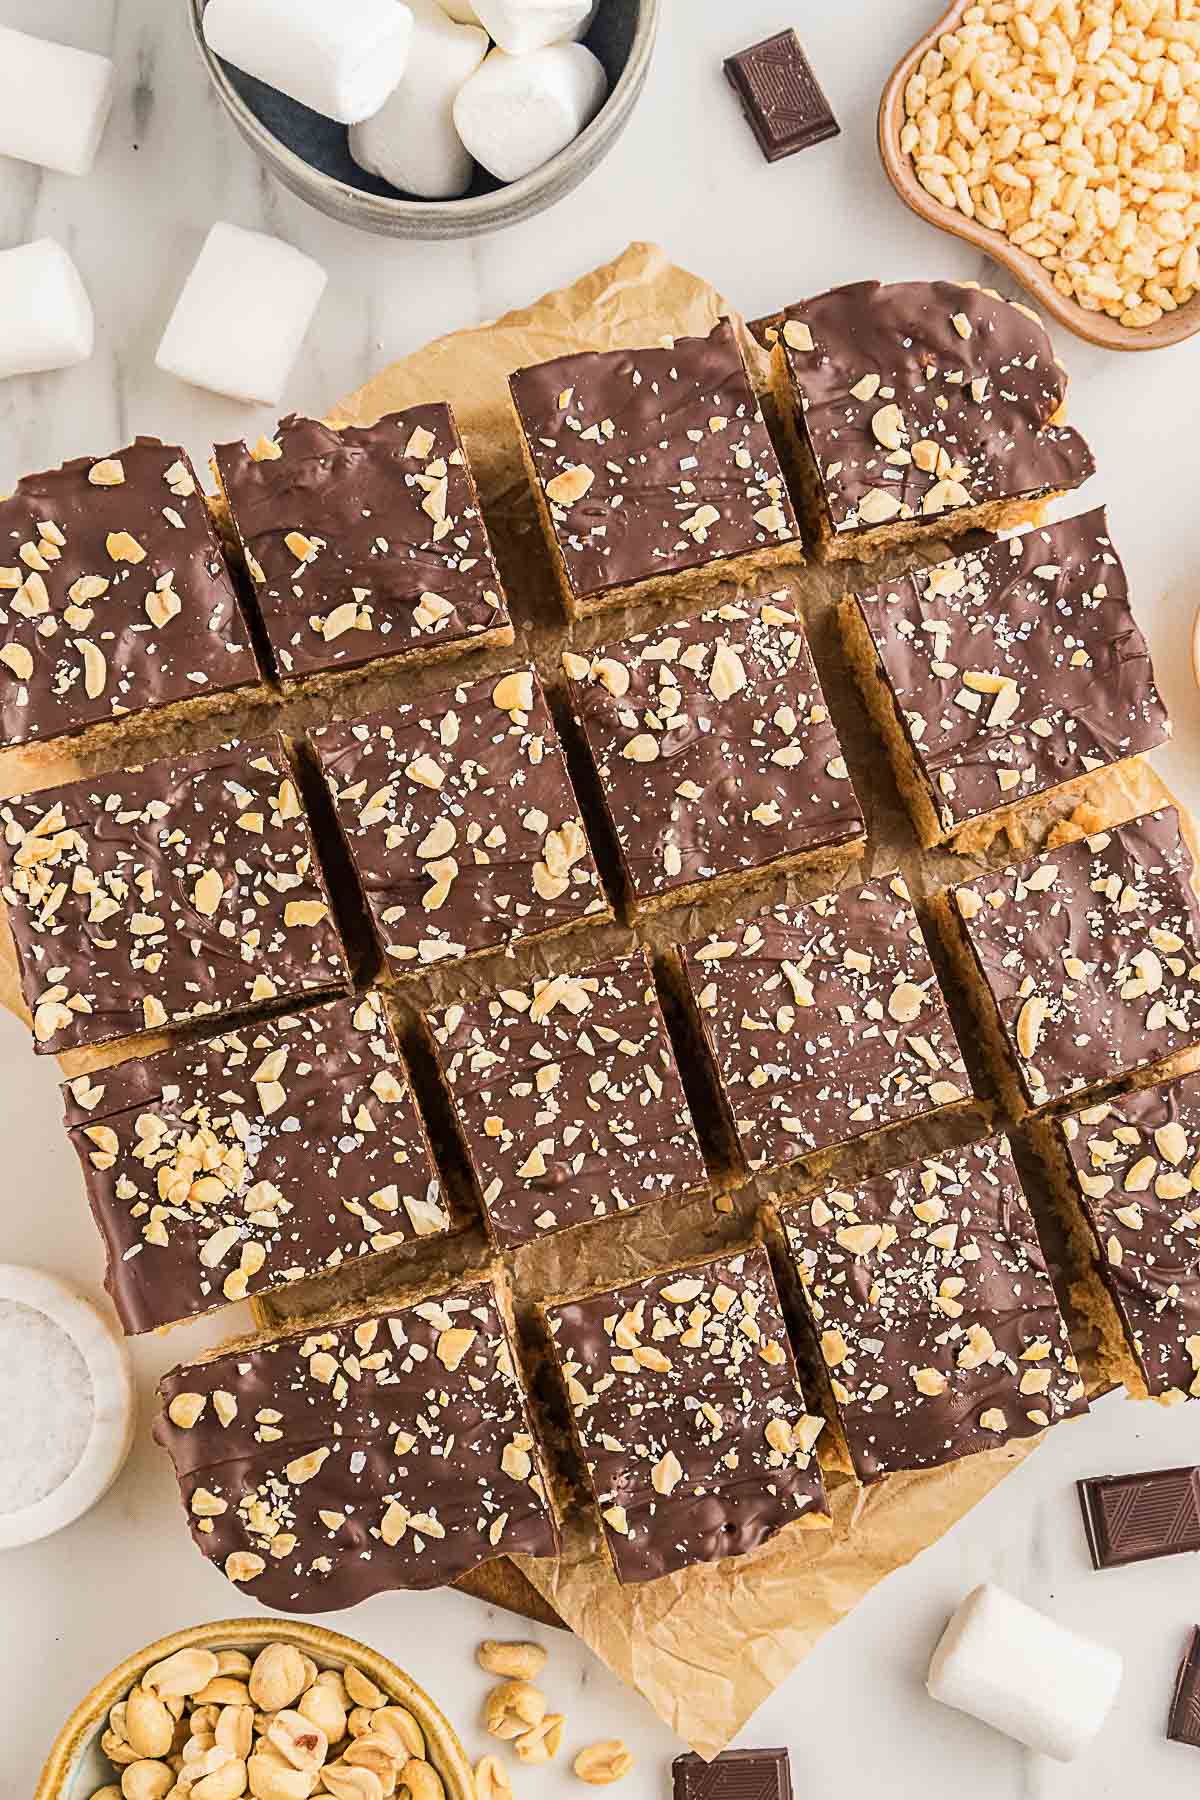
- Finish with chopped peanuts and flaky sea salt, then chill just until the chocolate sets.
- Play around with the toppings, add chopped reese cups, gluten free pretzels etc.
Make Ahead and Storing
Make Ahead: You can make these peanut butter marshmallow squares 1 day ahead for parties or bake sales.
Storing: Store in an airtight container at room temperature for up to 3 days. Refrigerated bars last longer but will firm up slightly.
Freezing: Freeze the sliced treats in layers separated by parchment paper for up to 3 months. Let thaw at room temperature before serving.
📖 Recipe
Peanut Butter Rice Krispie Treats
Save This Recipe!
Ingredients
- ⅓ cup unsalted butter
- 10 ounces marshmallows
- ¾ cup creamy peanut butter divided
- 1 teaspoon vanilla extract
- 5 ½ cups gluten free rice cereal or rice Krispie cereal if not GF
- 9 ounces semi-sweet chocolate chips
- 3 Tablespoons peanuts toasted and chopped, unsalted
- sea salt for the top
Instructions
- Line a 9x9-inch square pan with parchment paper and set it aside.
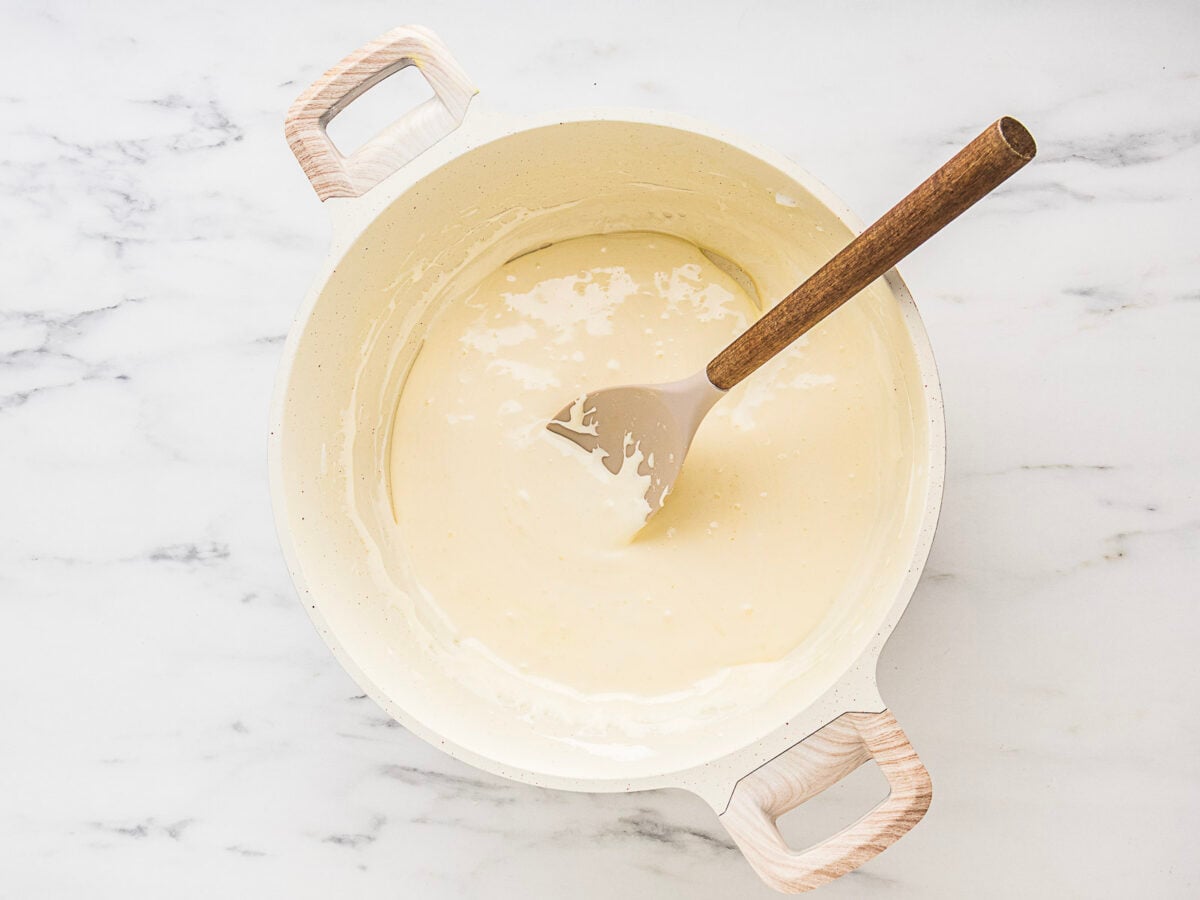
- In a large saucepan, melt the butter over medium heat. Once melted, add the marshmallows. Reduce the heat to low and continue stirring until completely melted.⅓ cup unsalted butter, 10 ounces marshmallows
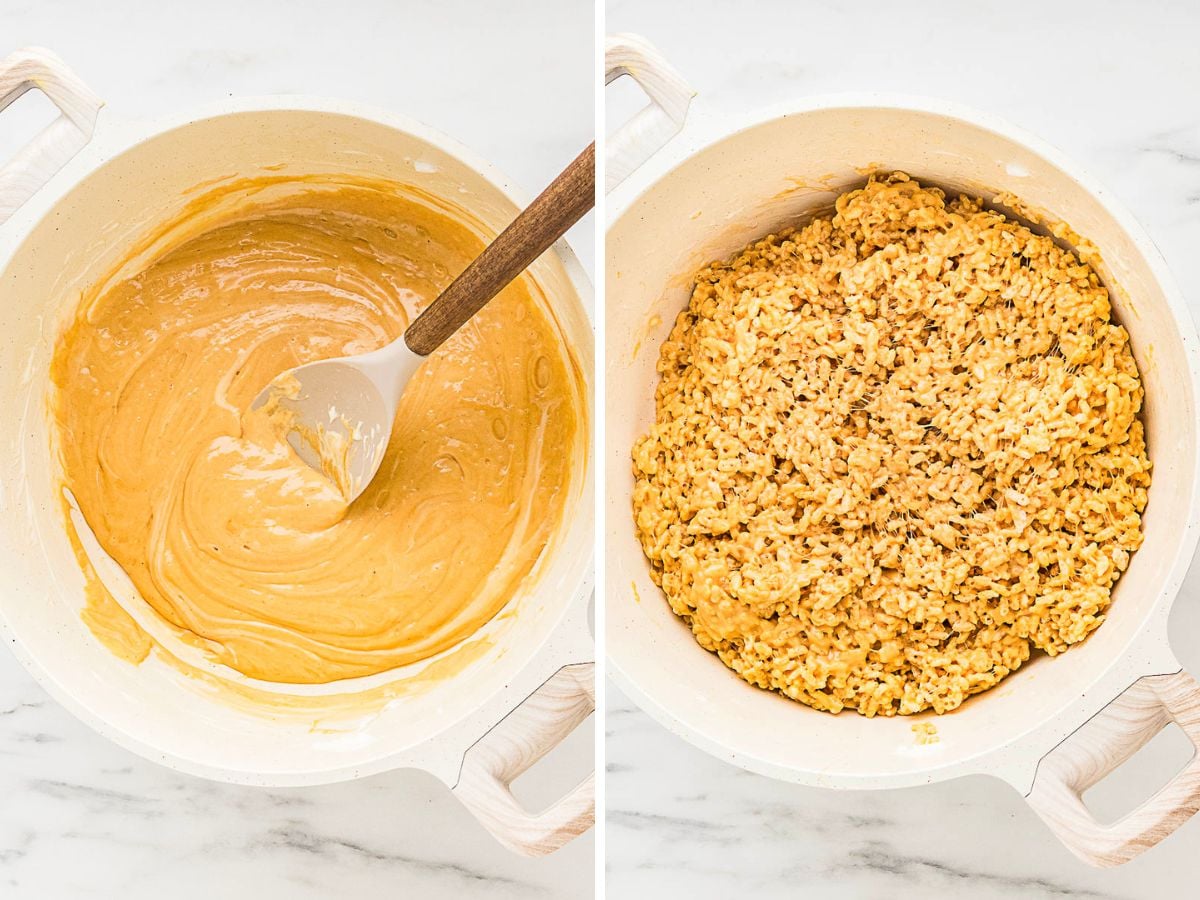
- Remove from the heat and stir in all but 1 tablespoon of the peanut butter and all of the vanilla extract until combined.¾ cup creamy peanut butter, 1 teaspoon vanilla extract
- Fold in the cereal and mix until fully coated. Transfer the sticky cereal mixture to the pan and spread it into an even layer without pressing it down too hard. Cool in the refrigerator for 5-10 minutes.5 ½ cups gluten free rice cereal
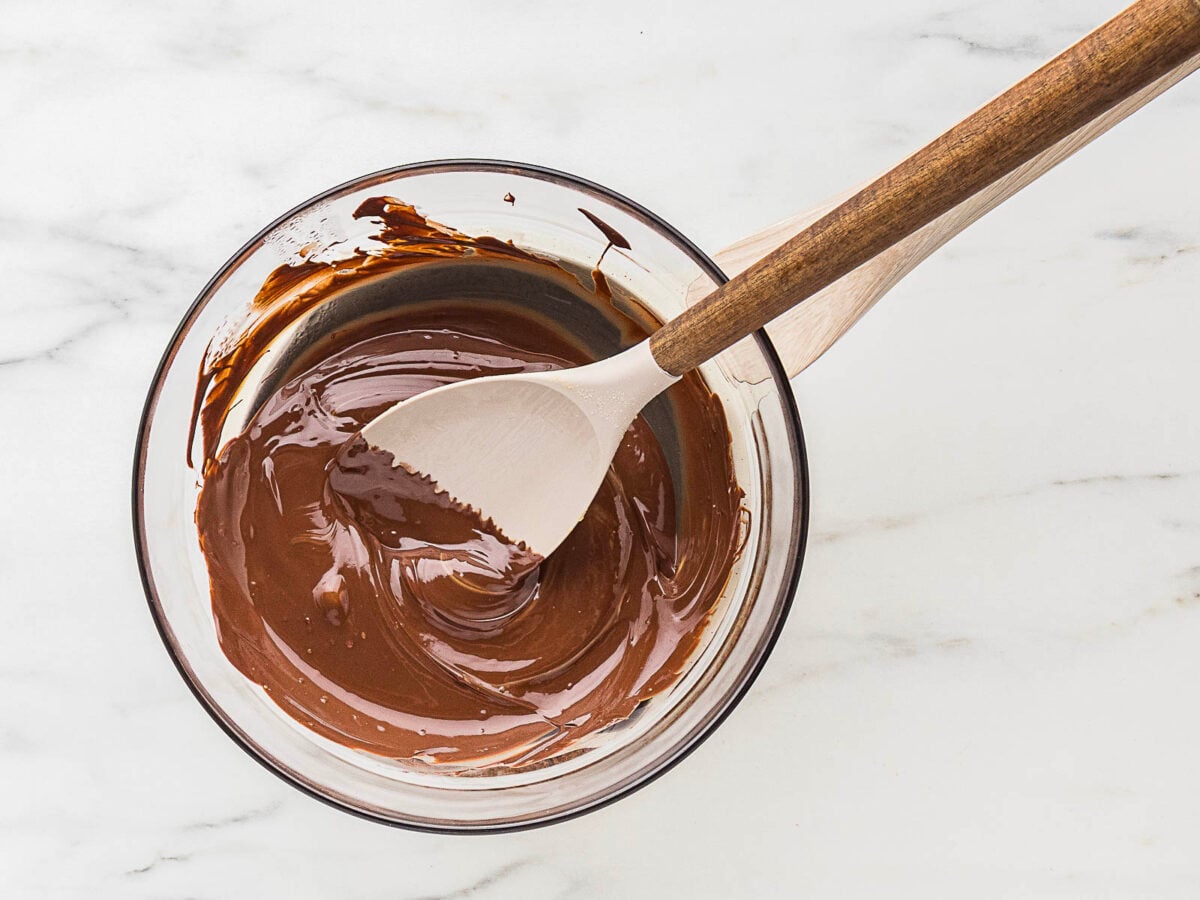
- While the base cools, prepare the chocolate layer. Add the chocolate and the remaining tablespoon of peanut butter to a small microwave-safe bowl. Heat for 30 seconds at a time, stirring in between, until fully melted.9 ounces semi-sweet chocolate chips, ¾ cup creamy peanut butter
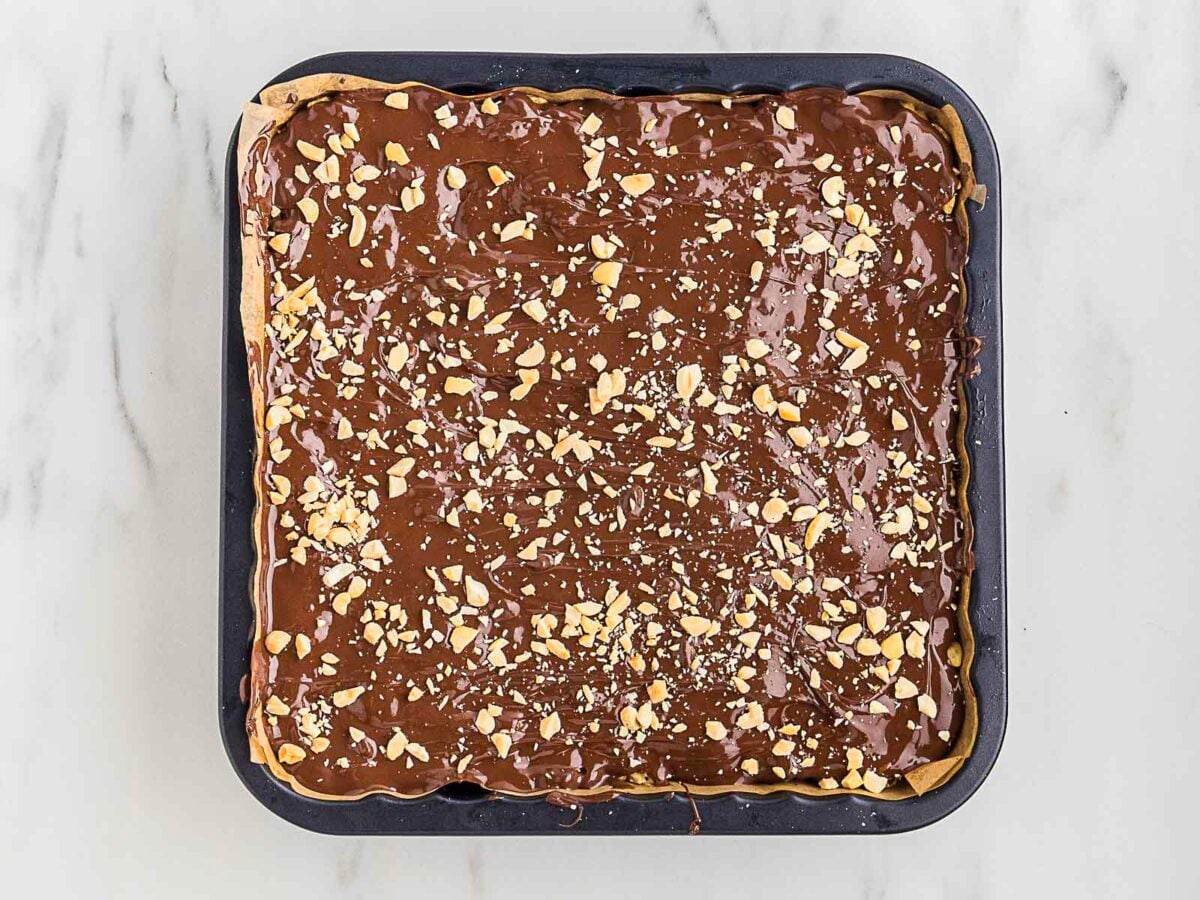
- Pour the melted chocolate mixture over the chilled bars. Smooth it out and top with the peanuts. Chill for 30-45 minutes.3 Tablespoons peanuts
- Before serving, remove the Rice Krispies treats from the pan, sprinkle sea salt flakes on top, and cut them into 12 equal-sized bars.sea salt
Equipment
- 9x9 baking dish
Notes
- Kellogg's Rice Krispies cereal is not gluten-free, and they no longer make the gluten-free version. I like the Millville rice cereal from Aldi. It is gluten-free and close in texture. You can use any GF cereal brand you like; check the labels for malt and barley, neither are safe for those with celiac disease or anyone on a gluten-free diet.
- To prevent sticking, wet your hands before pressing the treats into the pan.


Comments
No Comments