
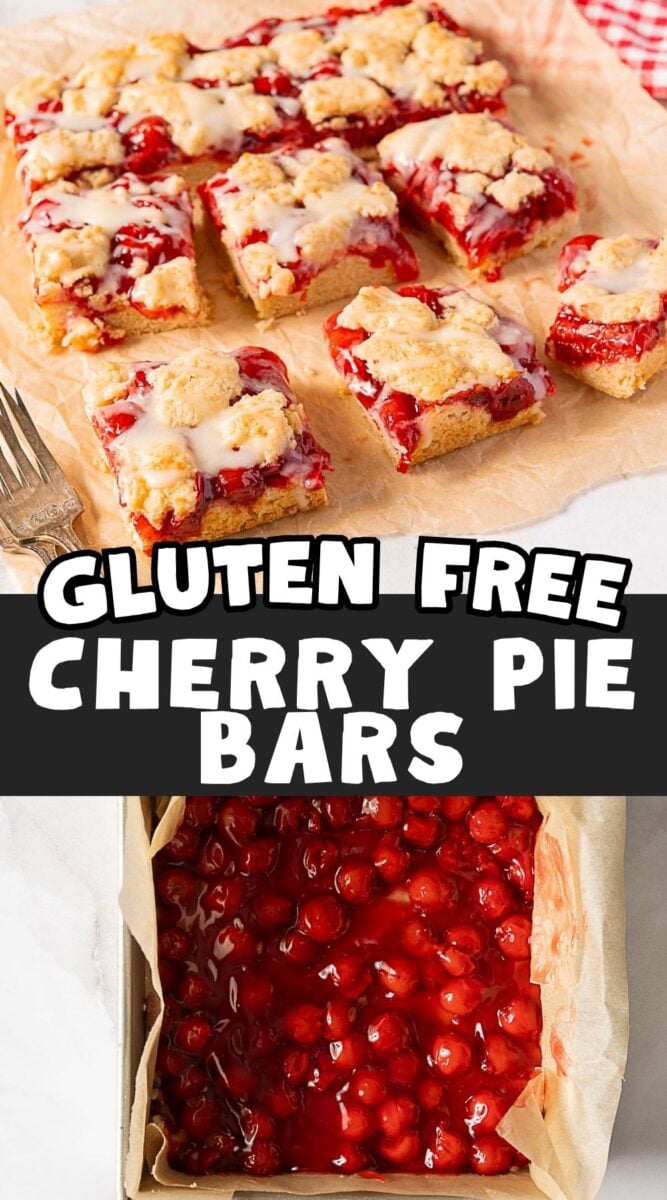

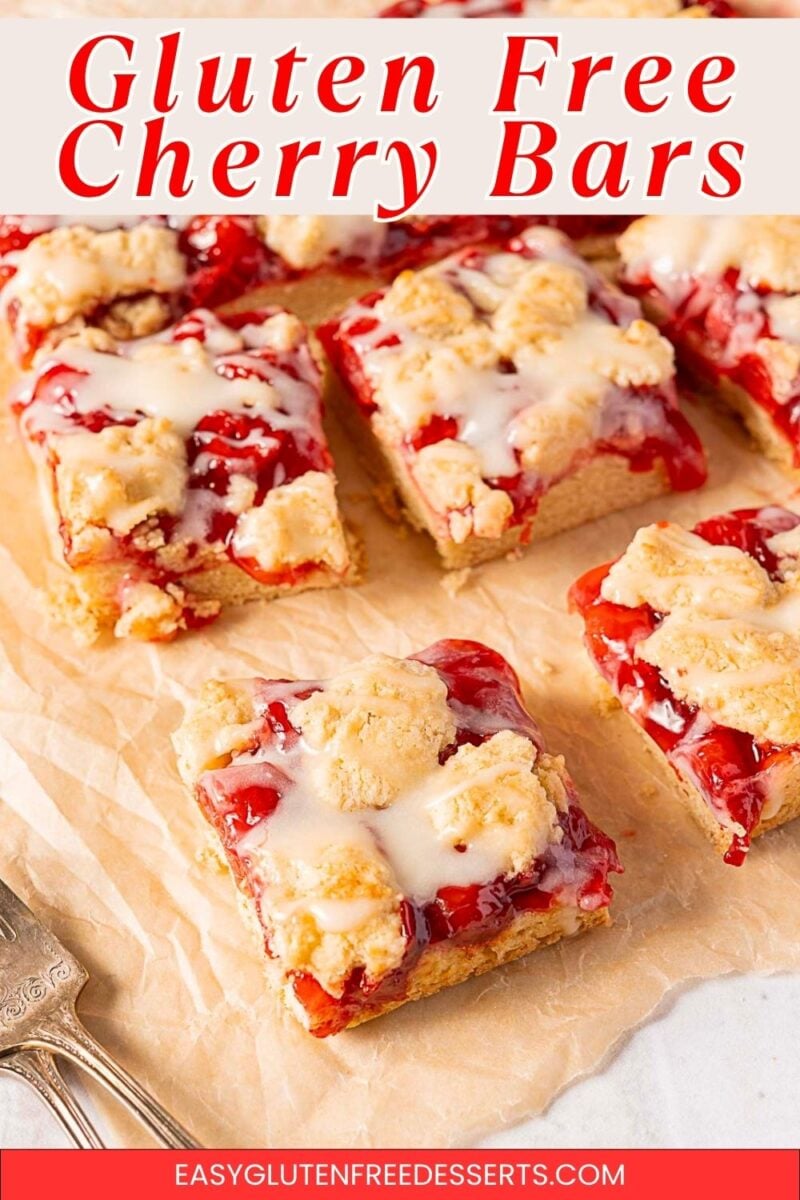
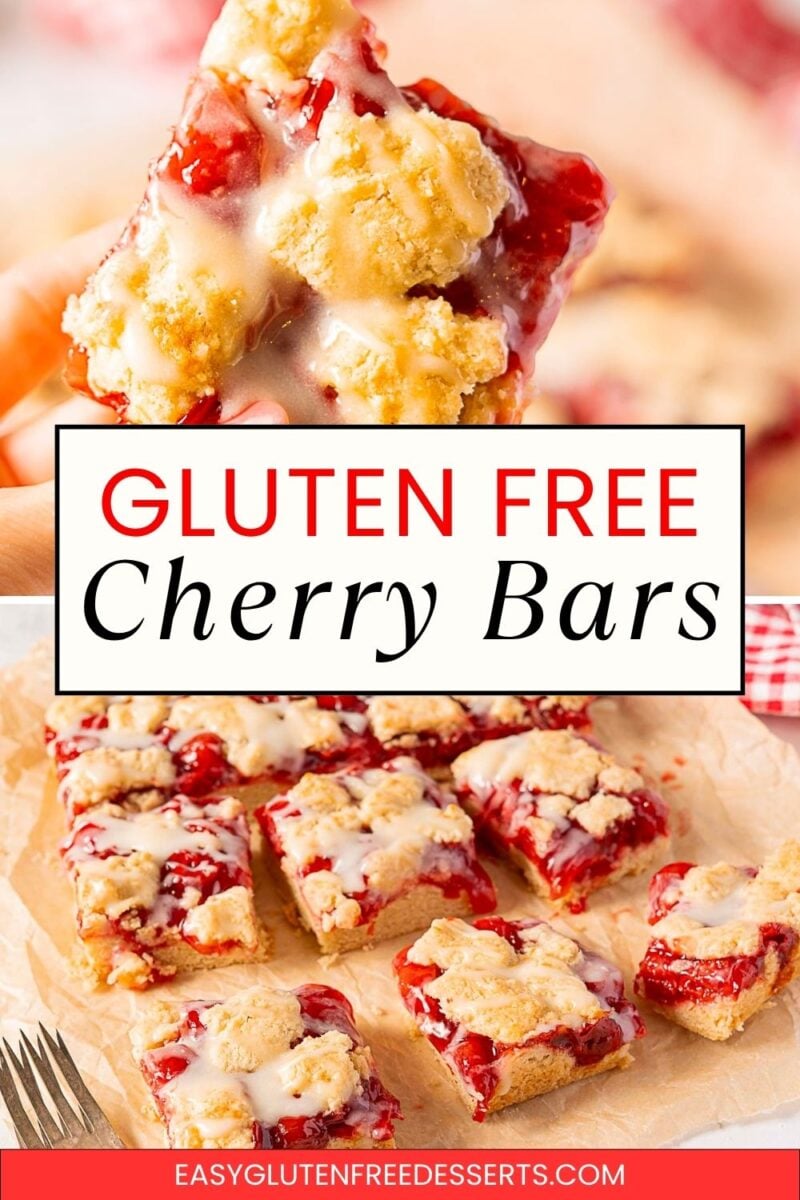
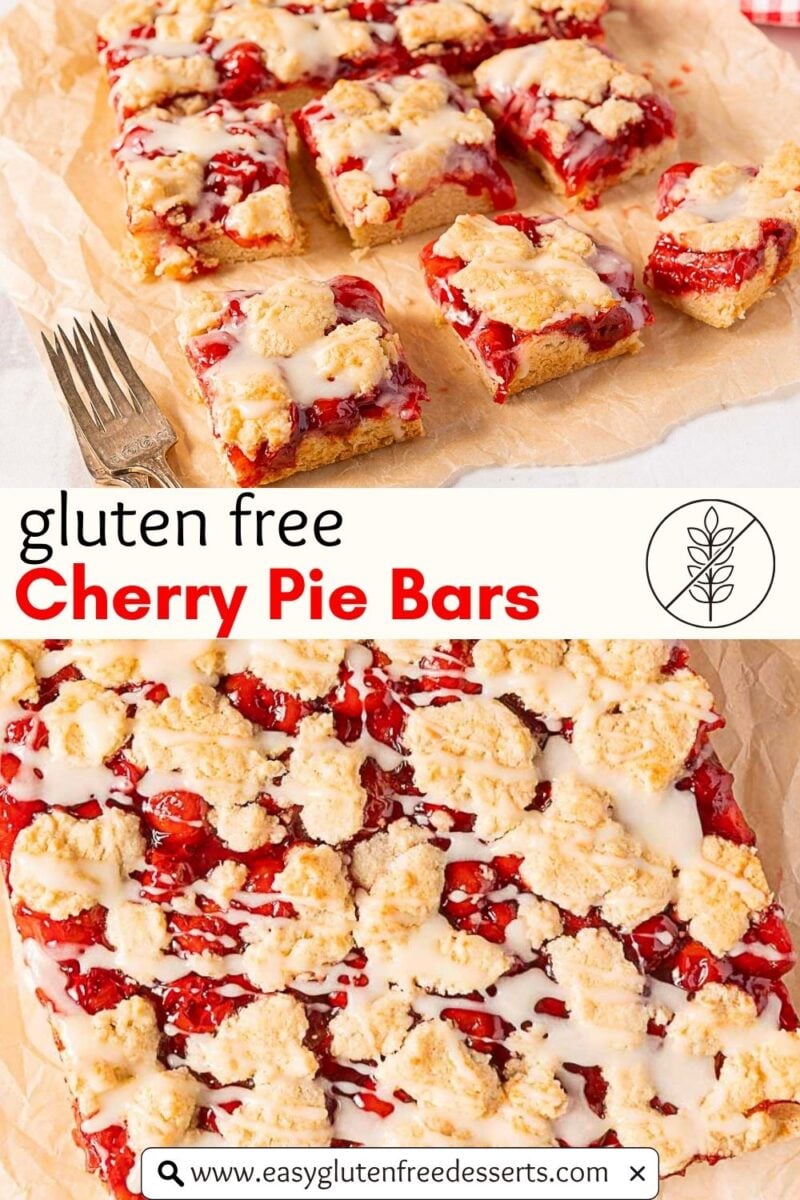
If you love a classic cherry pie but don't want to fuss with rolling dough, this gluten free cherry pie bar version delivers that same buttery, crumbly texture with way less hands-on time. It's a quick mix, press, and bake situation with only about 10 minutes of real effort. I added an extra glaze on top just for fun.

Save This Recipe!
Skill Level: Beginner
Flavor Remix: Use any canned pie filling for this recipe.
Allergy Watch: Gluten Free, Dairy Free Option, Nut-Free Option
These gluten free cherry pie bars are built on my go-to gluten-free blueberry bar base, but with a shortcut twist using canned cherry pie filling for a fruity, vibrant layer that bakes up thick and jammy. It is perfect for summer gatherings and holidays like July 4th!
During testing, I kept coming back to one thing. The dough looks too dry at first. It's not. Once pressed, it transforms into a cohesive base that holds everything together beautifully. That small detail makes all the difference between bars that crumble apart and bars that slice cleanly.
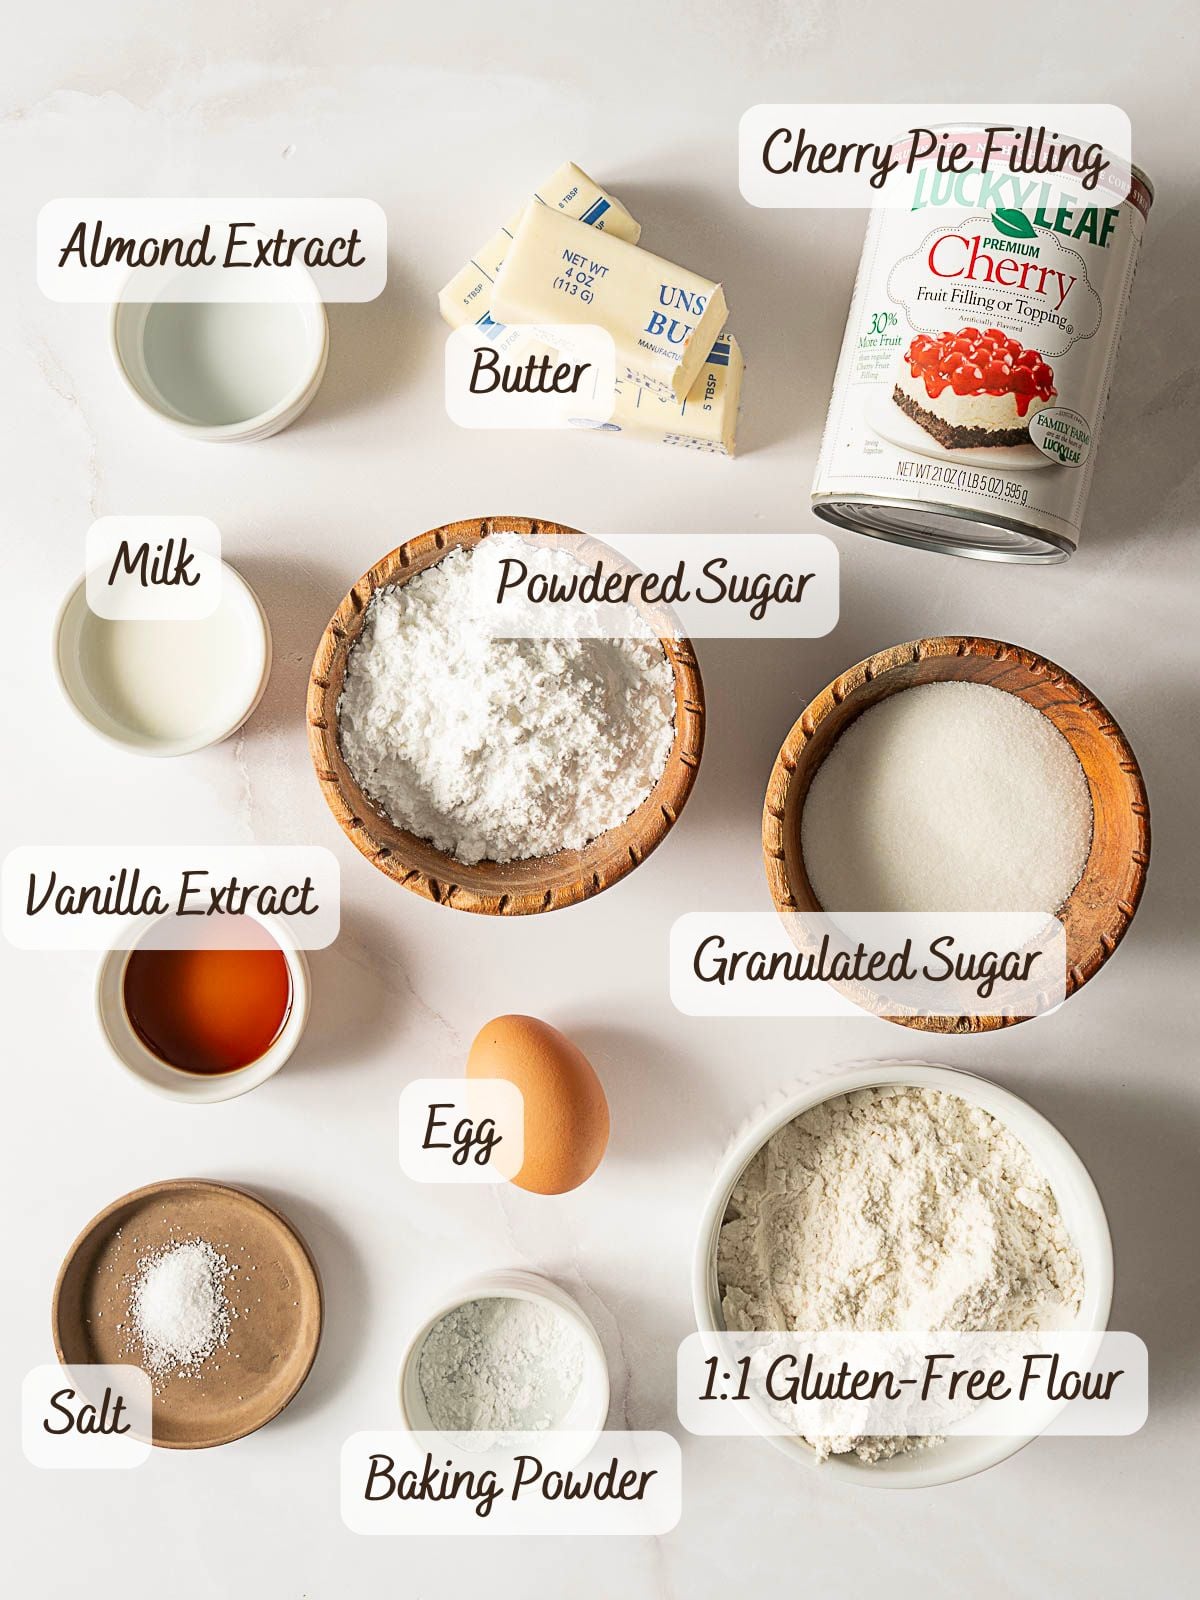
Ingredient Notes
- Gluten-Free Flour: Use any 1:1 gluten free flour blend with xanthan gum, like Bob's Red Mill 1:1 Flour or King Arthur Measure for Measure.
- Butter: Use unsalted butter or reduce the salt added by ¼ teaspoon. Be sure your butter is cold!
- Cherry Pie Filling: If the filling looks thin, give it a quick stir before spreading.
- Vanilla Extract: Or use an equal amount of vanilla paste.
- Almond Extract: Skip this to make it nut free!
- Baking Powder: Just a tiny bit to give the base a light cookie texture.
- Egg: I have not tested this recipe with an egg replacer.
Make it Dairy Free
To make this recipe without dairy, use vegan buttery baking bars (I like Earth Balance) and any milk you like.
How to Make Gluten-Free Cherry Pie Bars
A step-by-step visual guide for making gluten-free cherry pie bars. You can skip to the recipe for the full written instructions.
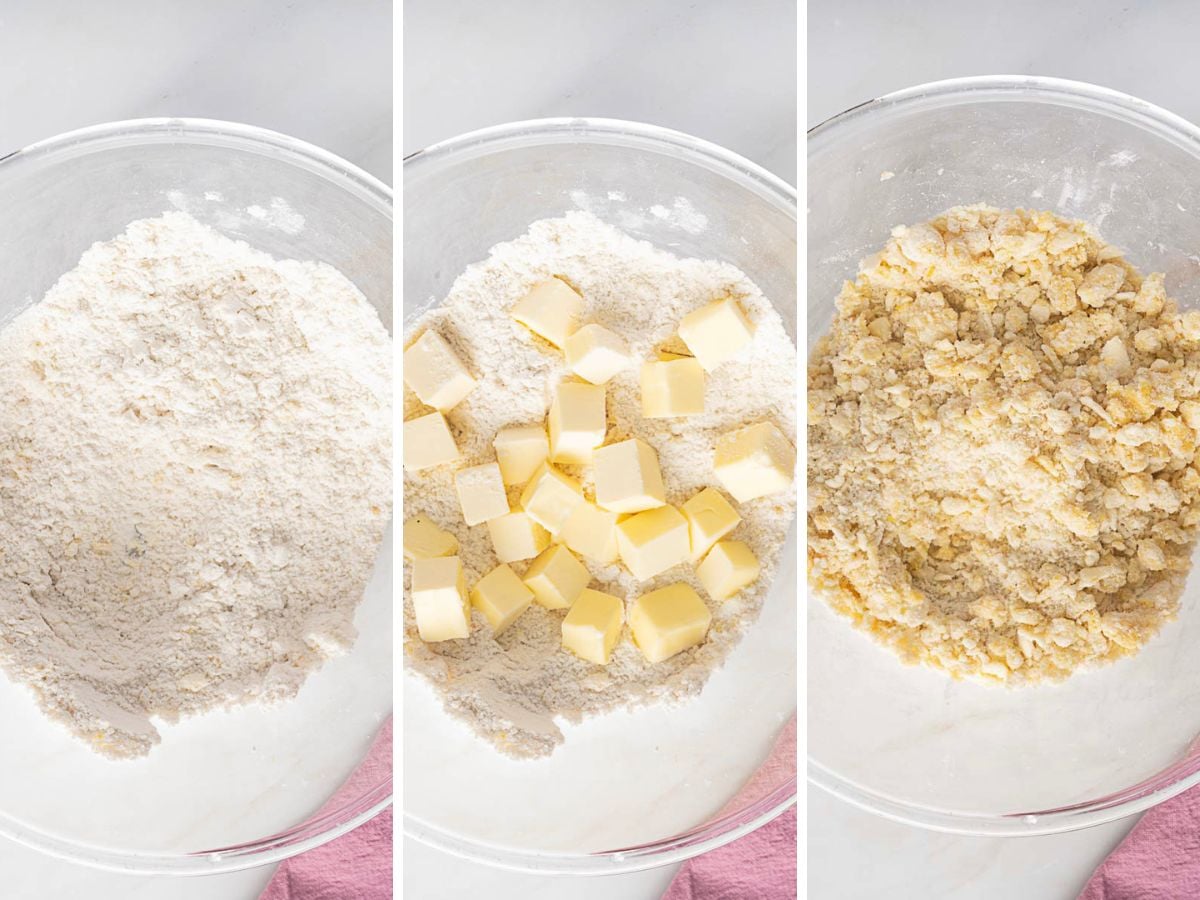
Make the Dough
Cut the butter into the base until you have small pea-sized pieces. It will look sandy even after you add the egg. Trust the process.

Press the Dough into the Pan
I suggest lining your pan with parchment for easy cutting later. The dough will be in pieces and not a single piece of dough. Press it together and use the bottom of a cup.
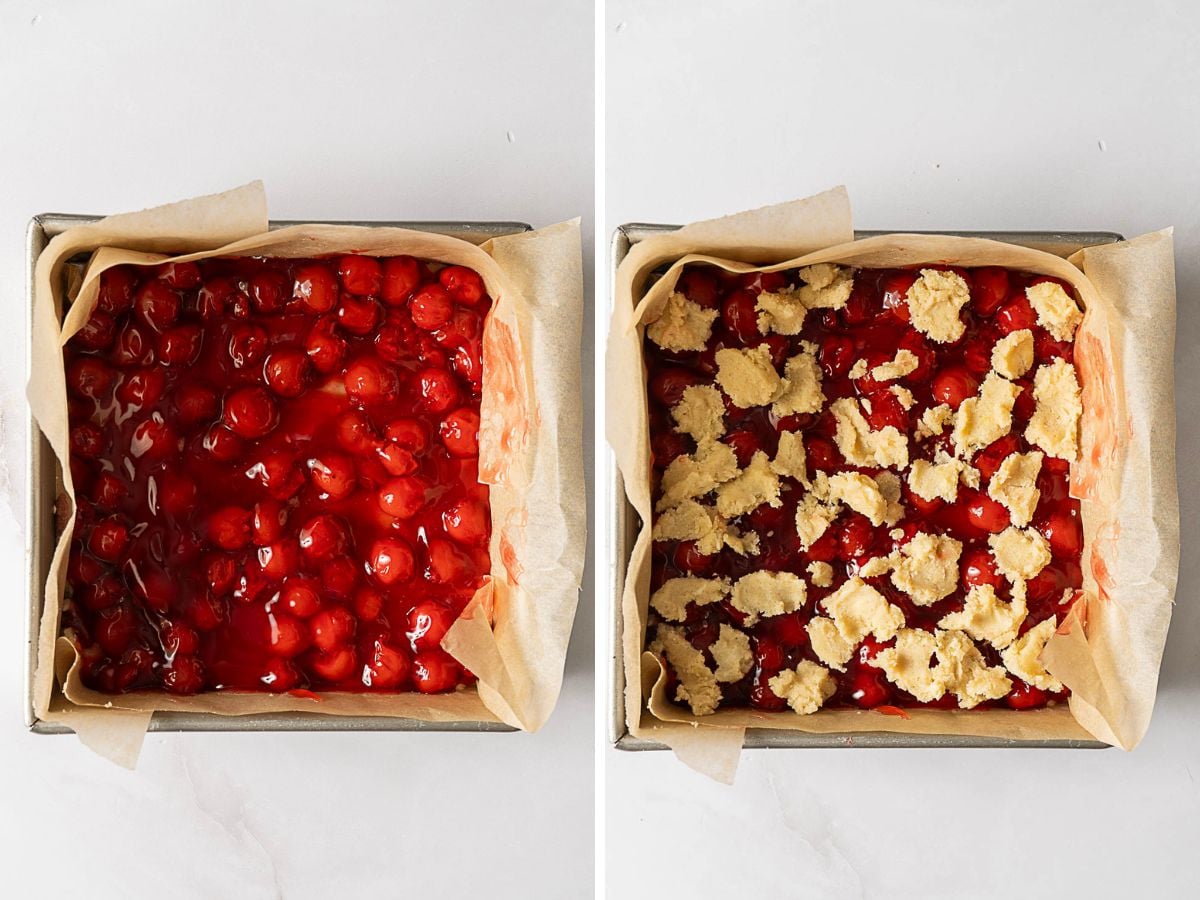
Assemble
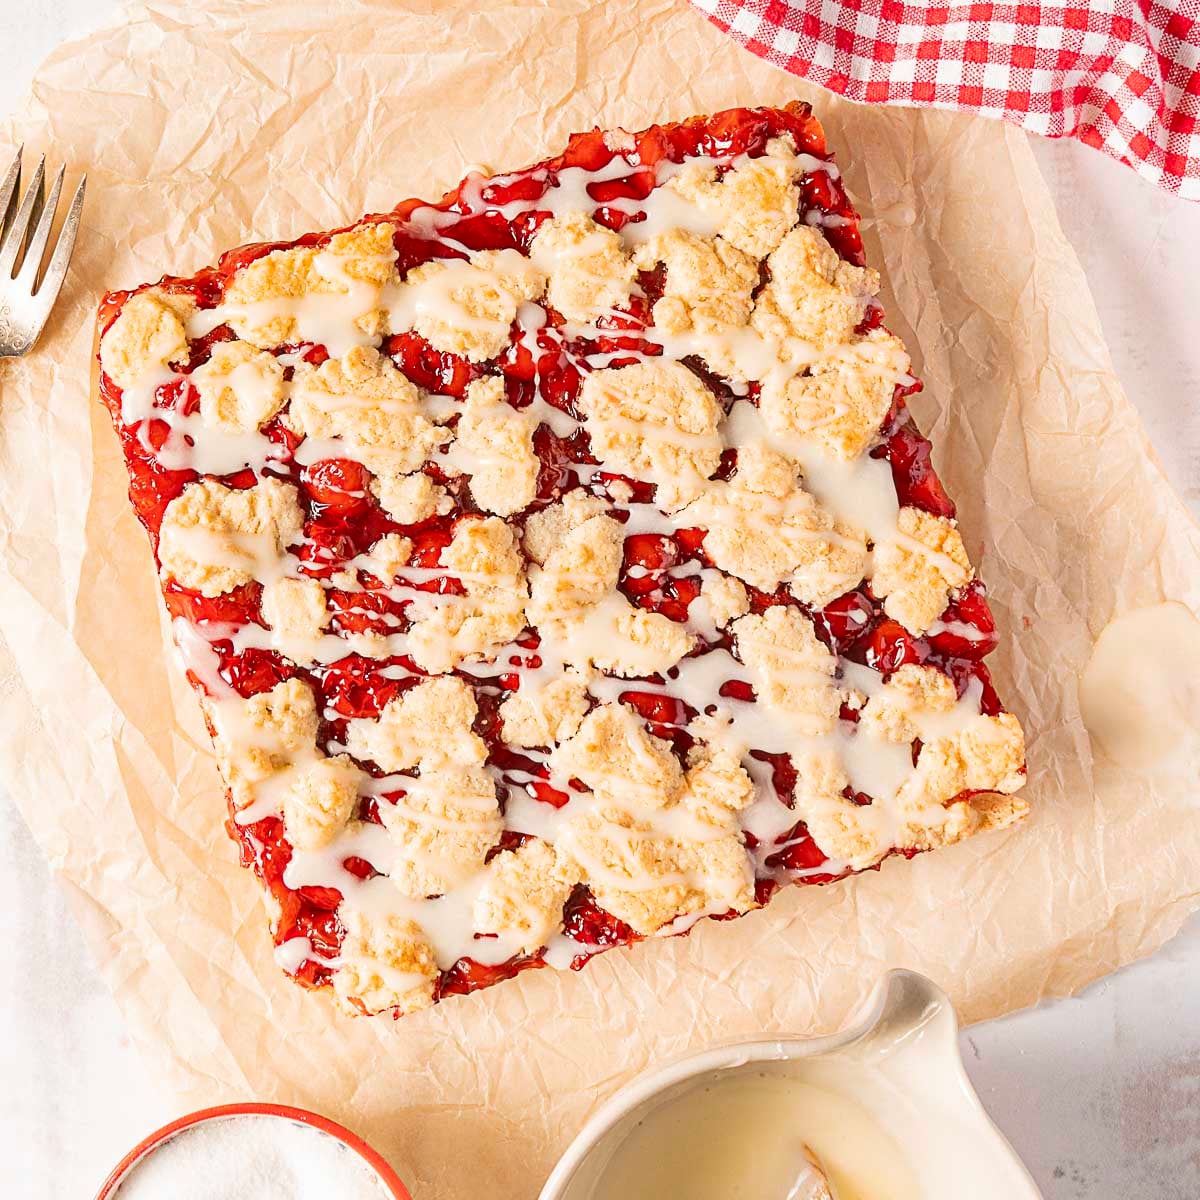
Spread the filling evenly over the cookie base. Use your hands to mash together the remaining dough to make the crumble, dot over the top. Plenty of the filling should be peaking through.
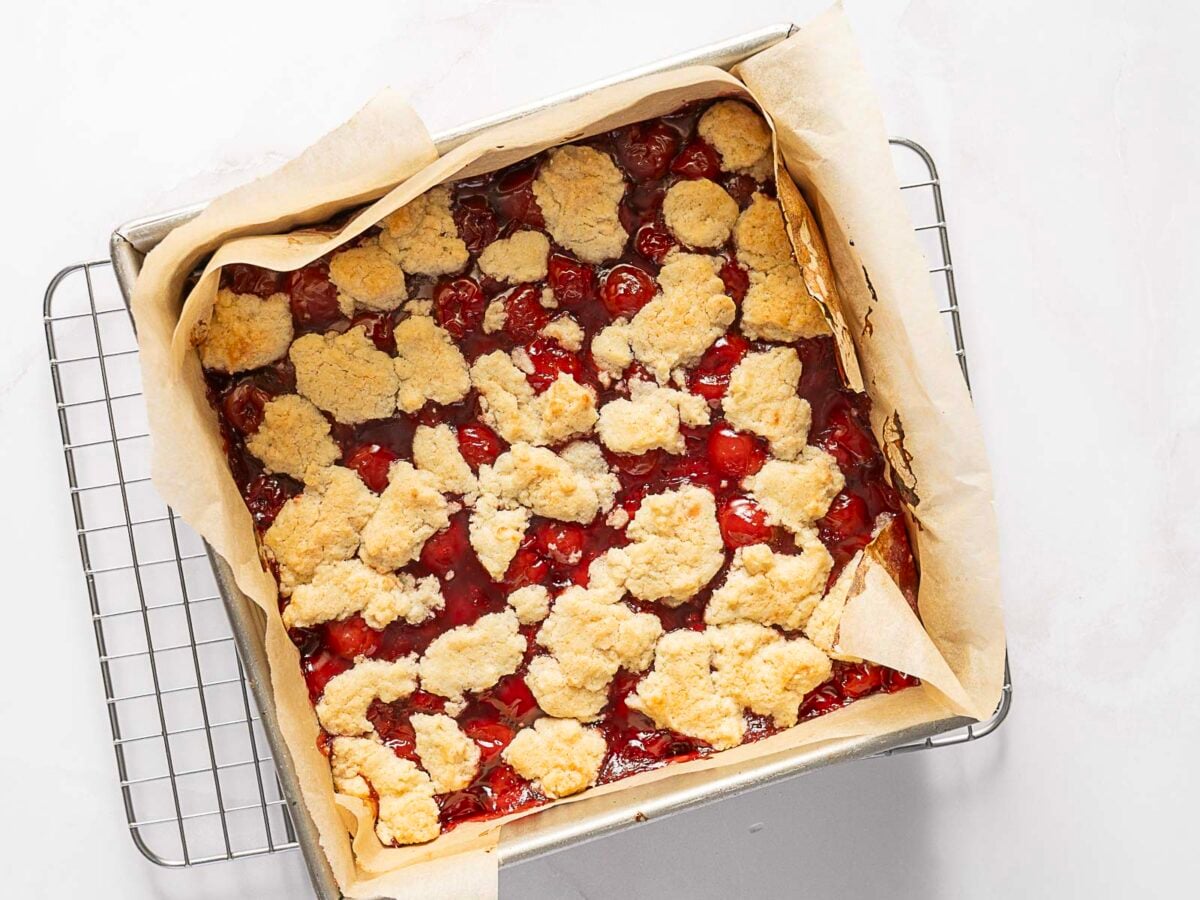
Bake and Cool
The fruit should be bubbly and not liquid when you take it out of the oven. Cool completely before popping into the fridge.

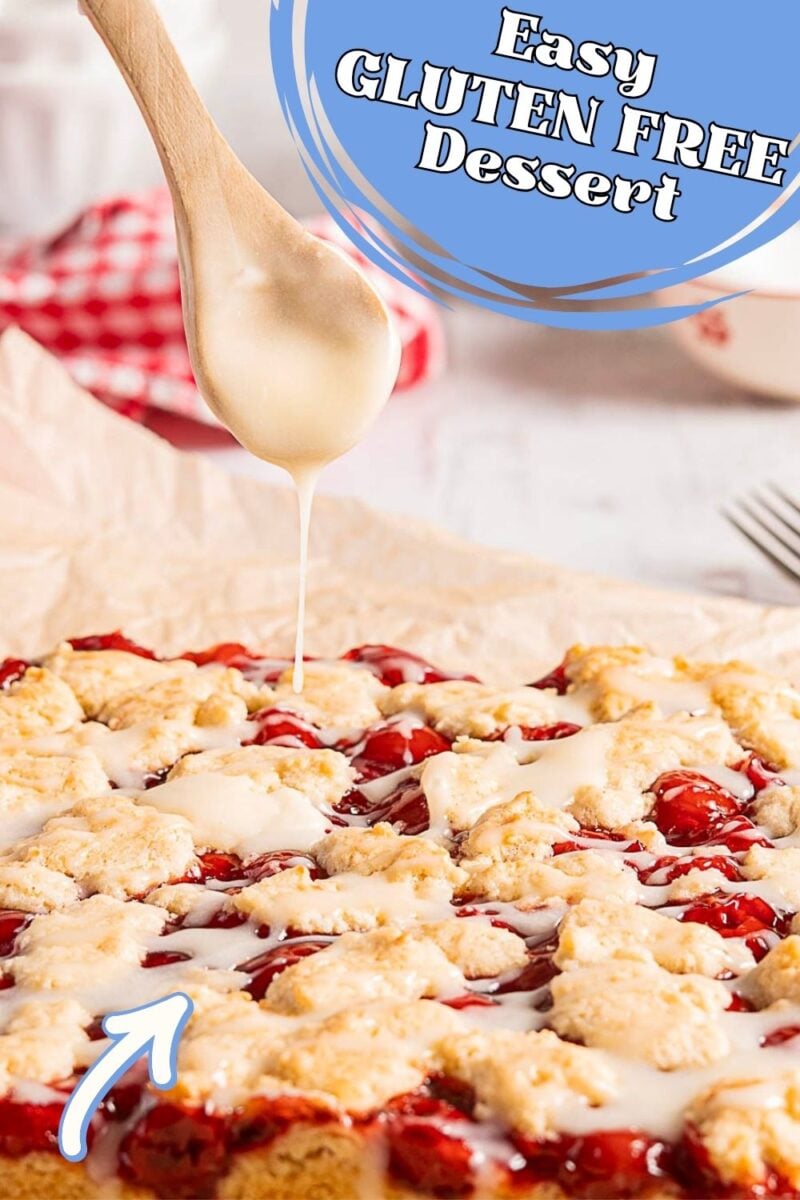
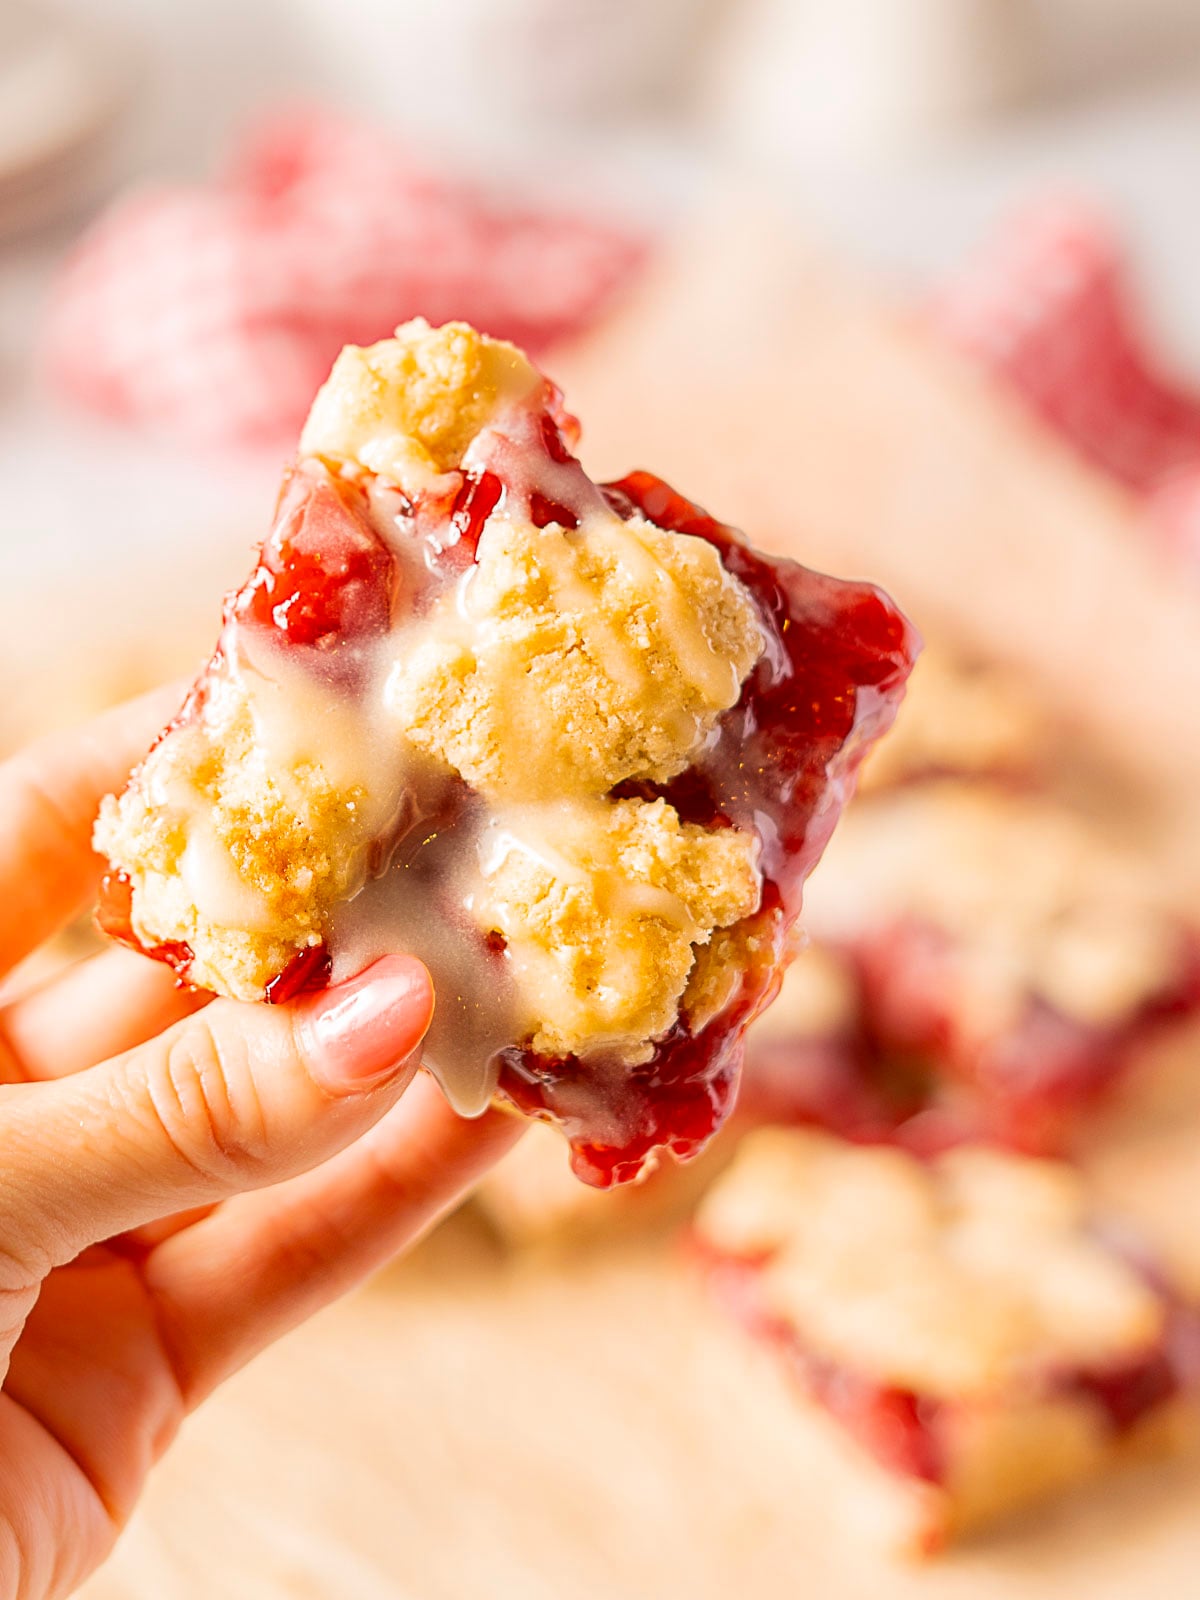
Prepare the Glaze
Whisk together the glaze ingredients and drizzle over the top. Yes it makes eating them messier but it really is delcious!
Jen's Recipe Notes
- Press the base firmly. Loose packing leads to crumbly bars that fall apart.
- Don't overwork the dough. Stop mixing once it starts to clump when pressed.
- Use parchment with overhang. It makes lifting and slicing much cleaner.
- Chill fully before cutting. This is what gives you those sharp edges.
Make Ahead and Storing
Make Ahead: Bars can be fully baked up to 1 day in advance. Cool completely, then store covered at room temperature or in the refrigerator until ready to serve.
Storing: Store bars in an airtight container at room temperature for up to 2 days or in the refrigerator for up to 5 days. For best texture, let chilled bars come to room temperature before serving.
Freezing: These cherry bars freeze well. Once cooled, slice and layer them between parchment paper in a freezer-safe container. Freeze for up to 2 months. Thaw overnight in the refrigerator or at room temperature before serving.
📖 Recipe
Gluten-Free Cherry Pie Bars
Save This Recipe!
Ingredients
- 1 ½ cups (186 g) 1:1 gluten-free flour with xanthan gum spooned & leveled
- ½ cup (100 g) granulated sugar
- ½ teaspoon baking powder
- ¼ teaspoon kosher salt
- ¾ cup (170.25 g) unsalted butter cold and cut into cubes
- 1 large egg beaten
- 1 teaspoon vanilla extract
- ¼ teaspoon almond extract optional
- 1 can (595 g) cherry pie filling 21 ounces
Glaze
- 1 cup (120 g) powdered sugar
- ½ teaspoon vanilla extract
- 2 Tablespoons milk
Instructions
- Preheat the oven to 375°F. Line an 8x8-inch pan with parchment paper and grease it.
- Mix together the flour, sugar, baking powder, and salt. Using two forks or a pastry blender, cut in the butter until only small pieces remain (smaller than pea-sized).1 ½ cups 1:1 gluten-free flour with xanthan gum, ½ cup granulated sugar, ½ teaspoon baking powder, ¼ teaspoon kosher salt, ¾ cup unsalted butter
- Stir in the egg; the dough will be dry and crumbly but should clump together when squeezed.1 large egg
- Press two-thirds of the dough into the bottom of the prepared pan in an even layer. Spread the cherry pie filling over it. Crumble the remaining dough over the cherries, allowing some of the filling to peek through.1 can cherry pie filling
- Bake for 40-45 minutes, until the top is golden brown.
- Cool at room temperature for 1 hour, then transfer to the refrigerator and chill for at least 3 more hours before removing from the pan and cutting into squares. Top with glaze.
Glaze
- In a small bowl, mix powdered sugar, extracts, and enough milk to reach a consistency that can be drizzled but is not runny.¼ teaspoon almond extract, 1 cup powdered sugar, ½ teaspoon vanilla extract, 2 Tablespoons milk
Equipment
Notes
- Add ¾ teaspoon xanthan gum if your flour blend doesn't contain.
- You can make the dough in a food processor or cut in the butter by hand using two forks or a pastry blender. If you use a food processor, do not overblend.
- This recipe can be made dairy-free by using vegan butter and milk.
Nutrition
Recipe Questions
Yes, double the ingredients and bake in a 9x13-inch pan. You may need to add 5-10 minutes to the baking time.
Yes, just make sure it's thick. You can cook it down on the stovetop over a low simmer to thicken it up. Cool before using in your recipe.
Comments
No Comments