
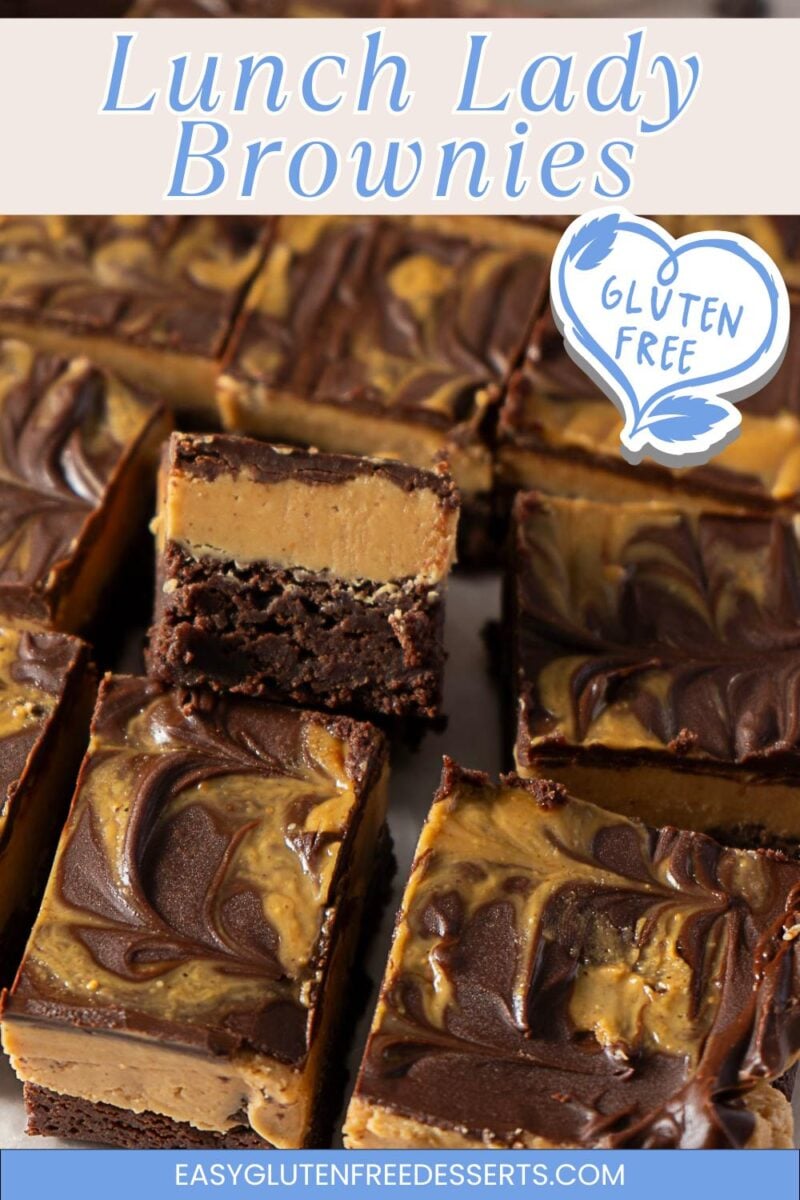
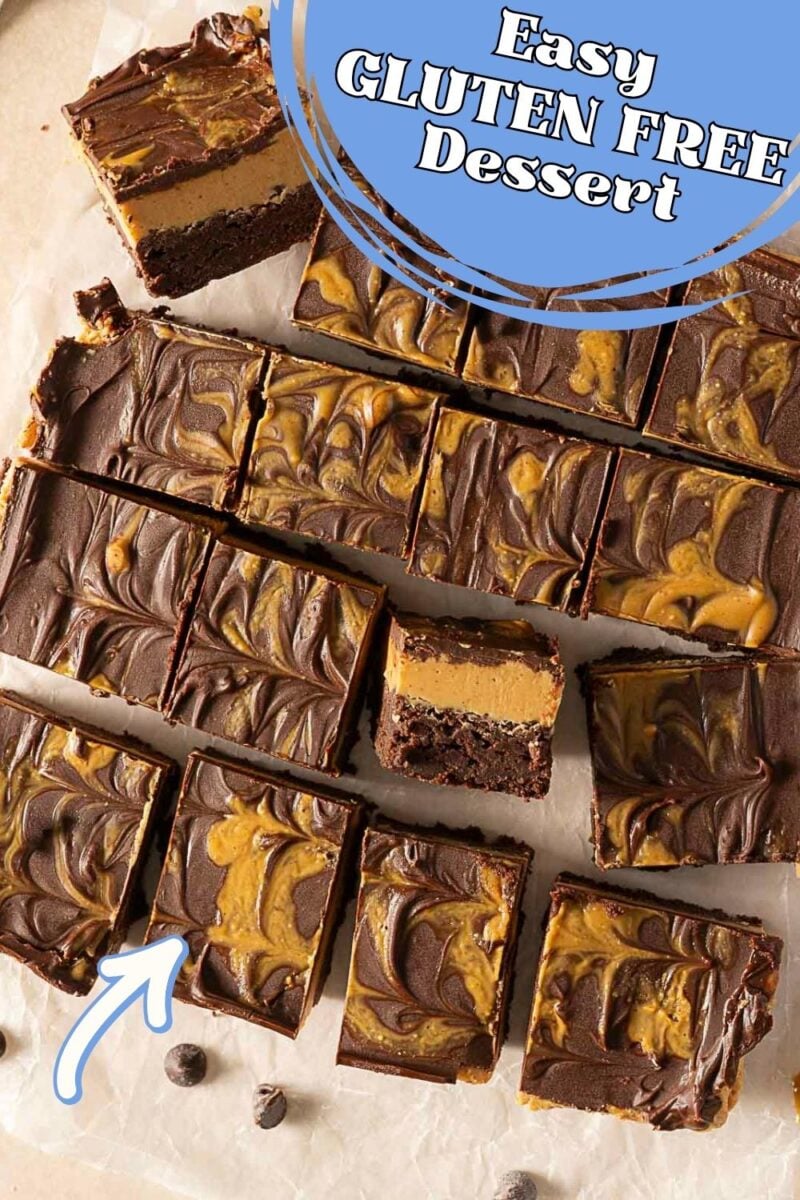

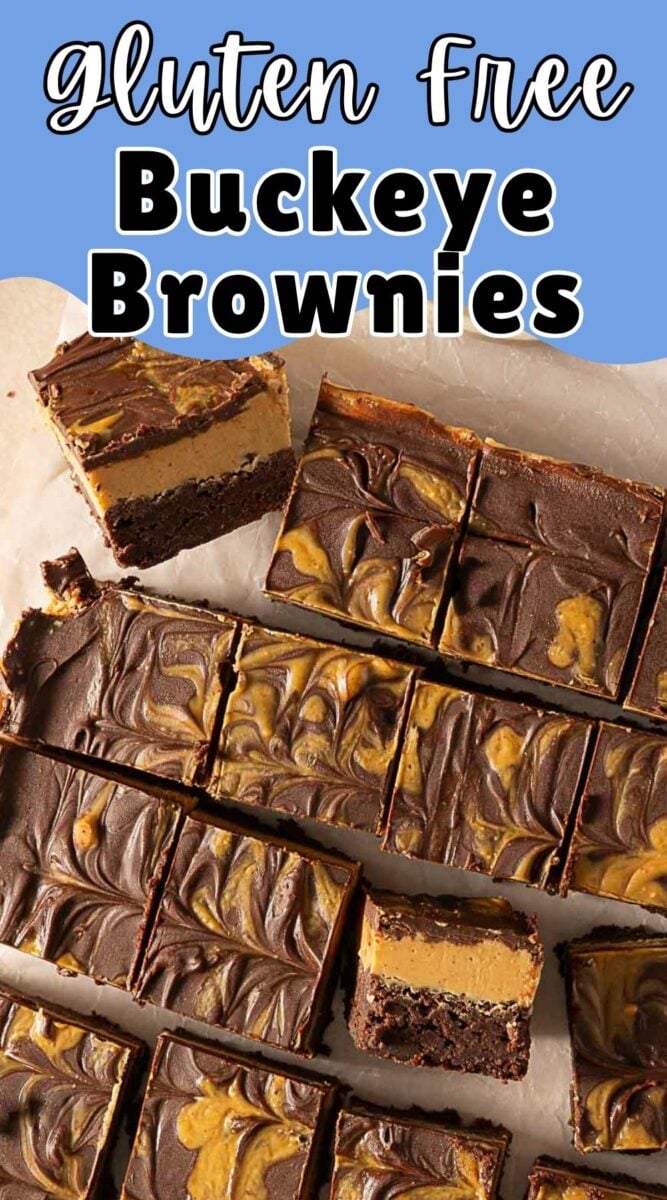
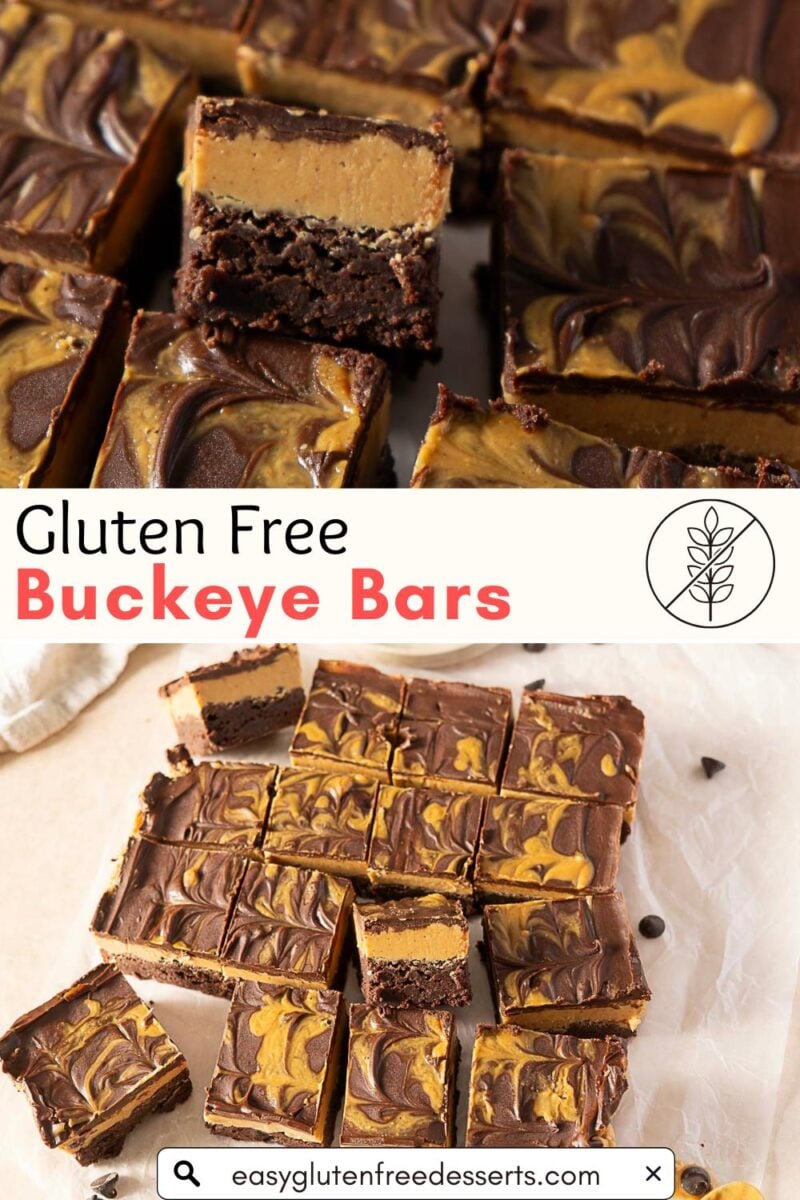
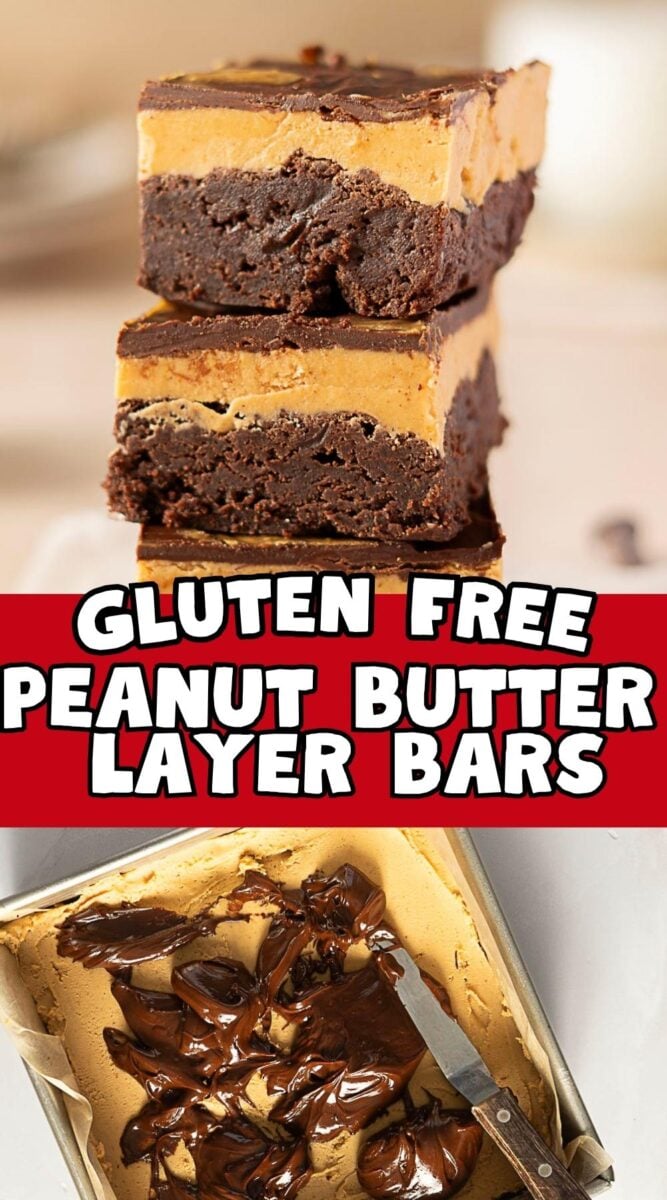
My gluten-free Buckeye brownies combine a classic fudgy brownie with the creamy peanut butter and chocolate layers of a lunch lady bar. It is the ultmiate gluten free Buckeye dessert. And I should know, I am from Ohio. and went to Ohio State. We treat our peanut butter and chocolate treats very seriously around here!
Save This Recipe!
Skill Level: Beginner but you need to plan ahead.
Flavor Remix: Swap out the peanut butter for almond or cashew butter.
Allergy Watch: Gluten Free, Dairy Free Option,
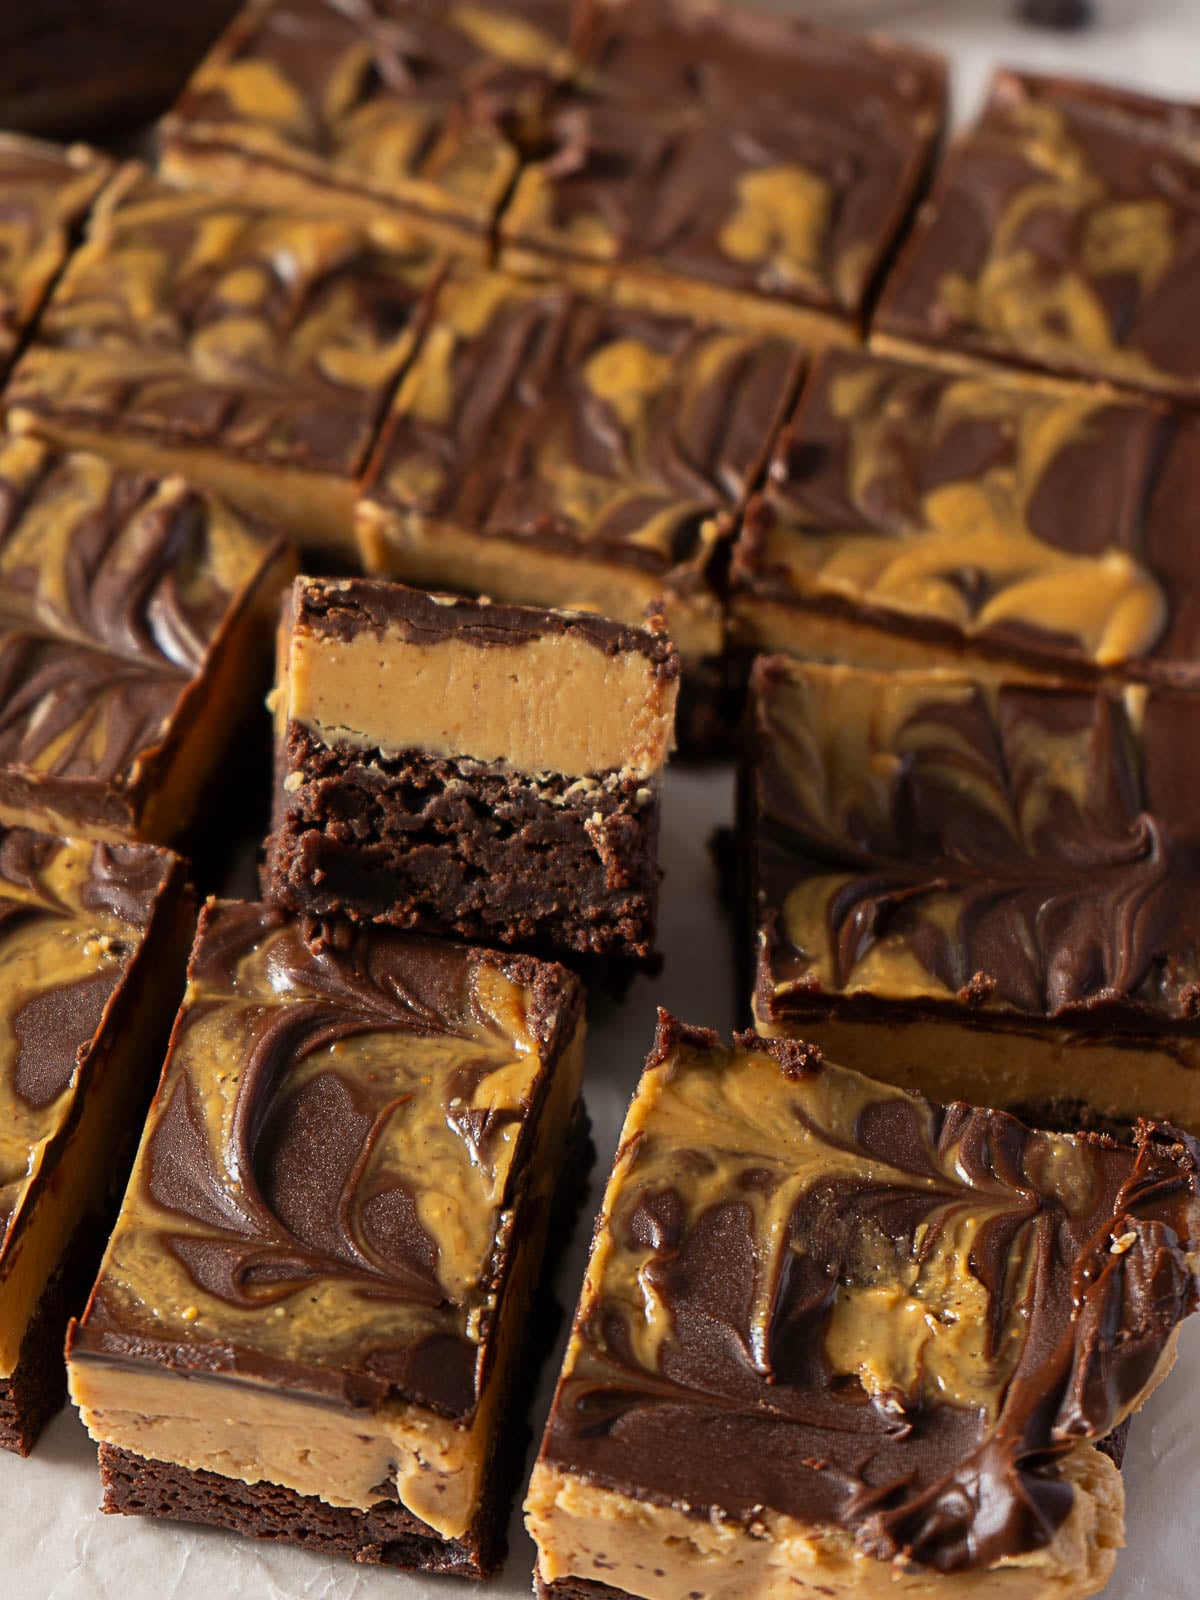
Yes, I have a gluten-free peanut butter brownie recipe. But it has a swirl of peanut butter, and I needed something more intensely peanut butter-flavored for the tailgating seasoning. OSU game days require buckeyes. The base is my classic homemade GF brownie recipe, just scaled down a bit. But then the peanut butter layer is the same center as a buckeye, full on peanut butter deliciousness. And of course, I topped it with another layer of chocolate.
One thing I learned after testing is not to overthink the brownie. I intentionally pull it from the oven while the center is still slightly underbaked because it's going to be topped with a thick peanut butter layer. The result is a brownie that stays moist instead of becoming dry. After everything is assembled, a good chill in the refrigerator creates those beautiful, bakery-worthy layers that make every slice look as good as it tastes.
Ingredient Notes
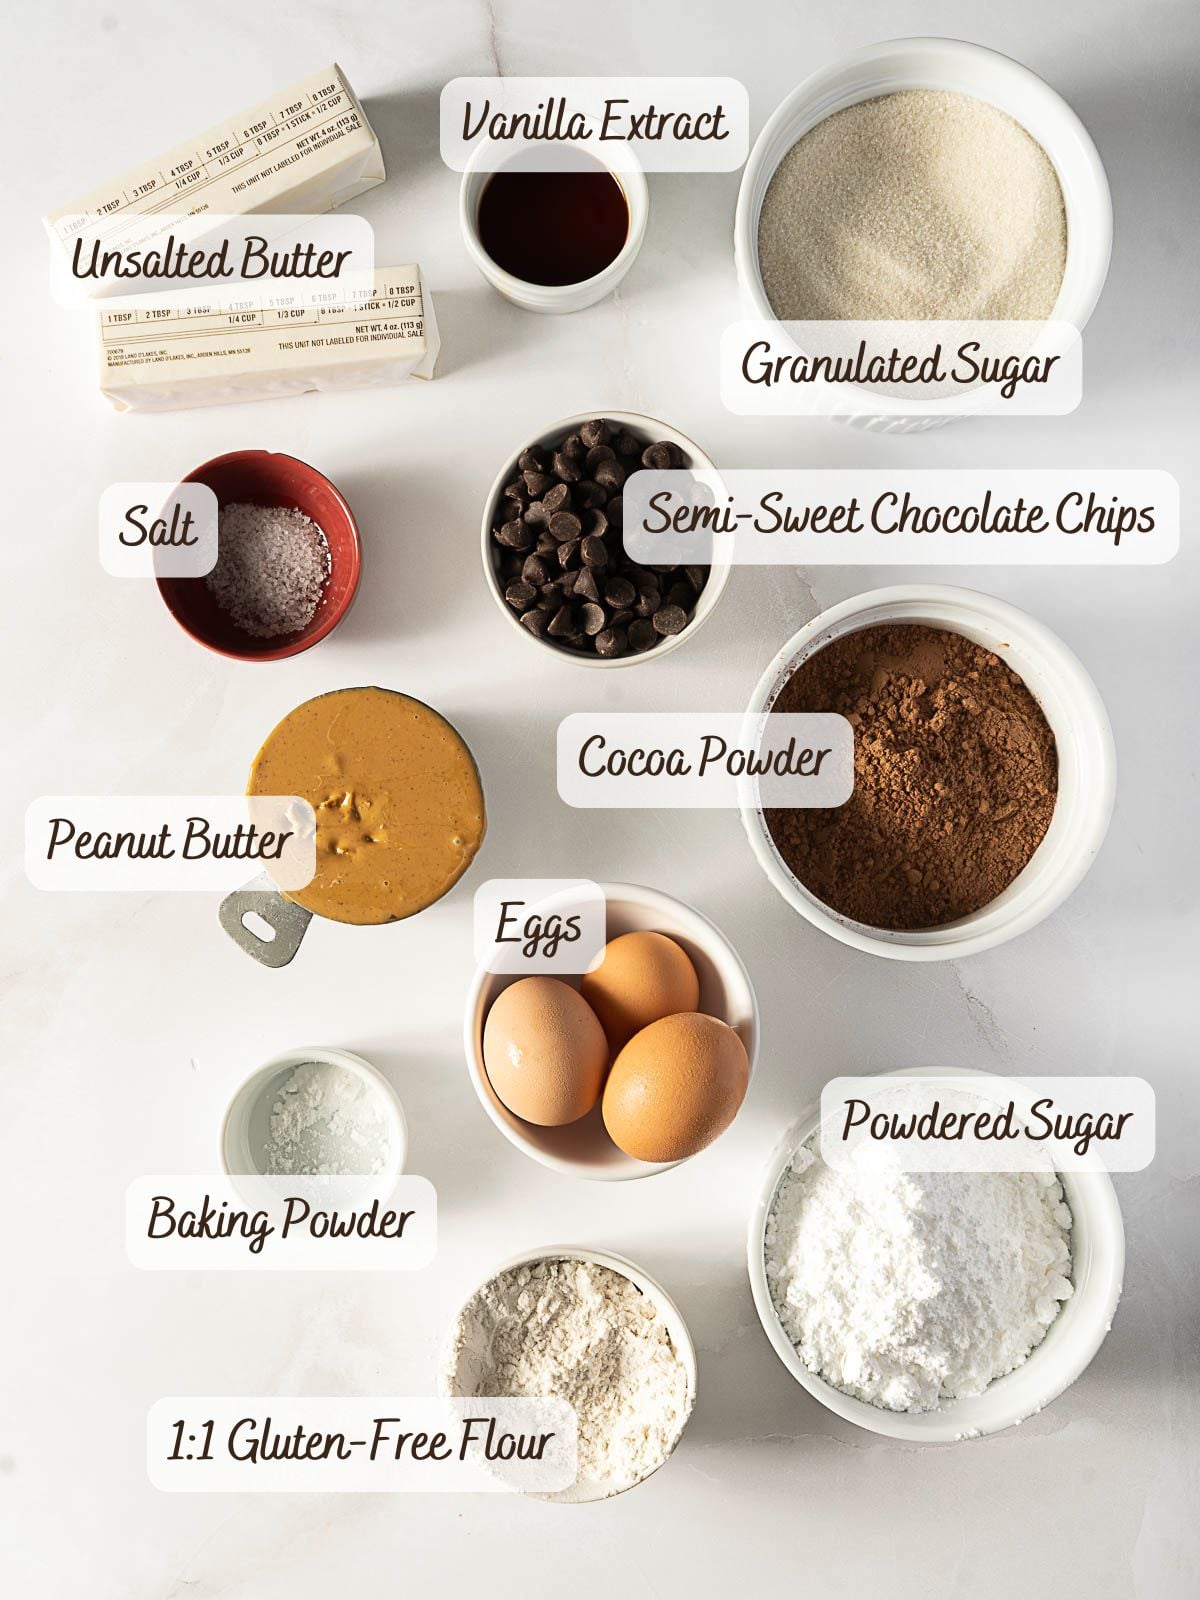
- Peanut Butter: Stick with a conventional creamy peanut butter like Jif or Skippy. Natural peanut butter can separate and create a softer filling.
- Butter: Use unsalted butter or reduce the salt added by ¼ teaspoon. For dairy-free, use vegan butter baking sticks like Earth Balance.
- Eggs: An extra yolk adds creaminess to the brownie.
- Gluten-Free Flour: Use any 1:1 gluten-free flour blend with xanthan gum, like Bob's Red Mill 1:1 Flour or King Arthur Measure for Measure.
- Vanilla Extract: Or use an equal amount of vanilla paste.
How to Make Gluten-Free Buckeye Brownies
A step-by-step visual guide for making gluten-free layered Peanut Butter brownies. You can skip to the recipe for the full written instructions.
Brownie Batter
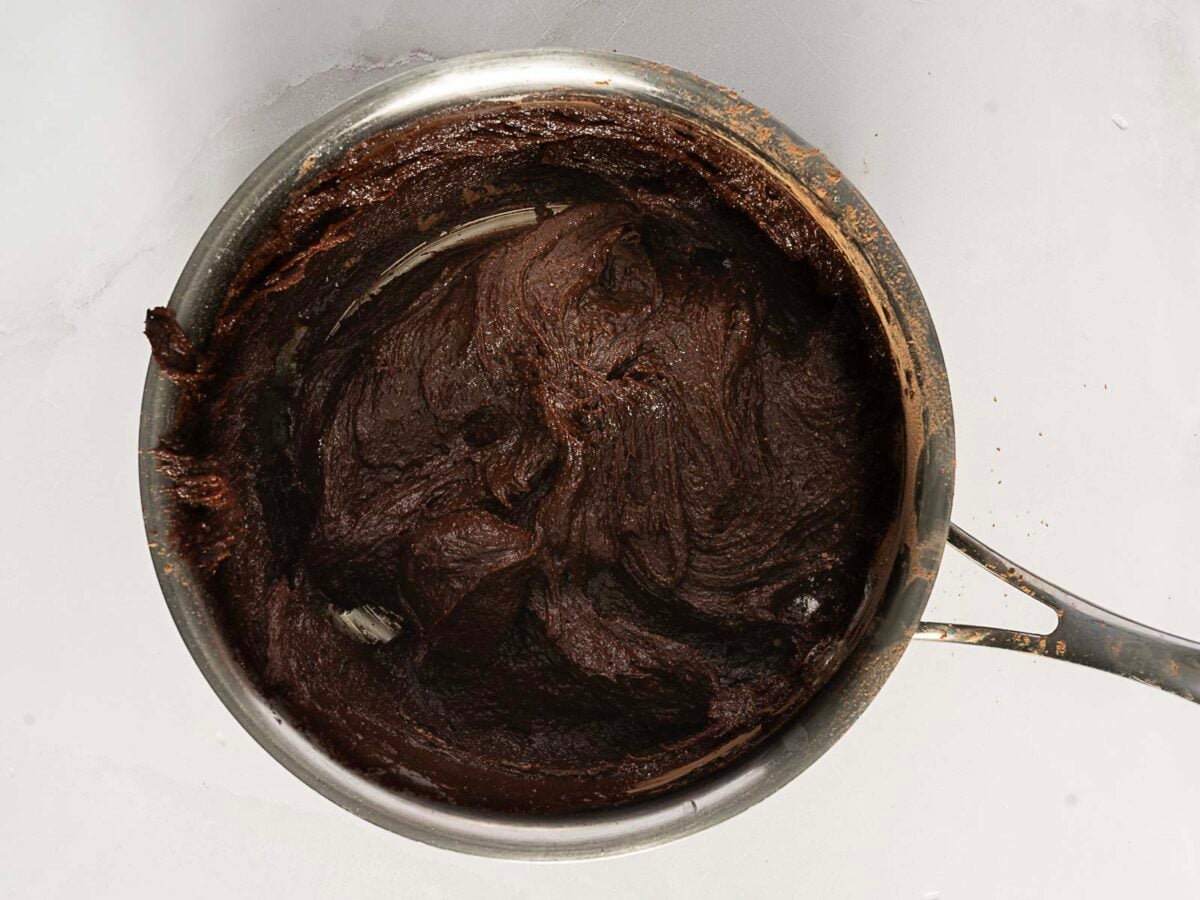
Melt the butter first, then stir in the sugar while it's still warm. Letting the mixture cool slightly before adding the eggs prevents them from scrambling.
Sift in the dry ingredients. Rest for 10 to 30 minutes to let the flour hydrate.

Bake
The edges should look set while the center still has a little movement. A toothpick should come out with moist batter rather than being completely clean. Cool completely. Warm brownies will melt the peanut butter layer and make assembly messy.
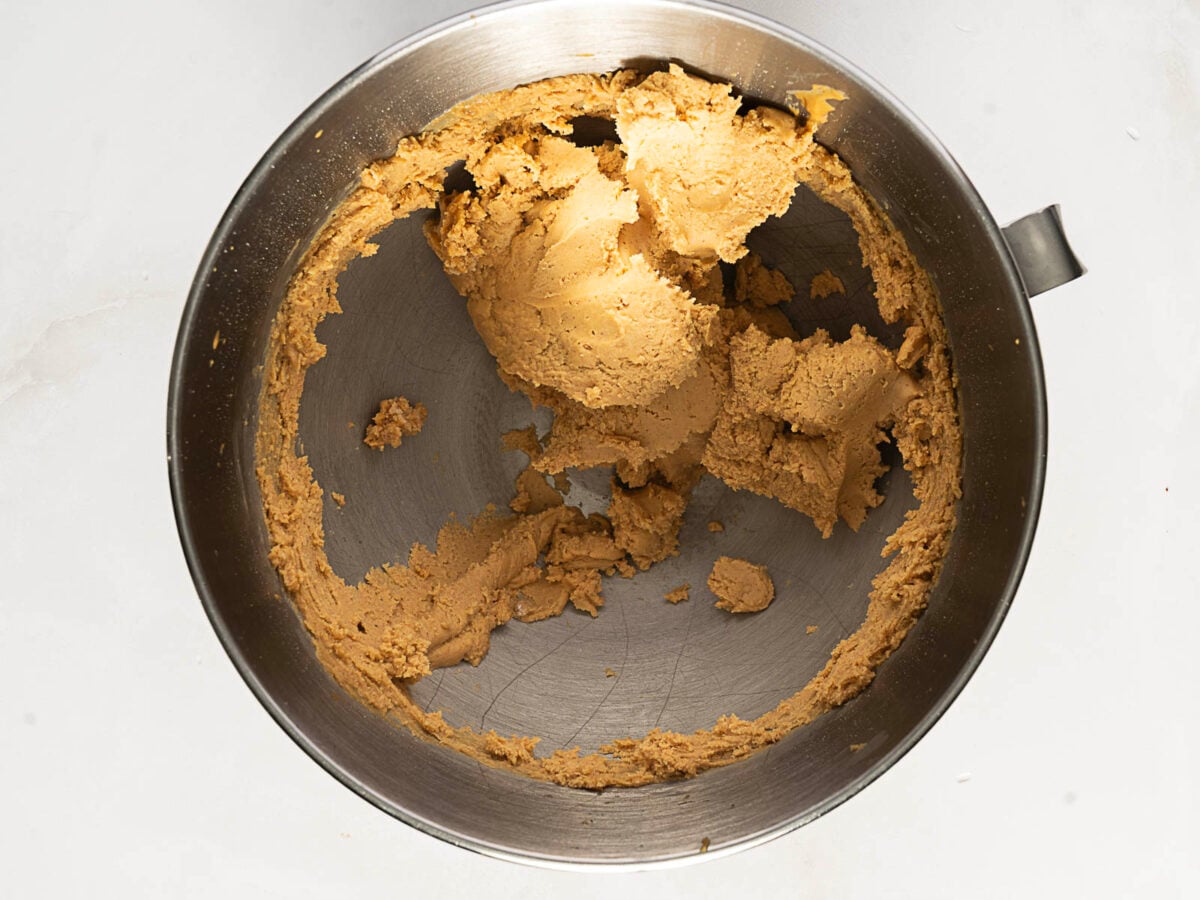
Peanut Butter Layer
The peanut butter mixture will look crumbly. It is easier to press on top with your hands or a glass than it is to spread with an offset spatula.
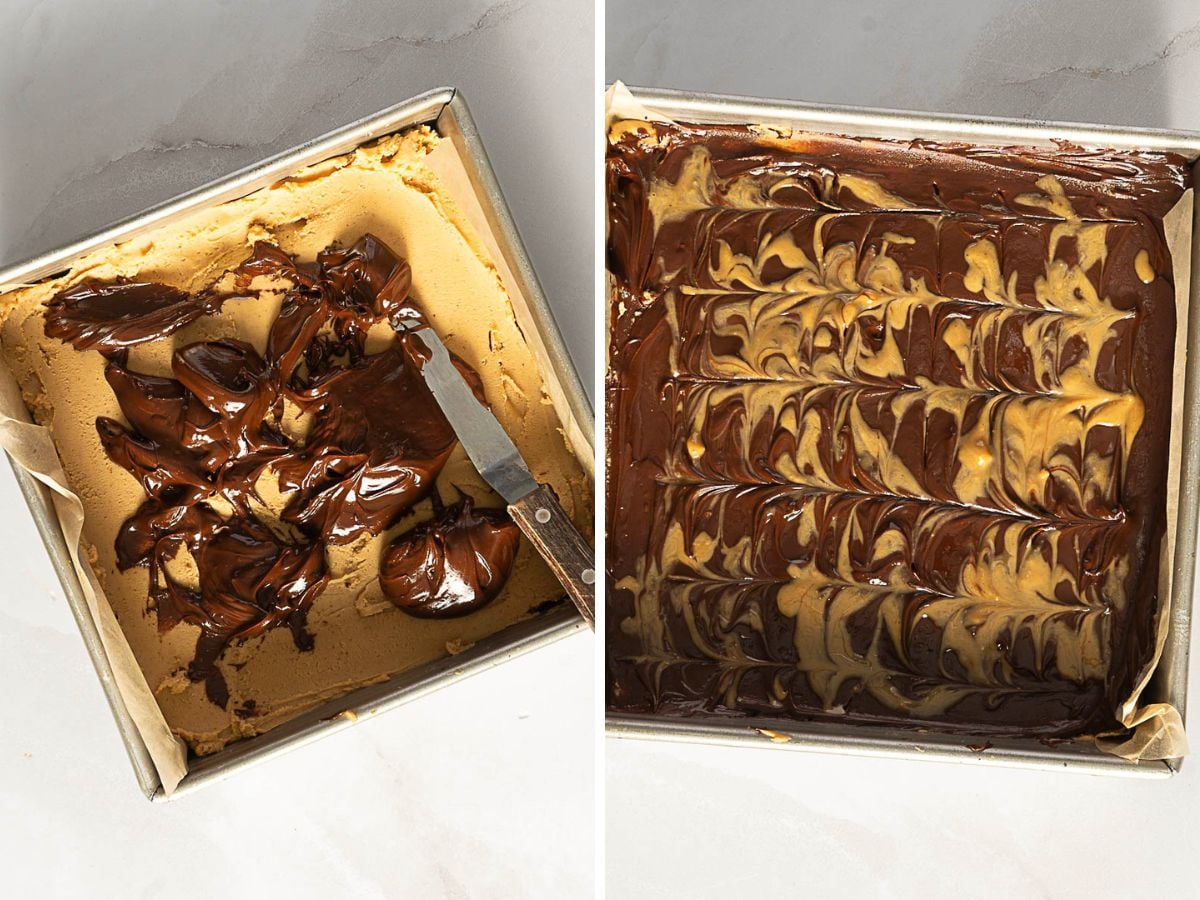
Chocolate Coating
Let the melted chocolate cool for a few minutes before pouring it over the peanut butter layer so it spreads smoothly without melting the filling.
To create the swirl effect (optional): drizzle a little warm peanut butter and swirl it into the chocolate with a top of a knife.
Jen's Recipe Notes
- Use parchment paper to line the pan or grease the bottom and sides well.
- Press the peanut butter mixture into an even layer instead of spreading aggressively. This keeps the brownie surface intact.
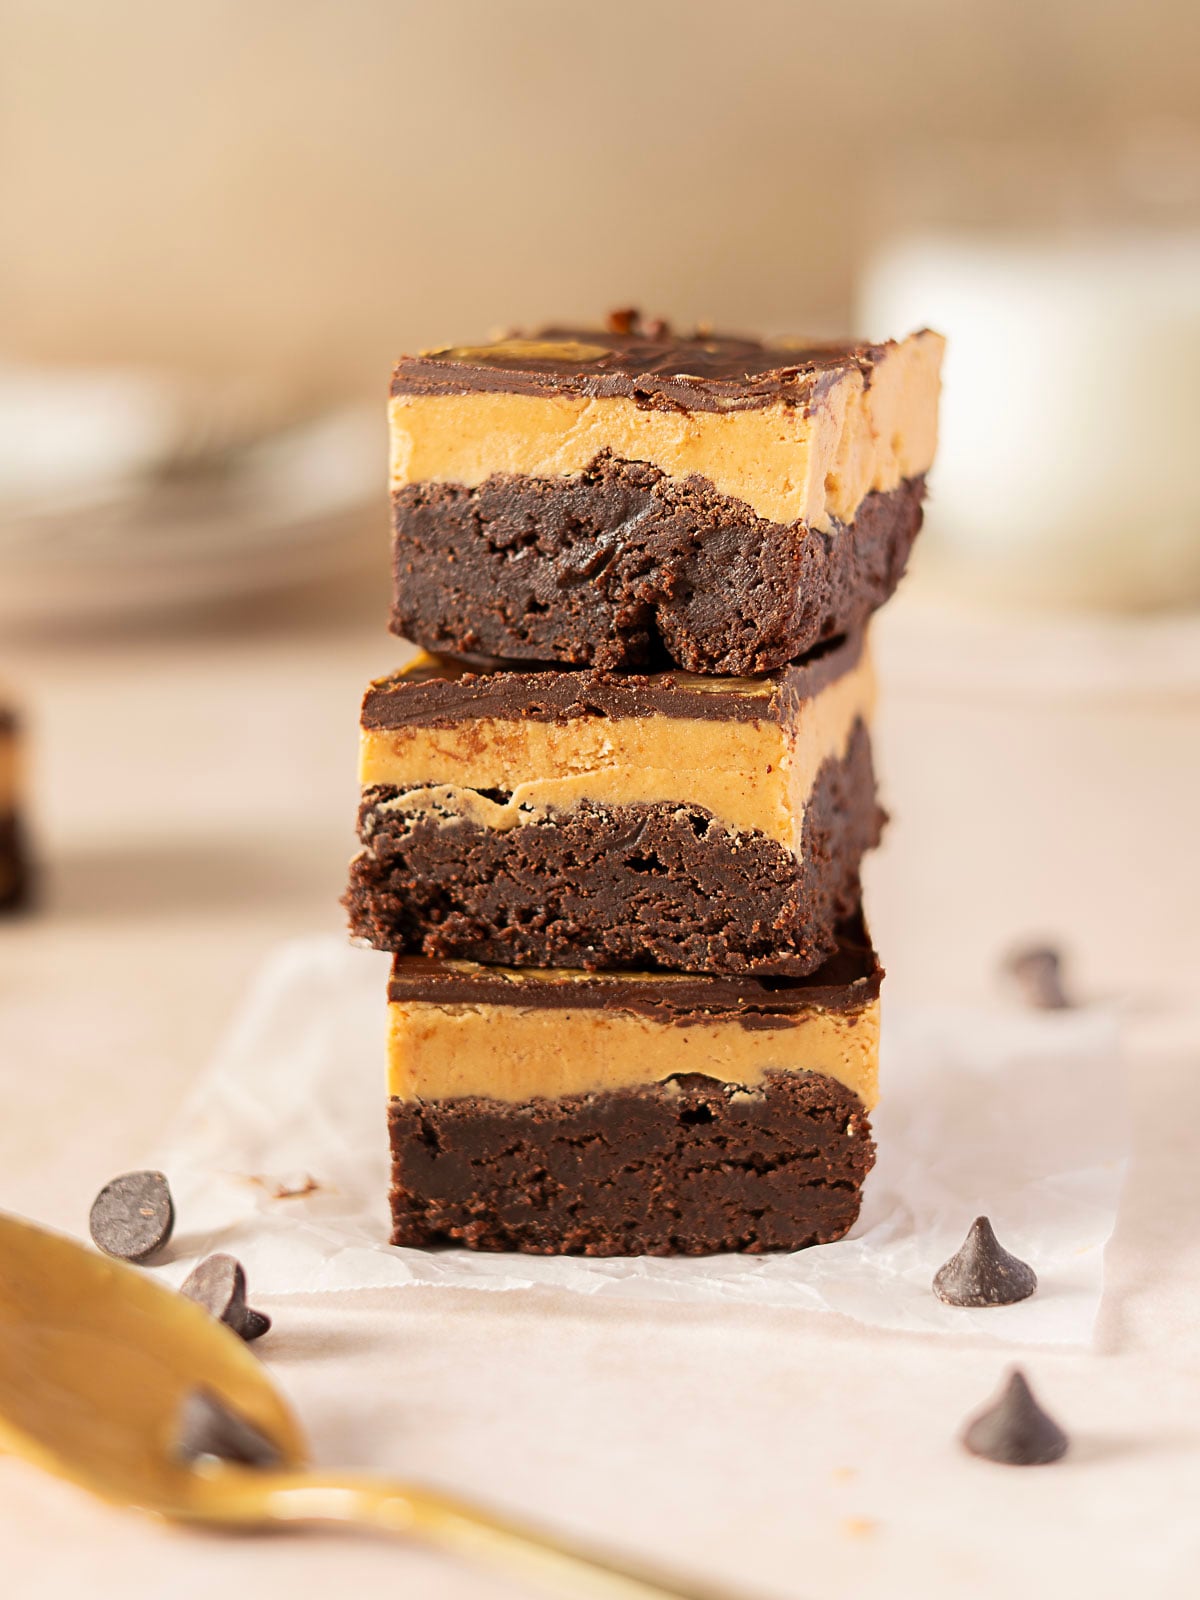
- Chill the finished brownies for at least one hour before slicing. If you have the time, two hours creates especially clean layers.
- Wipe your knife clean between cuts.
Make Ahead and Storing
Make Ahead: Bake the brownies one day ahead. Once cool, cover tightly and add the peanut butter and chocolate layers the next day.
Storing: Store covered in the refrigerator for up to 5 days. Let the brownies sit at room temperature for about 15 minutes before serving if you prefer a softer texture.
Freezing: Freeze individual brownies in an airtight container for up to 3 months. Thaw overnight in the refrigerator.
📖 Recipe
Gluten Free Buckeye Brownies
Save This Recipe!
Ingredients
- 10 Tablespoons (150 g) unsalted butter
- 1 ¼ cups (250 g) granulated sugar
- 1 teaspoon (5 ml) vanilla extract
- ½ teaspoon (2 g) kosher salt
- 2 eggs cold
- 1 egg yolk cold
- ¾ cup (75 g) unsweetened cocoa powder plus 1 tablespoon, spooned and leveled
- ½ cup (65 g) 1:1 gluten-free flour with xanthan gum
- ¼ teaspoon (1.2 g) baking powder
Peanut Butter Layer
- 5 Tablespoons unsalted butter room temp
- 1 cup creamy peanut butter
- 1 ½ cups powdered sugar
- ½ teaspoon vanilla extract
- ¼ teaspoon kosher salt
Chocolate Topping
- 3 Tablespoons unsalted butter
- ¾ cup semi-sweet chocolate chips
Instructions
- Preheat the oven to 350°F and line an 8x8-inch baking pan with parchment paper, leaving an overhang on two sides for easy removal.
- Melt the butter in a medium saucepan over medium-low heat. Once fully melted, remove it from the heat and immediately stir in the sugar. Let the mixture cool for 5-10 minutes, until it is warm but not hot to the touch.10 Tablespoons unsalted butter, 1 ¼ cups granulated sugar
- Whisk in the eggs, one at a time, whisking for at least 1 minute after each addition. Then stir in the salt and vanilla.1 teaspoon vanilla extract, ½ teaspoon kosher salt, 2 eggs, 1 egg yolk
- Sift in the cocoa powder, baking powder, and flour, then stir until a glossy chocolate batter forms. Pour the batter into the prepared pan.¾ cup unsweetened cocoa powder, ¼ teaspoon baking powder, ½ cup 1:1 gluten-free flour with xanthan gum
- Spread the batter evenly in the pan, making sure it reaches the corners, then smooth the top. Let the batter rest for 10 minutes.
- Bake for 30 minutes, or until the edges look dry and the center is still slightly underbaked. A toothpick inserted into the center should come out with a little moist batter.
- Cool the brownies completely before adding the peanut butter layer.
Peanut Butter Layer
- Beat the butter and peanut butter together until smooth. Mix in the powdered sugar, vanilla, and salt. The mixture will look crumbly. Press it evenly over the cooled brownies.5 Tablespoons unsalted butter, 1 cup creamy peanut butter, 1 ½ cups powdered sugar, ½ teaspoon vanilla extract, ¼ teaspoon kosher salt
Chocolate Topping
- Add the butter and chocolate to a microwave-safe bowl. Microwave for 30 seconds, then stir. Continue microwaving in 15-second intervals, stirring after each interval, until the mixture is smooth and fully melted. Let it cool for 5 minutes.3 Tablespoons unsalted butter
- Pour the chocolate mixture over the peanut butter layer and spread it evenly. Chill for 30-60 minutes before slicing.
Equipment
- medium saucepan
Notes
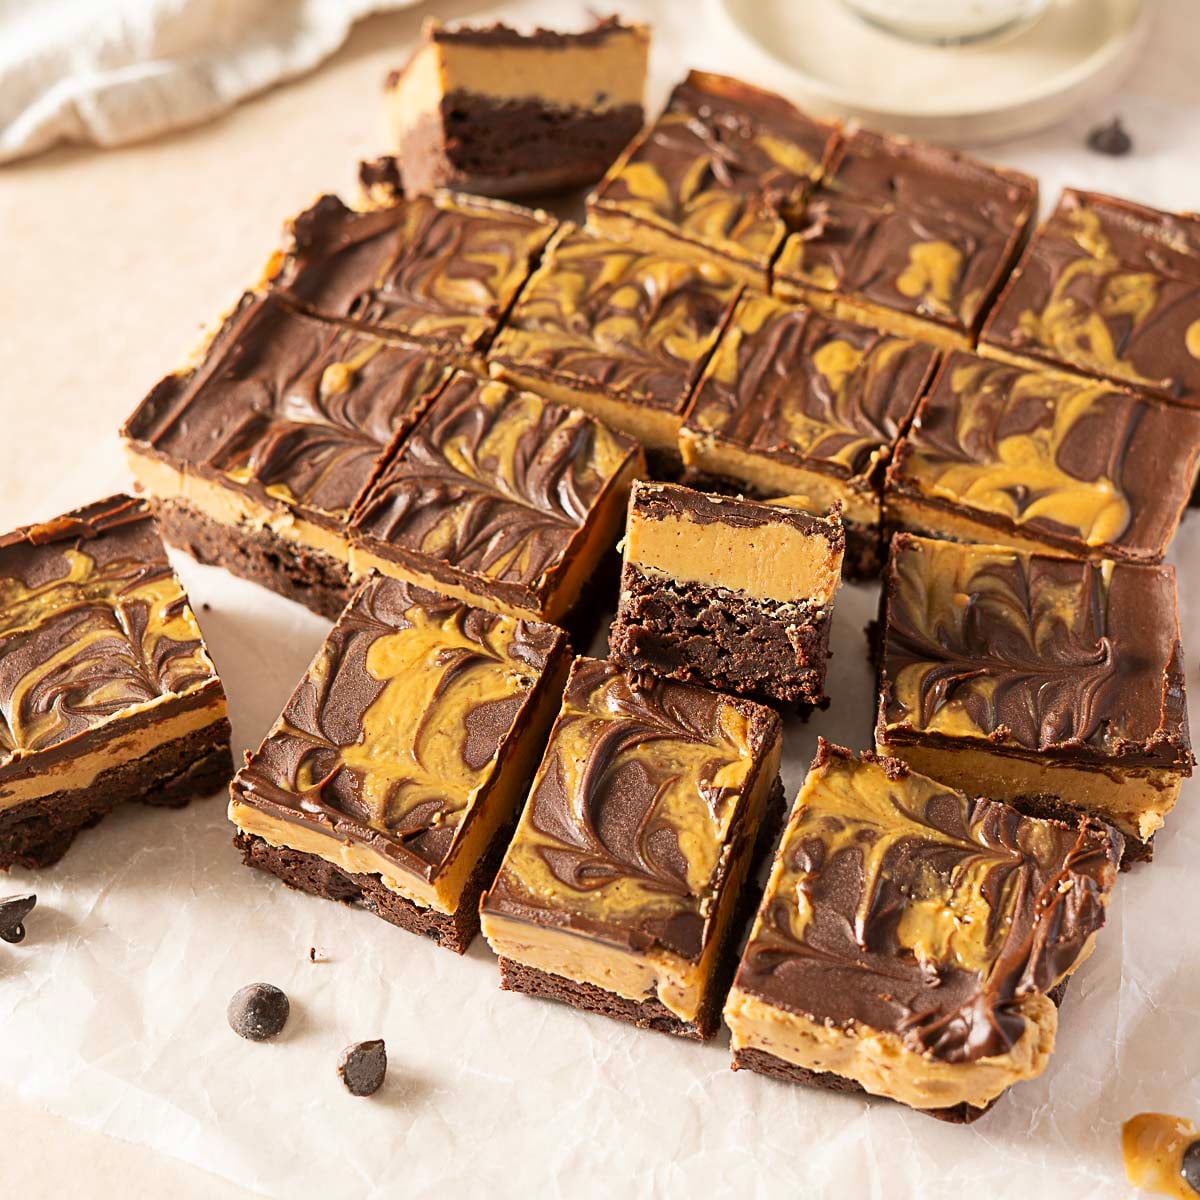
- For the perfect edges, chill in the refrigerator for 1-2 hours before slicing into either 12 or 16 squares.
- Use dairy-free butter like Earth Balance to make these brownies dairy-free.


Comments
No Comments