
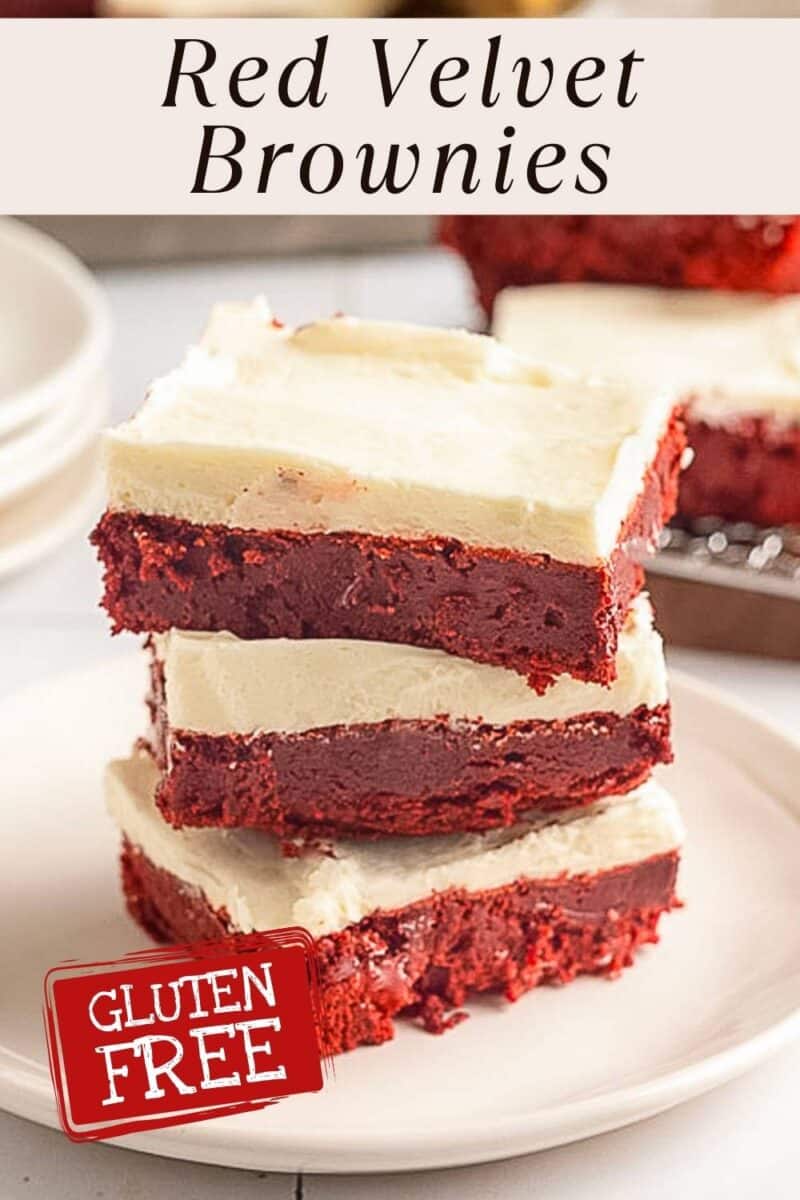
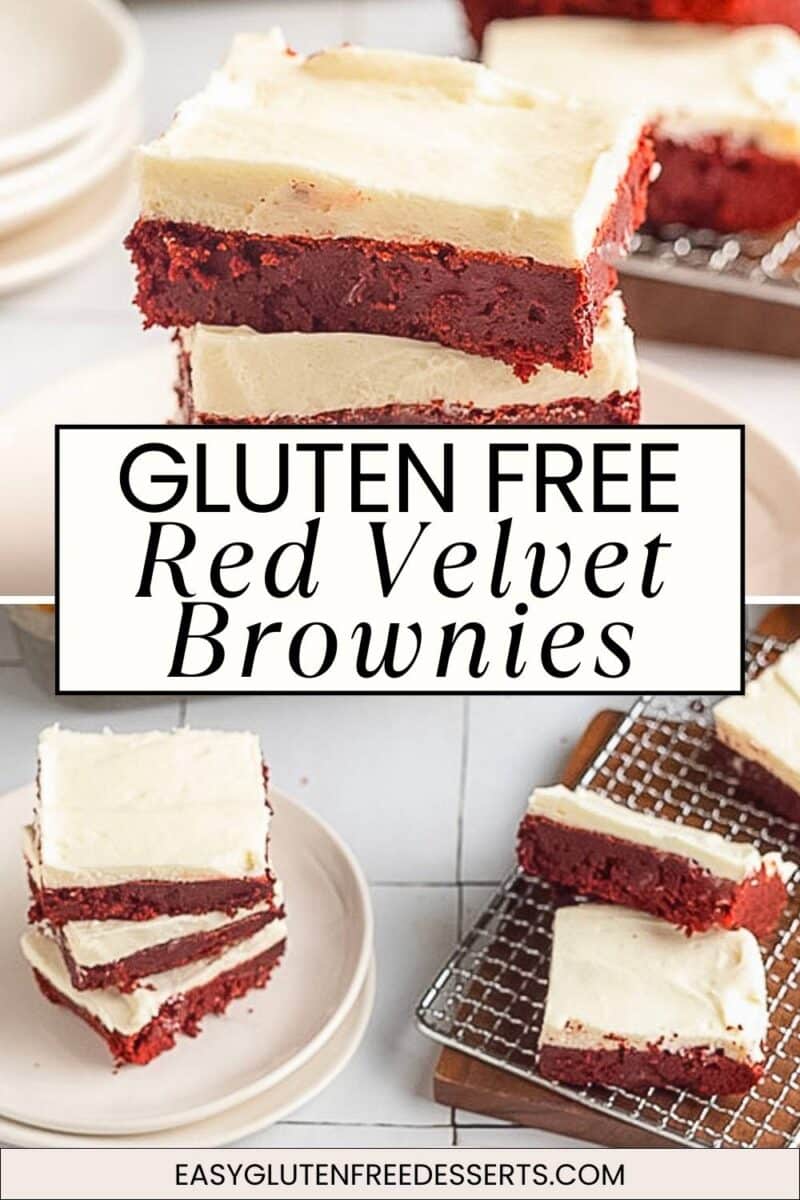
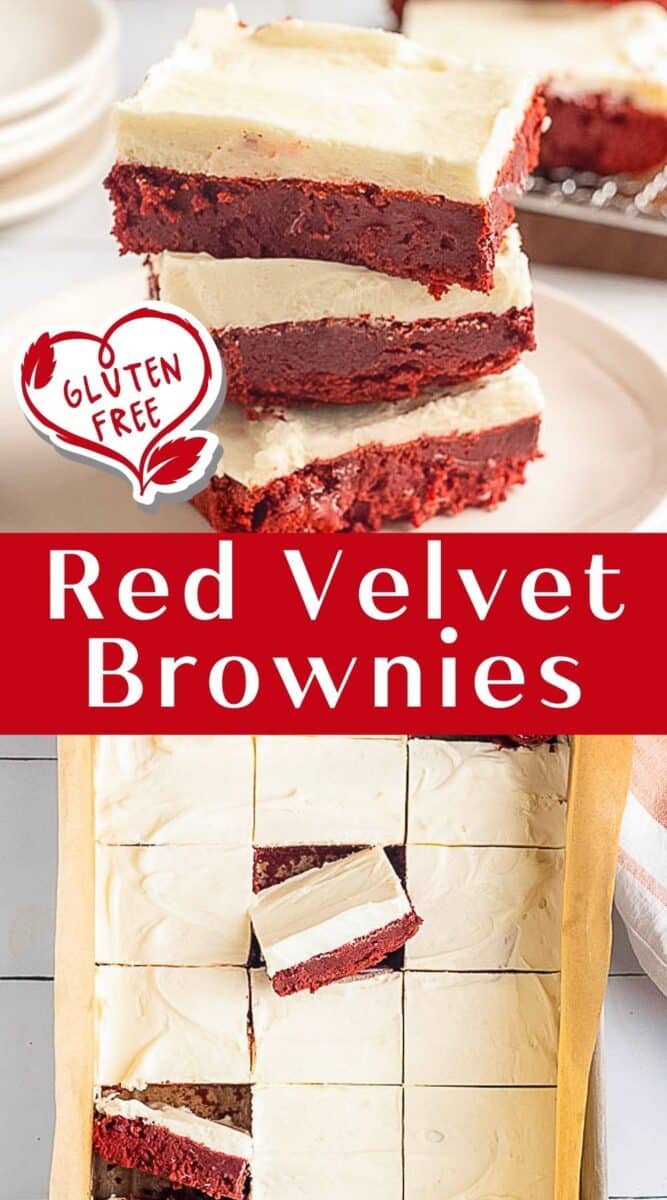

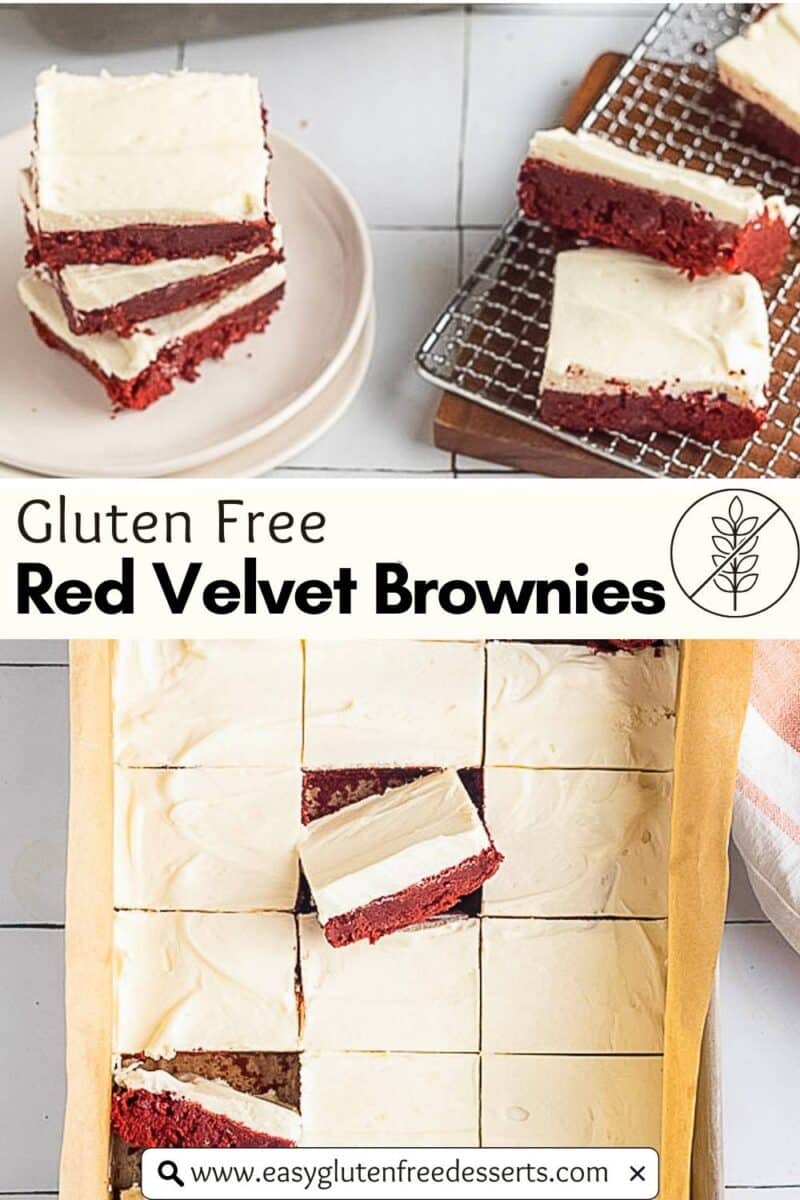
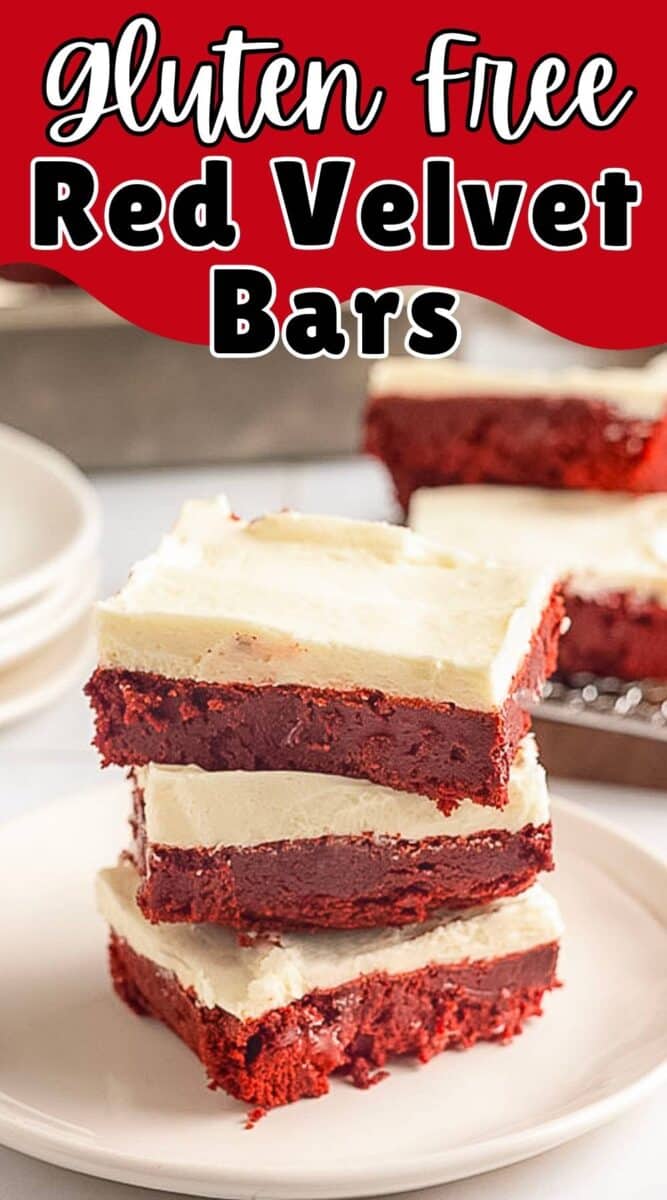
If you love the bold color and tangy-sweet flavor of red velvet cake but don't want the fuss of making a layer cake, these brownies are your answer. And they are topped with a silky cream cheese frosting.
Save This Recipe!
Skill Level: Beginner
Shortcut Central: Use store-bought cream cheese frosting if you're pressed for time.
Flavor Remix: Swap the traditional cream cheese frosting with whipped cream cheese frosting (no butter!).
Allergy Watch: Nut-Free
Red velvet cake relies on buttermilk for tang, but since this is a brownie recipe, I skipped it to keep the rich, chewy texture intact. But I still used vinegar to keep the tangy flavor. This recipe is a great alternative to making red velvet cake without buttermilk!
I use two types of chocolate in this recipe. Melted chocolate chips for that glossy, brownie-like body and cocoa powder for a classic red velvet backbone. Your result will be a pan of brownies that tastes both familiar and new.
Ingredient Notes
- Gluten-Free Flour: Use any 1:1 gluten free flour blend with xanthan gum, like Bob's Red Mill 1:1 Flour or King Arthur Measure for Measure.
- Butter: Use unsalted butter or reduce the salt added by ¼ teaspoon.
- Chocolate Chips: Dark or semisweet both work. Pass on the milk chocolate, which is too sweet.
- Sugar: This recipe uses a combo of white sugar and brown sugar.
- Eggs: Use room temp eggs.
- White Vinegar: Don't skip-it reacts with the cocoa powder to give that classic flavor.
- Vanilla Extract: Or use vanilla paste.
- Red Food Coloring: Totally optional; it won't change the flavor, but it gives that vibrant red hue.
- Cream Cheese: Use full-fat block cream cheese for frosting, not the spreadable tub version. It needs to be room temp so it whips up smoothly.
How to Make Gluten-Free Red Velvet Brownies
A step-by-step visual guide for making gluten-free red velvet bars. You can skip to the recipe for the full written instructions.
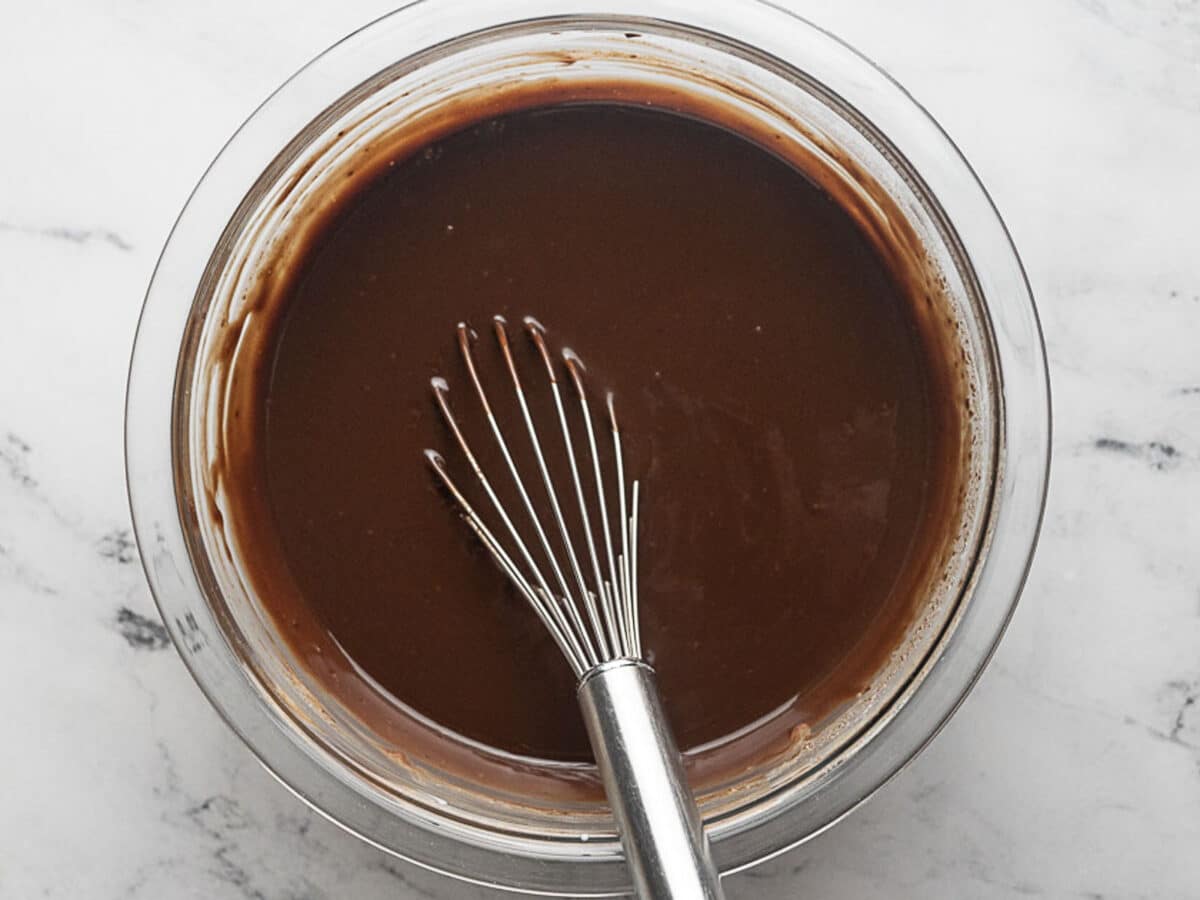
Melt the Chocolate
You can melt the butter and chocolate in the microwave or on the stovetop. Just warm enough to melt the chocolate.
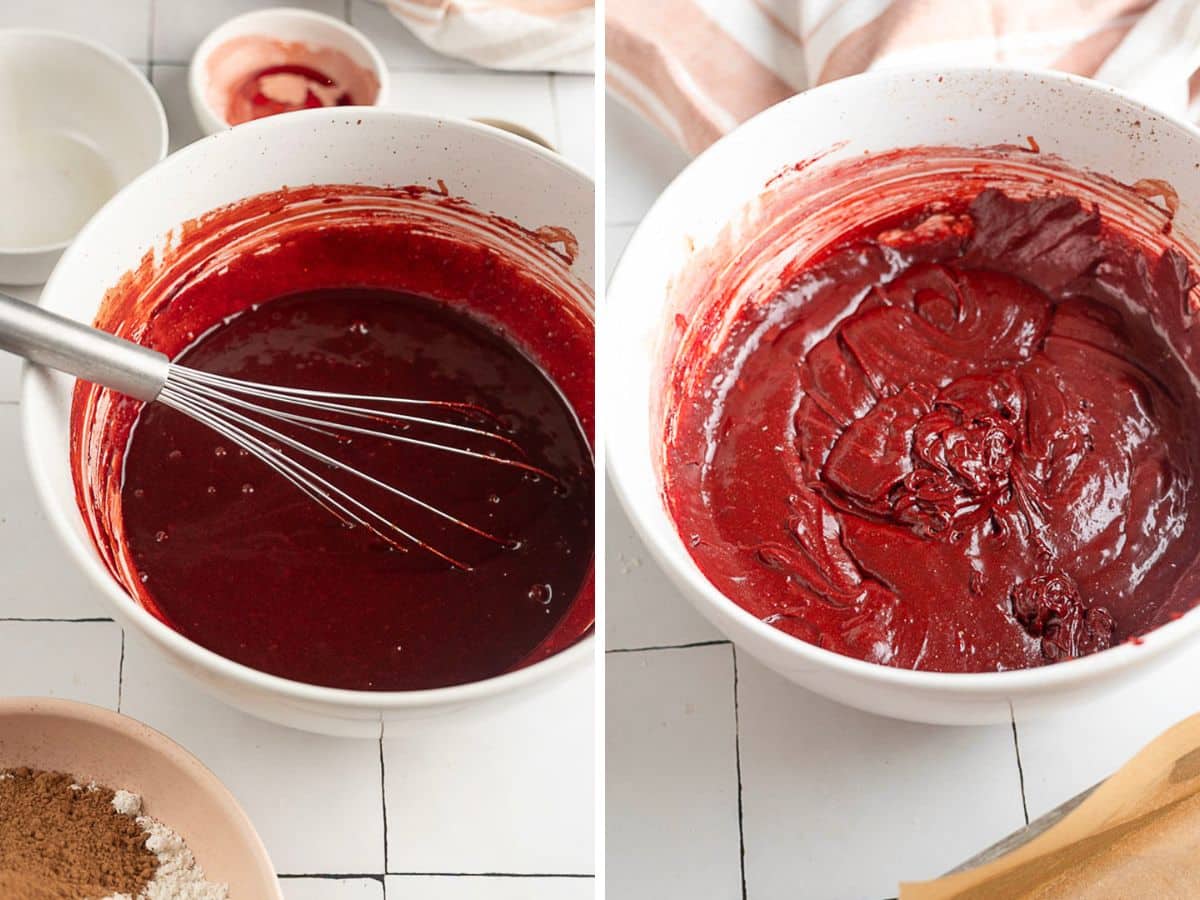
Mix the Batter
Mix in the sugar, vinegar, and eggs. Once fully combined, sift in the dry ingredients

Bake
Resting the batter before baking allows the flour to absorb moisture. Then bake until the center is just done. After 10 minutes of cooling, transfer the pan to the fridge to stop the baking process and guarantee a fudgy bite.

Make the Frosting
For the frosting, whip softened cream cheese and butter until fluffy before adding powdered sugar. The pinch of salt balances the sweetness.

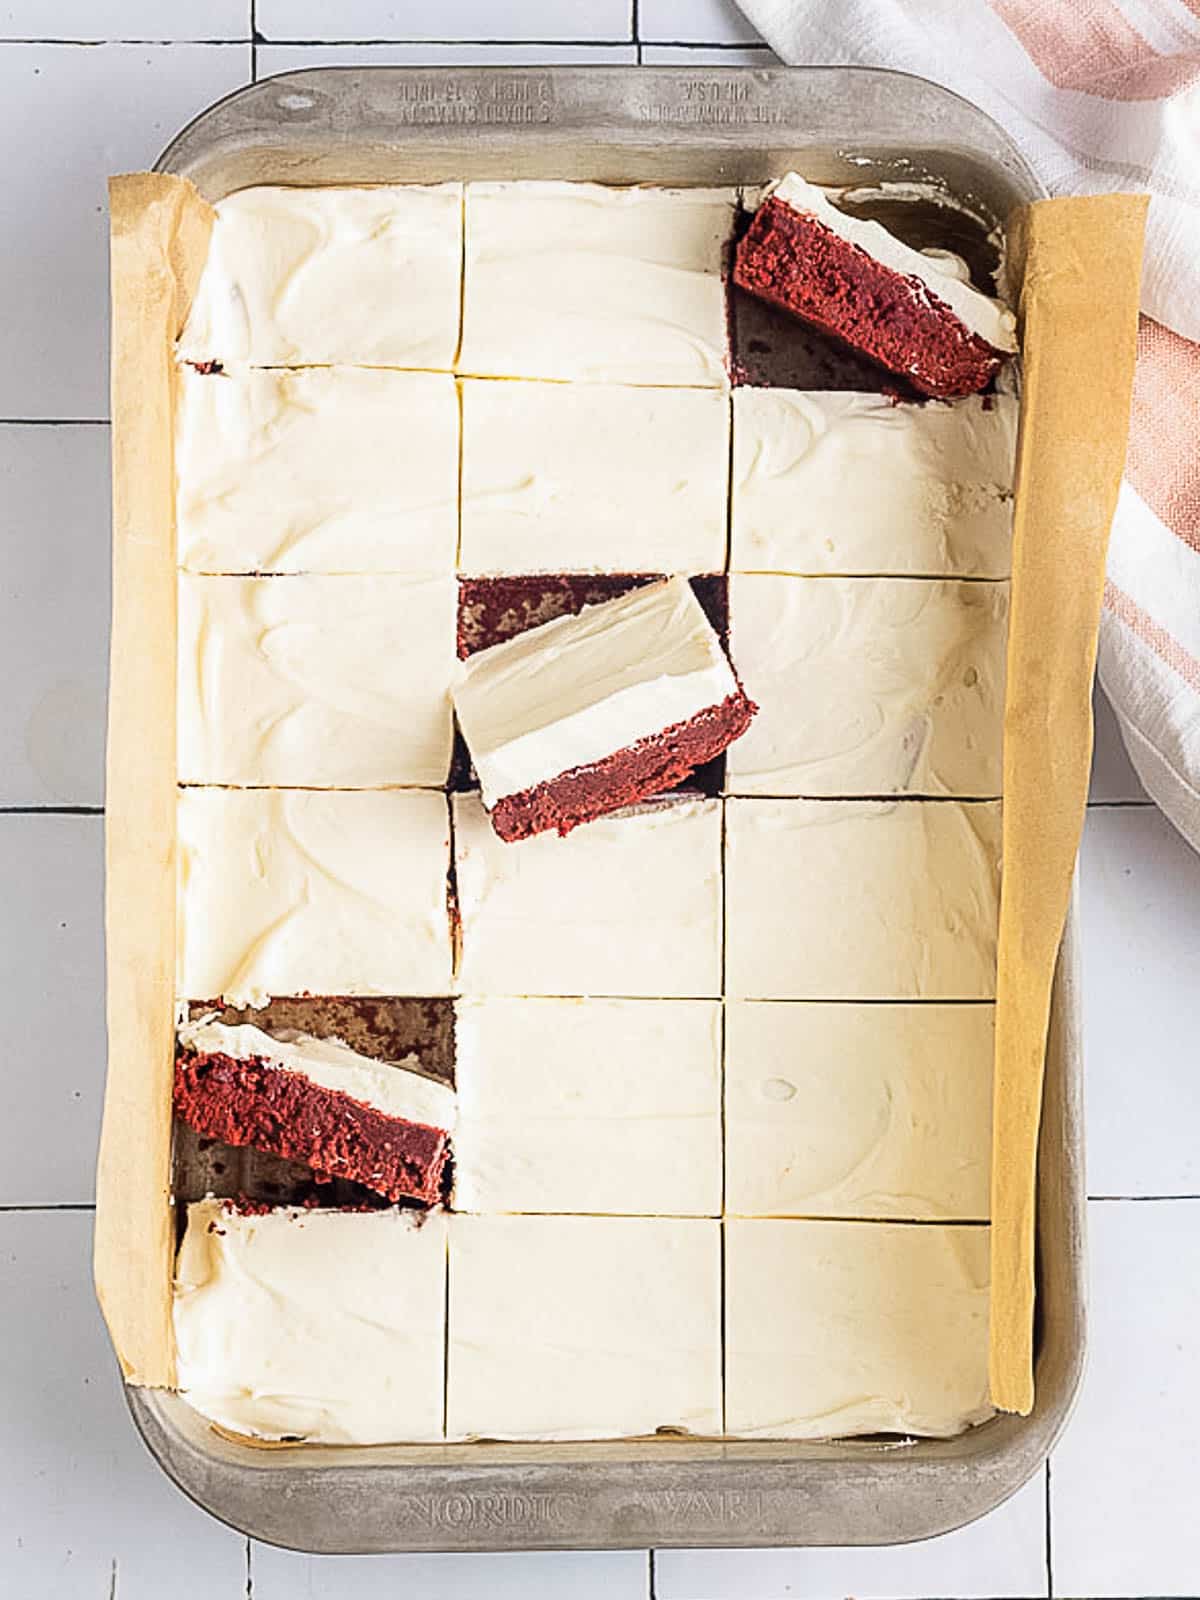
Cool and Frost
Once the brownies are fully cooled, you can frost the brownies.
Jen's Recipe Notes
- Don't skip the vinegar. It may sound odd, but it's essential for red velvet flavor.
- Mix quickly. The chocolate mixture sets fast, so combine the ingredients right after melting.
- The key to fudgy brownies is to underbake slightly, around 190 F degrees (use an instant-read thermometer).
- Cool in the fridge. Rapid cooling stops overbaking and makes slicing cleaner.
- Frost cold brownies. Frosting while warm will cause the cream cheese topping to slide right off.
More Gluten Free Brownie Recipes


Make Ahead and Storing
Make Ahead: Bake the brownies a day ahead, keep covered, and frost before serving.
Storing: Store frosted brownies in the fridge, tightly covered, for up to 5 days.
Freezing: Freeze unfrosted brownies for up to 2 months. Wrap tightly in plastic, then foil.
📖 Recipe

Gluten Free Red Velvet Brownies
Save This Recipe!
Ingredients
- ¾ cup chocolate chips
- ¾ cup unsalted butter
- 1 cup granulated sugar
- ⅔ cup light brown sugar
- 3 eggs room temperature
- 1 Tablespoon white vinegar
- 1 Tablespoon vanilla extract
- 1 Tablespoon red food coloring
- 2 cups 1:1 gluten-free flour with xanthan gum
- ¼ cup cocoa powder
- ½ teaspoon kosher salt
Cream Cheese Frosting
- 8 ounces cream cheese room temperature, 1 block
- ½ cup unsalted butter room temperature
- 4 cups powdered sugar
- 1 Tablespoon vanilla extract
- ½ teaspoon kosher salt
Instructions
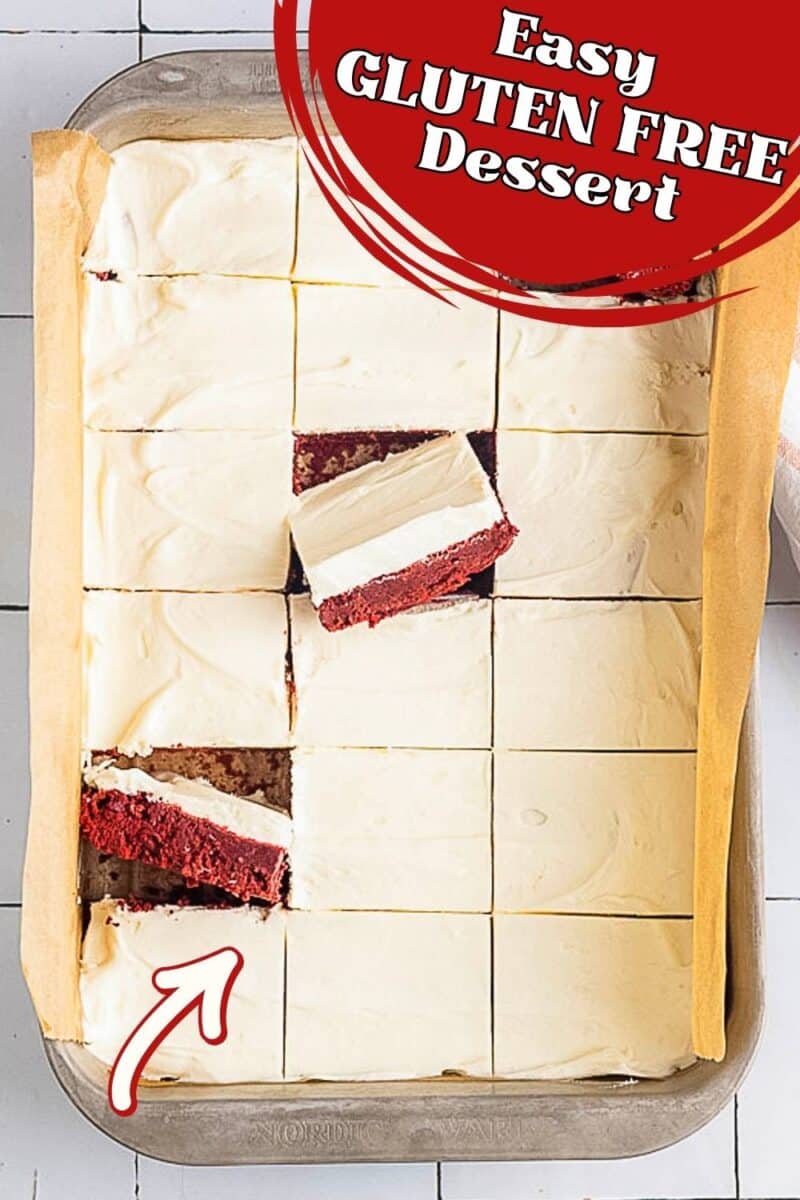
- Preheat the oven to 350°F. Grease a 9x9-inch metal baking pan and line it with parchment paper, leaving an overhang to easily lift out the brownies once baked.
- Place the chocolate chips and butter in a medium microwave-safe bowl. Microwave on medium power for 1 minute, then stir to combine. Continue microwaving in 30-second intervals, stirring after each, until melted and smooth.¾ cup chocolate chips, ¾ cup unsalted butter
- Transfer the chocolate mixture to a large bowl and whisk in the granulated sugar and brown sugar until combined. Add the eggs and whisk until well incorporated. Stir in the vinegar, vanilla extract, and red food coloring until combined. Add the flour, cocoa powder, and salt, and mix until smooth.1 cup granulated sugar, ⅔ cup light brown sugar, 3 eggs, 1 Tablespoon white vinegar, 1 Tablespoon vanilla extract, 1 Tablespoon red food coloring, 2 cups 1:1 gluten-free flour with xanthan gum, ¼ cup cocoa powder, ½ teaspoon kosher salt
- Pour the batter into the prepared pan and bake for 25-30 minutes, or until a toothpick inserted in the center comes out with just a few moist crumbs. Remove the brownies from the oven and let cool for 10 minutes before transferring to the refrigerator to finish cooling.
Cream Cheese Frosting
- In a large mixing bowl, beat the cream cheese and butter on medium speed until smooth and well combined, scraping down the sides of the bowl as needed.8 ounces cream cheese, ½ cup unsalted butter
- Add the remaining ingredients and mix on low speed until combined. Scrape down the sides of the bowl, then increase the speed to medium-high and beat until the frosting is light and fluffy.4 cups powdered sugar, 1 Tablespoon vanilla extract, ½ teaspoon kosher salt
- Once the brownies have cooled, spread the cream cheese frosting evenly over the top. Refrigerate until the frosting is firm.
Equipment
- 9x9 inch metal baking pan
- microwave-safe bowl
- Large mixing bowl
- electric mixer or stand mixer
Notes
- Mix quickly. The melted butter and melted chocolate will firm up, making it hard to mix in the other ingredients.
- Placing the brownies in the refrigerator will allow them to cool more quickly and stop the baking process. The result is a fudgier brownie.
- The red food coloring is optional and doesn't impact the flavor.
Nutrition
Recipe Questions
Generally, this happens because you didn't wait for them to cool before cutting into them. But it could also be too much flour. While this recipe is forgiving, be sure to fluff the flour with a spoon before spooning it into your measuring cup or go ahead and weigh it first.

Beth says
So much easier than making a cake and they were just as a delicious!