

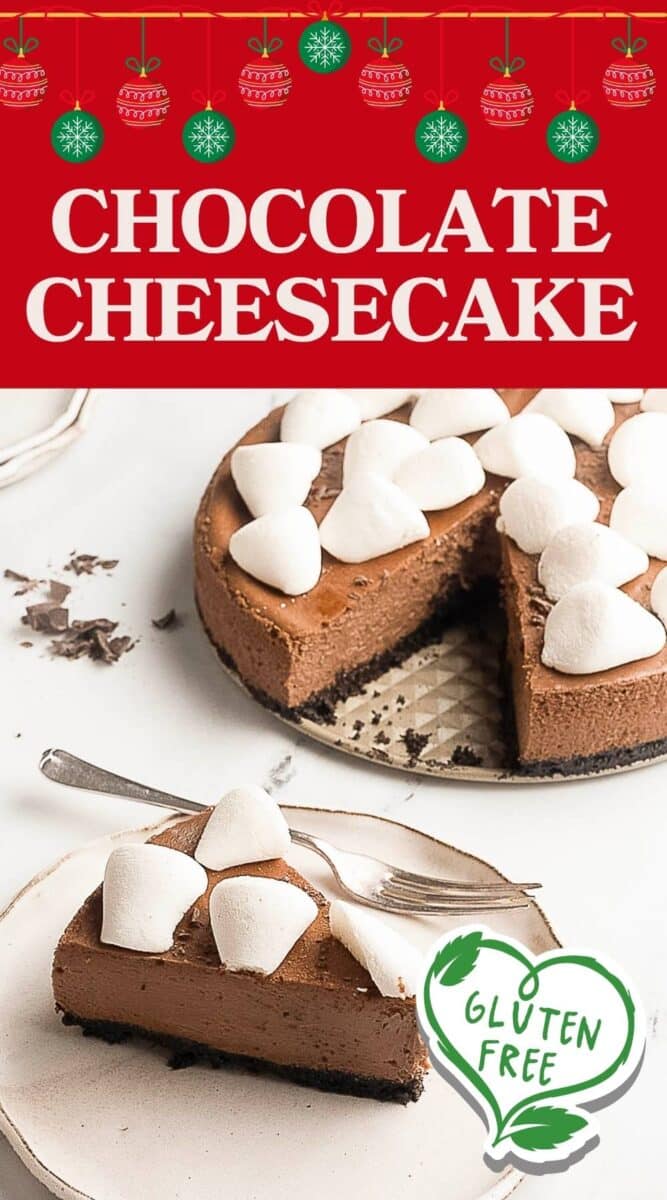

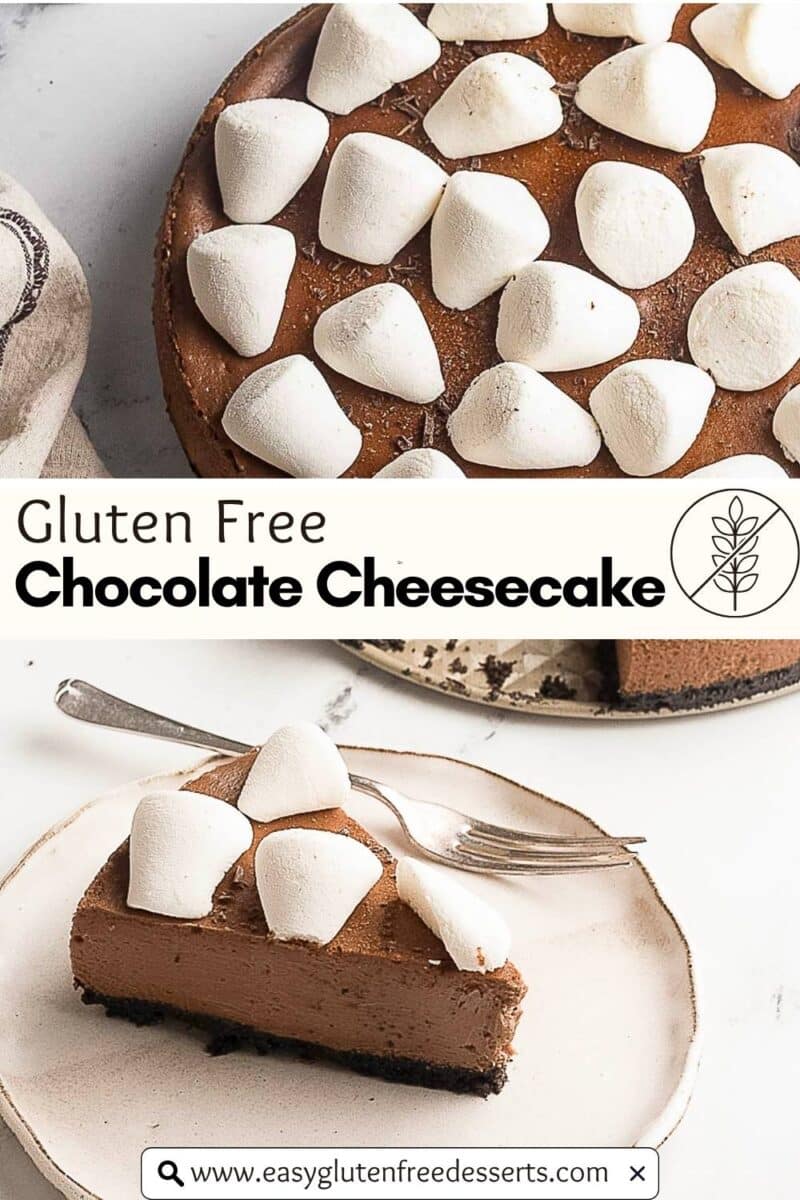
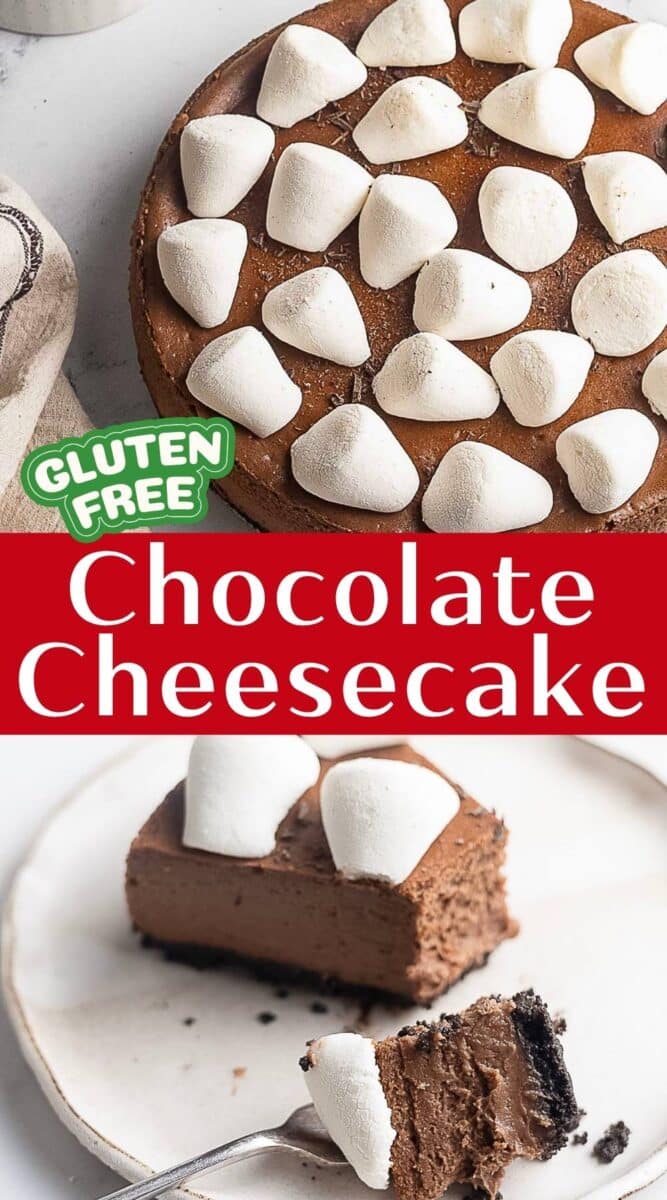

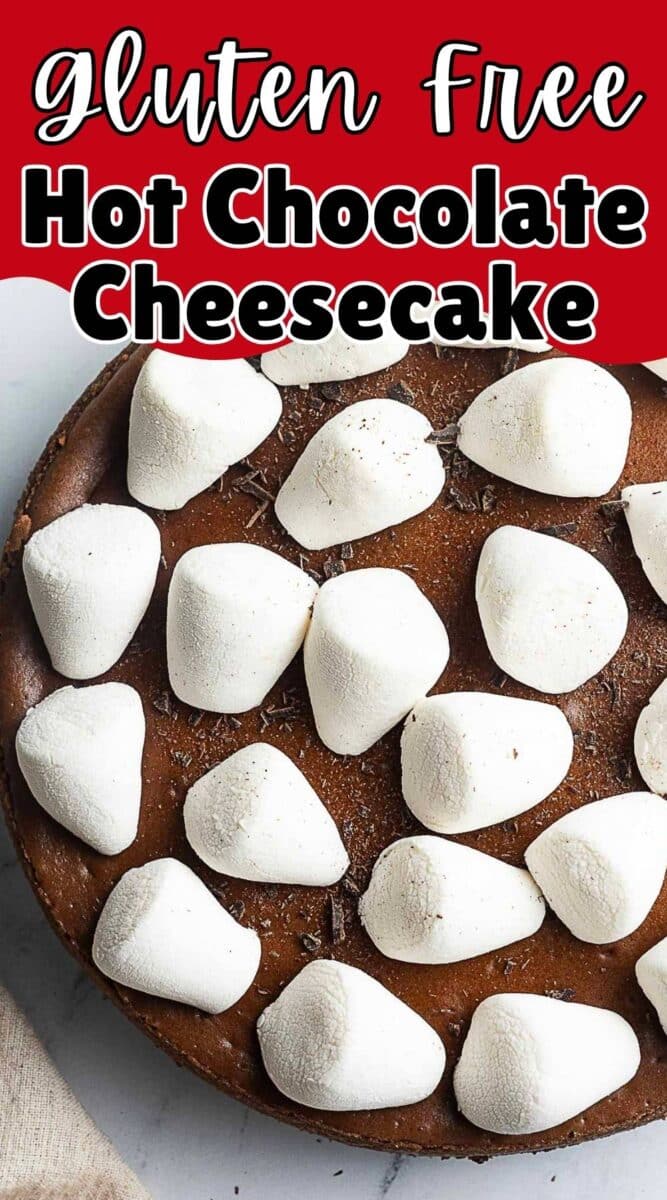
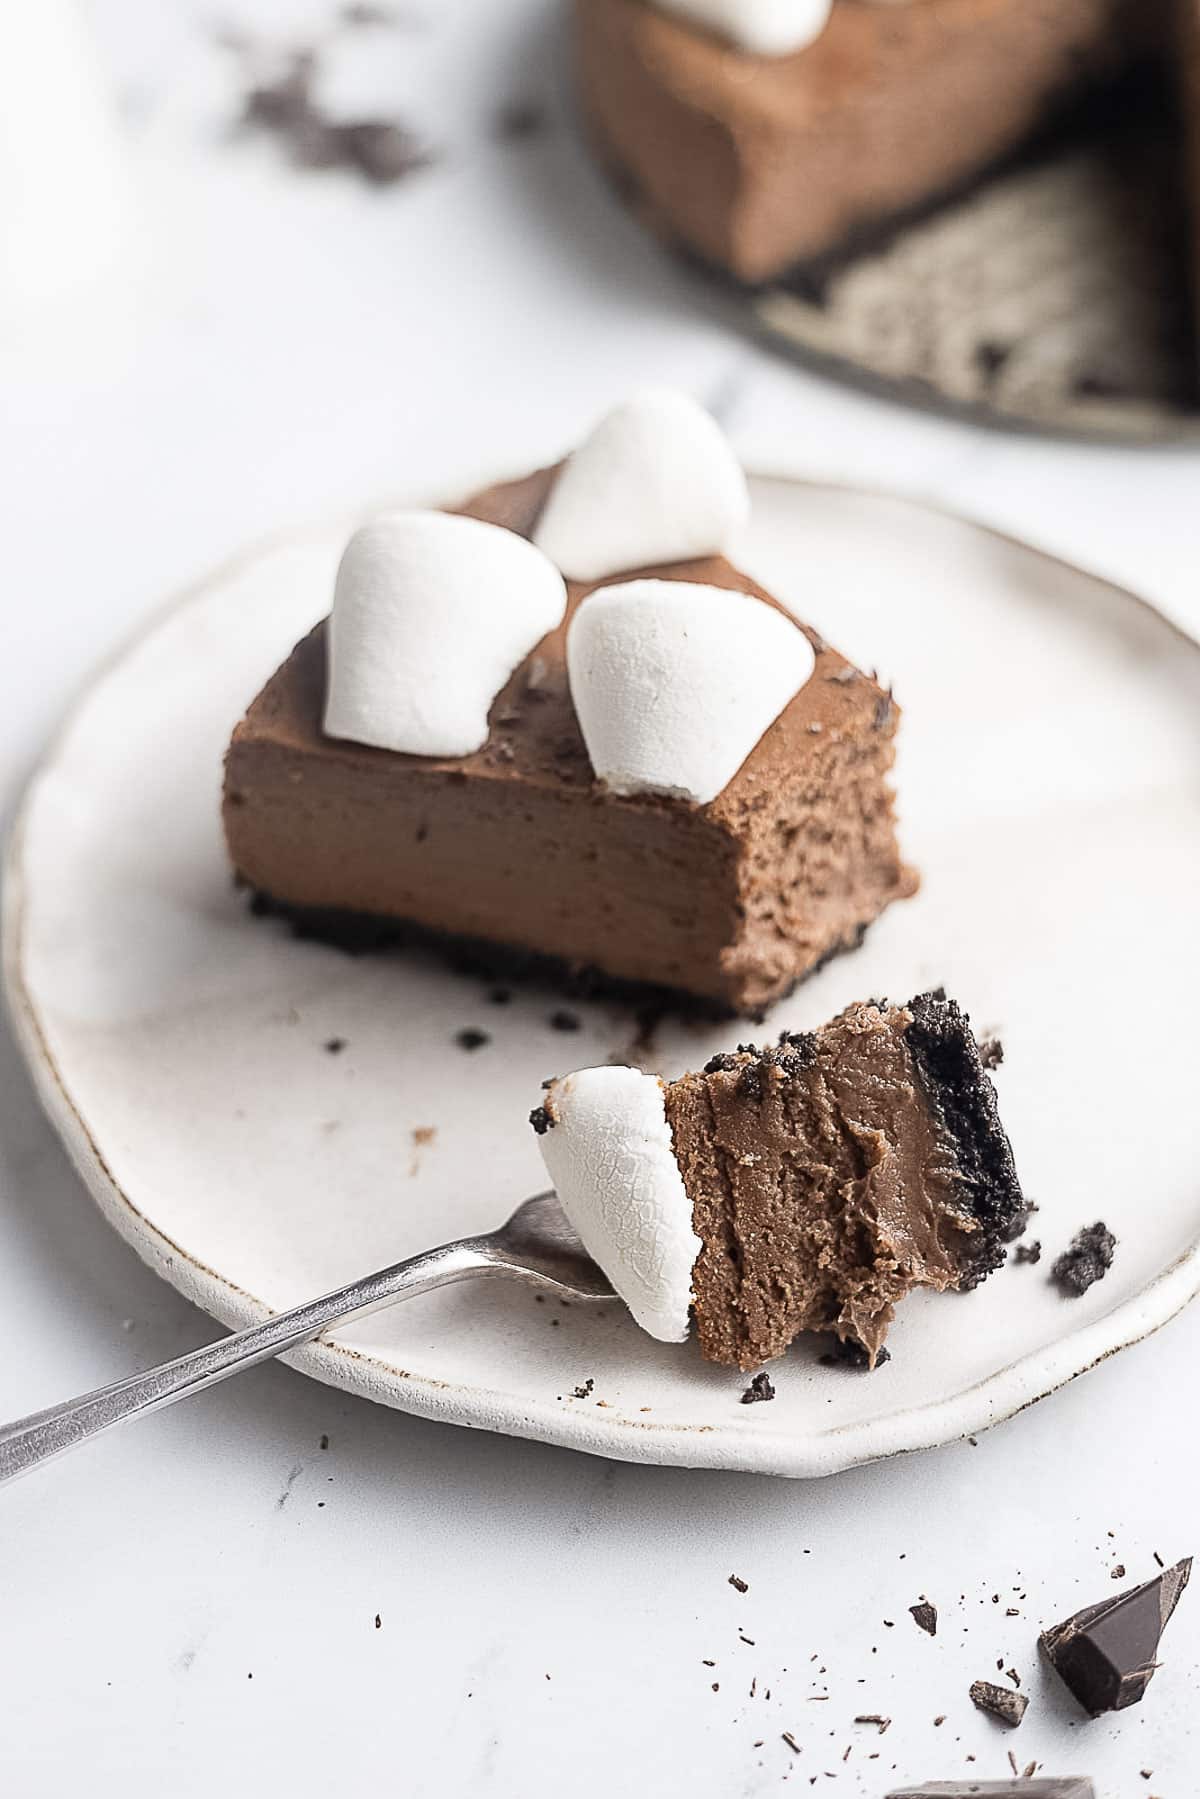
My Gluten Free Chocolate Cheesecake is inspired by a rich steaming mug of hot cocoa. Laced with the nostalgic flavor of winter nights spent sipping cocoa by the fire. It's not your average cheesecake recipe. It's a hot cocoa dream baked into a velvety, marshmallow-topped dessert that is perfect for Christmas and Valentine's Day.
Save This Recipe!
Skill Level: Intermediate
Flavor Remix: Add a hint of peppermint extract for a minty hot cocoa twist or drizzle cooled ganache for extra richness.
Allergy Watch: Gluten Free, Nut-Free
Instead of using plain cocoa powder, this recipe gets its flavor from instant hot cocoa packets. They melt right into the batter, adding a mellow chocolate flavor that's sweet, comforting, and unmistakably hot cocoa. But that isn't enough for me. I added rich melted chocolate for another layer of decadence.
I tested this one multiple times, and found that a little sour cream deepens the chocolate flavor, while classic cheesecake techniques (like baking low and slow and cooling gently) keep cracks at bay.
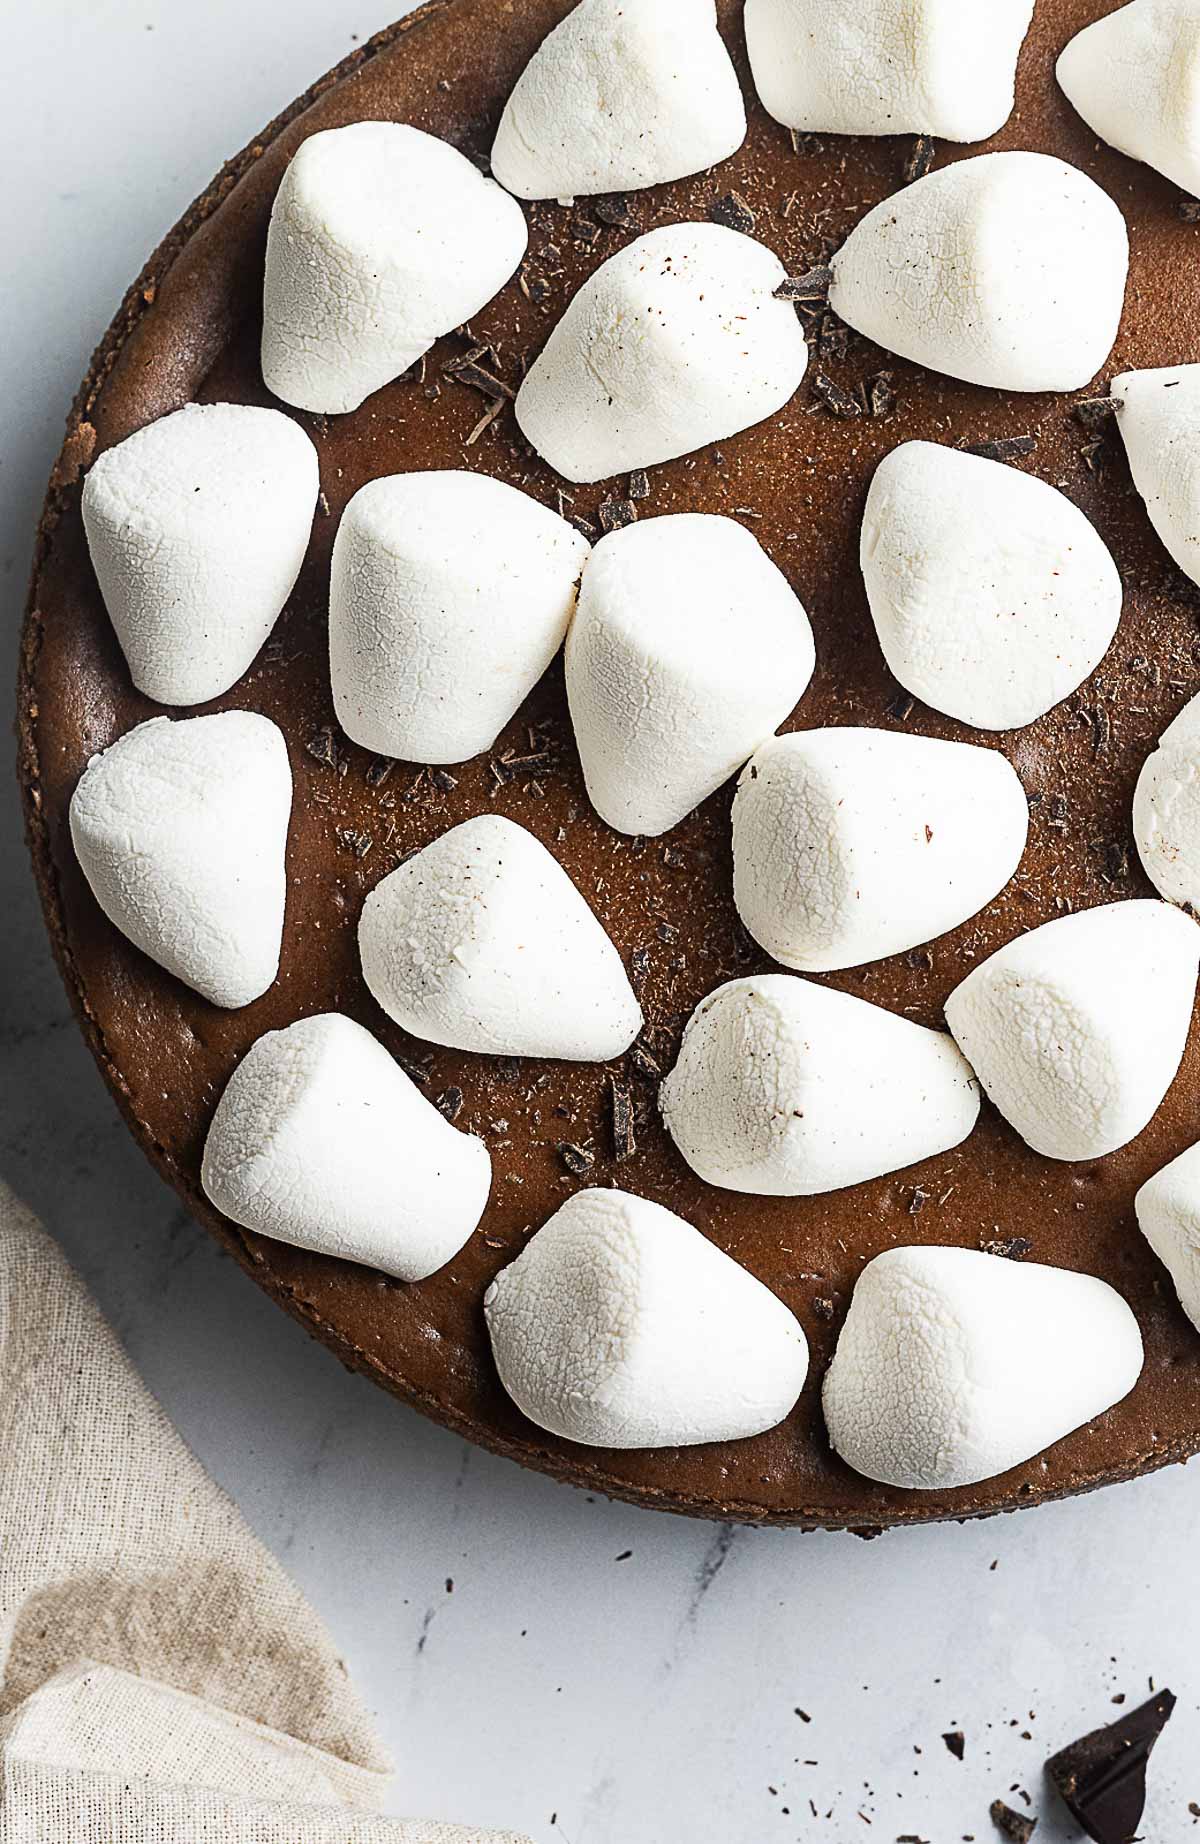
And about those marshmallows? I leave them soft and billowy. I tried toasting them, but it veered into s'mores territory - not bad, just a different vibe. This version keeps it true to the spirit of a mug of cocoa.
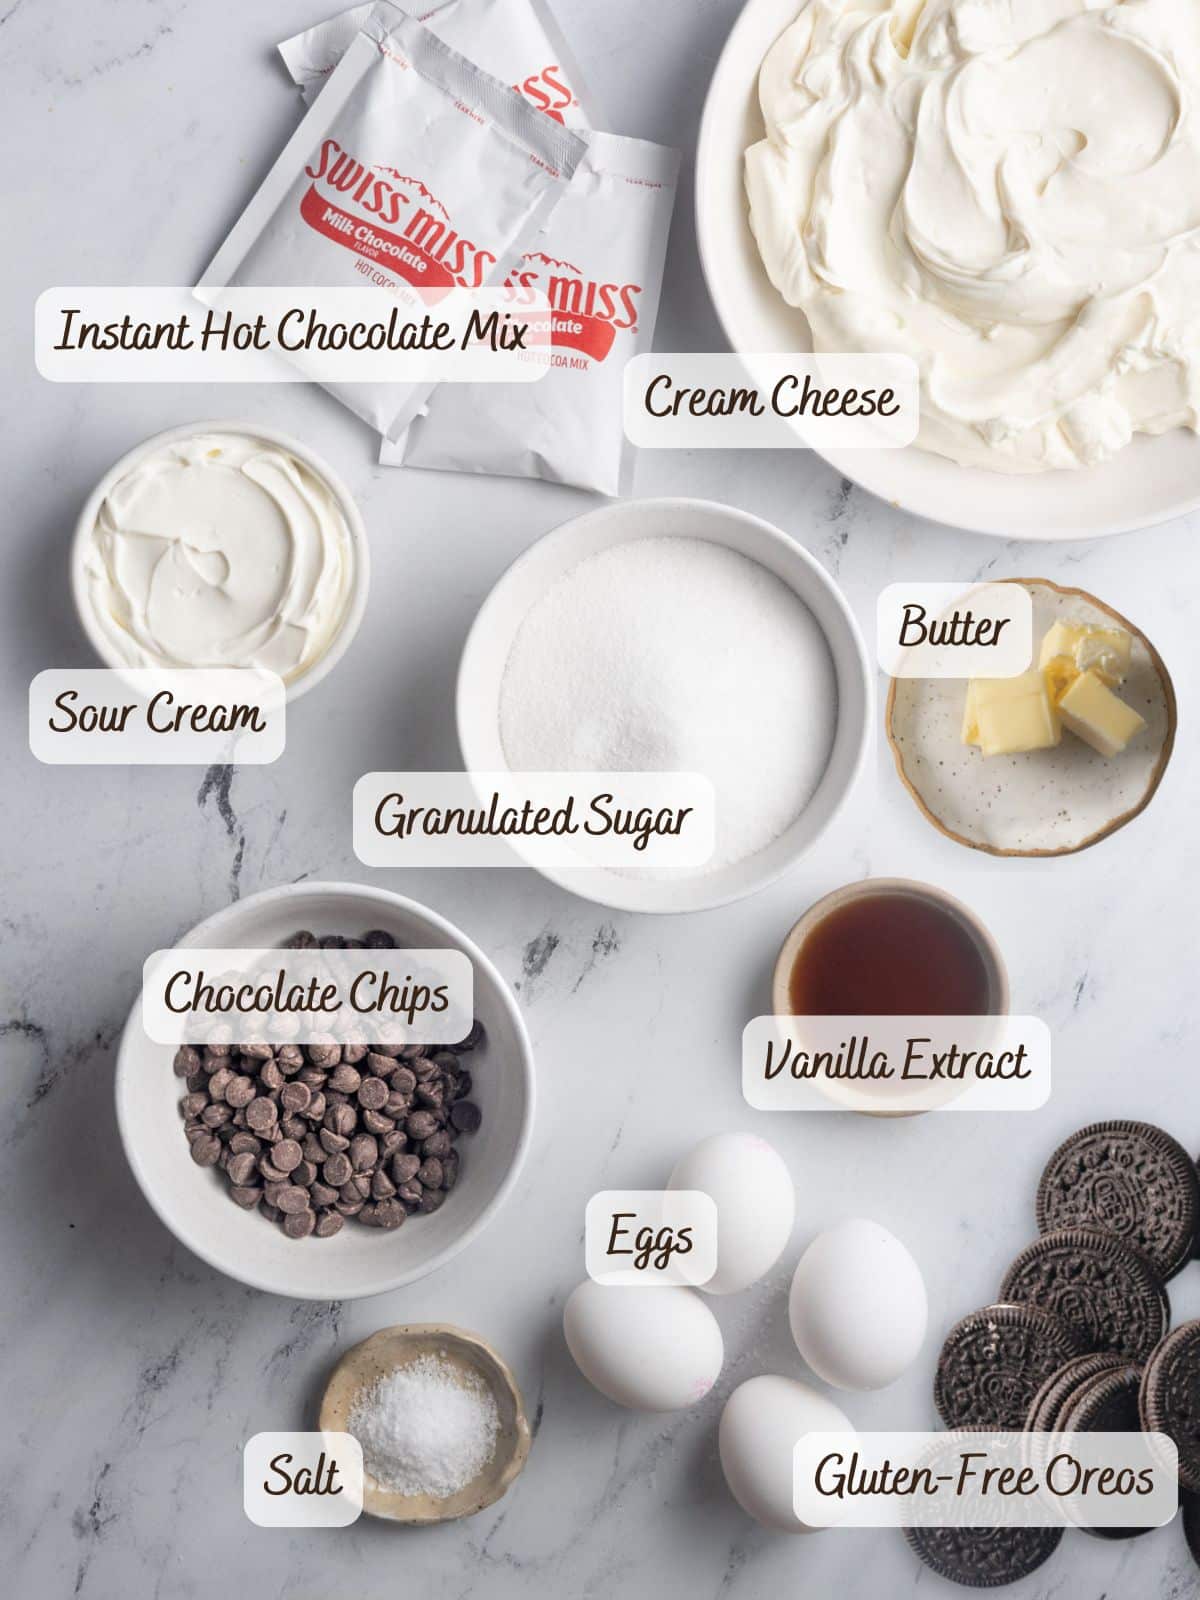
Ingredient Notes
- Gluten Free Oreos: Any gluten free sandwich cookie or chocolate wafer cookie works.
- Hot Cocoa Packets: Use plain without marshmallows and double-check the brand is gluten free. Do not use a sugar free mix.
- Cream Cheese: Use full-fat block-style cream cheese. Let it sit out for at least one hour before beginning to make the filling.
- Sour Cream: You can use more cream cheese, but the sour cream will give a slightly lighter texture.
- Eggs: Make sure they are room temperature, so they blend evenly with the cream cheese.
- Butter: Use unsalted butter or reduce the salt added by ¼ teaspoon.
- Vanilla Extract: Or use an equal amount of vanilla paste.
- Marshmallows: Cut in half the full size or use mini marshmallows.
How to Make Gluten Free Chocolate Cheesecake
A step-by-step visual guide for making hot cocoa cheesecake. You can skip to the recipe for the full written instructions.
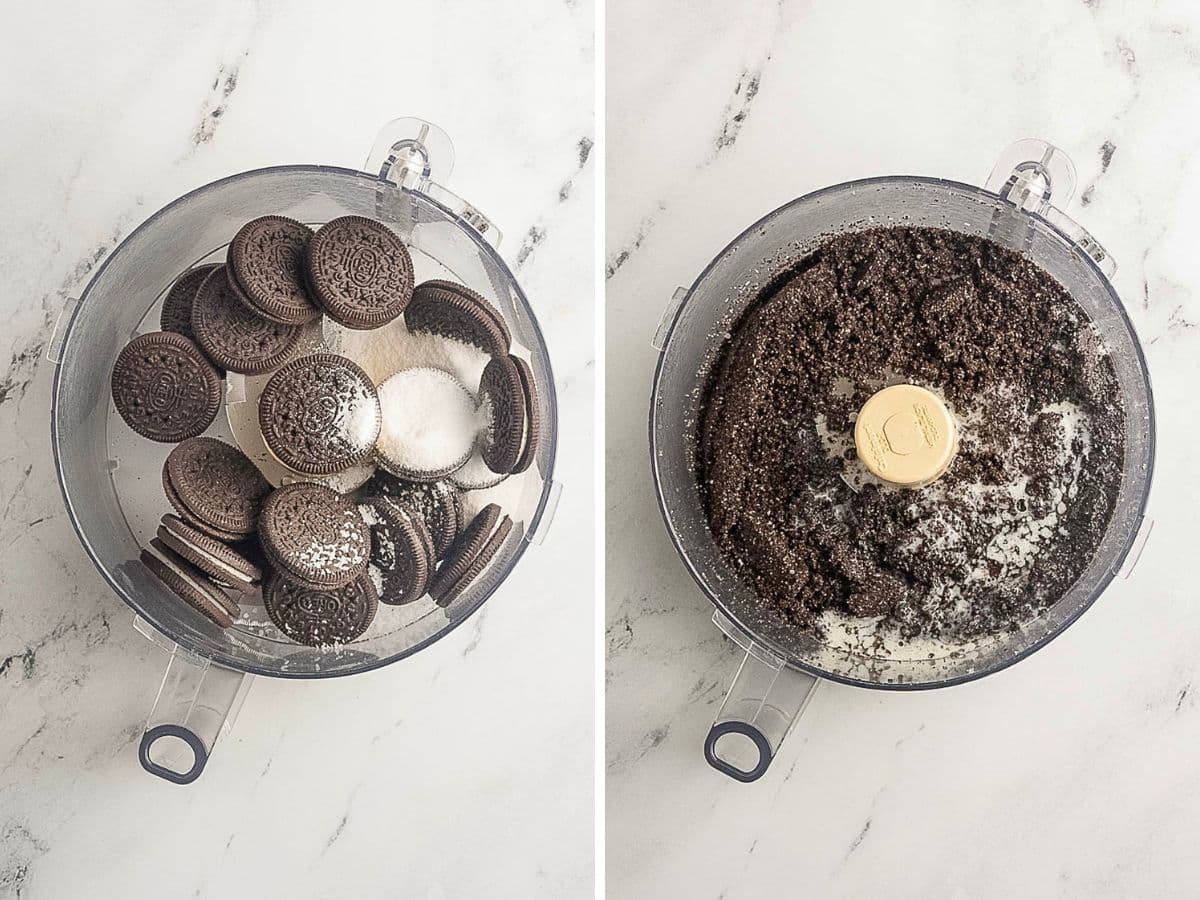
Make the Crust
Pulse the gingersnaps into fine crumbs, stir in the melted butter. If you use wafer cookies, you may need an additional 1-2 tablespoons of butter.
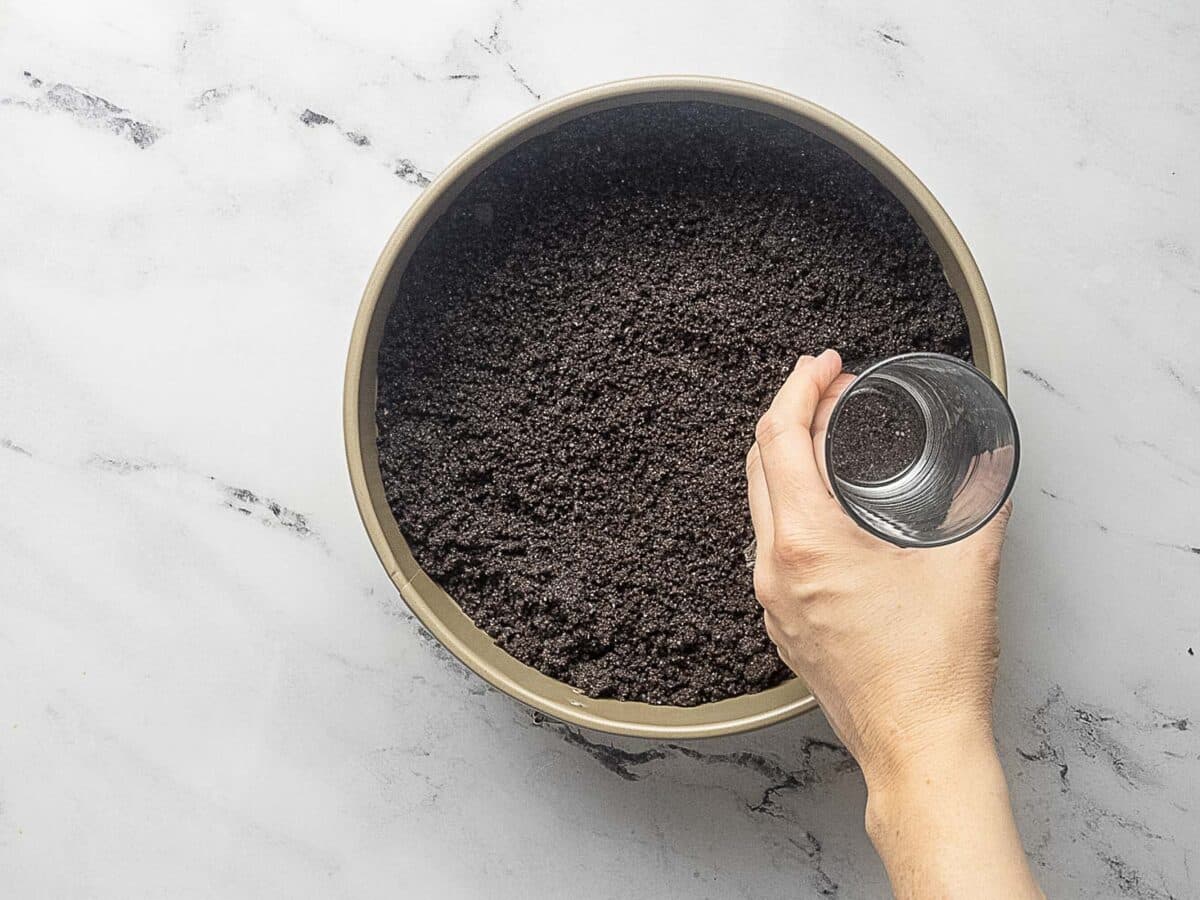
Parbake the Crust
Par-baking the crust helps to set it and prevent it from becoming soggy when the cheesecake filling is added.

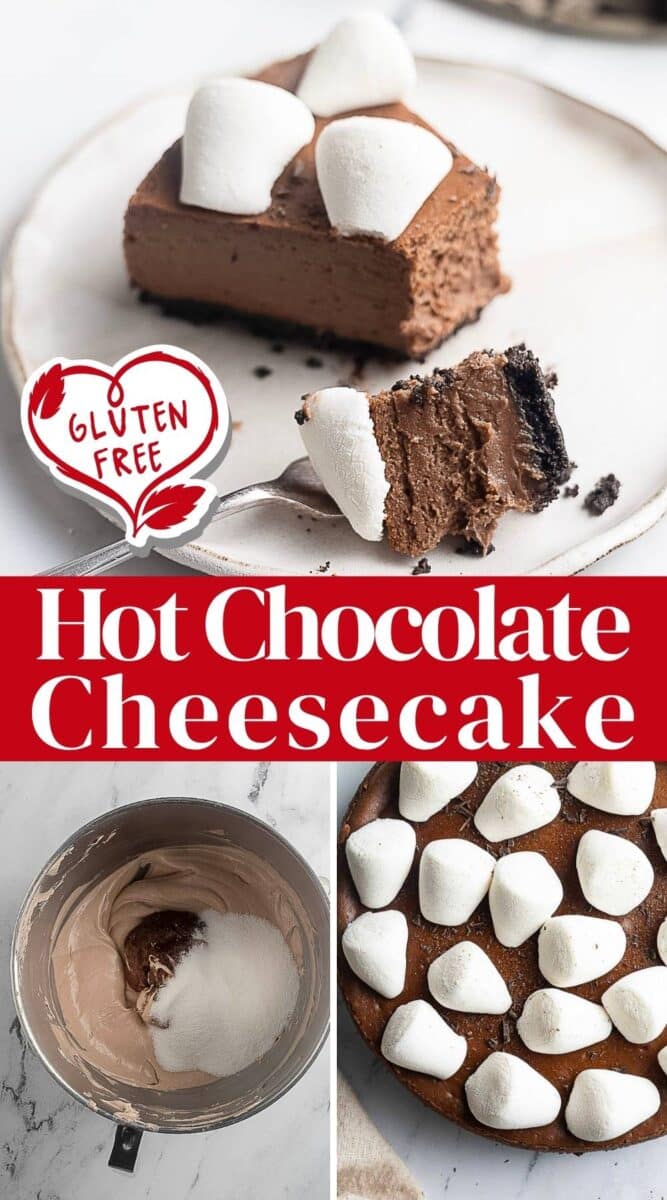
Mix the Cream Cheese Filling
Mix the base of the filling until it is smooth.
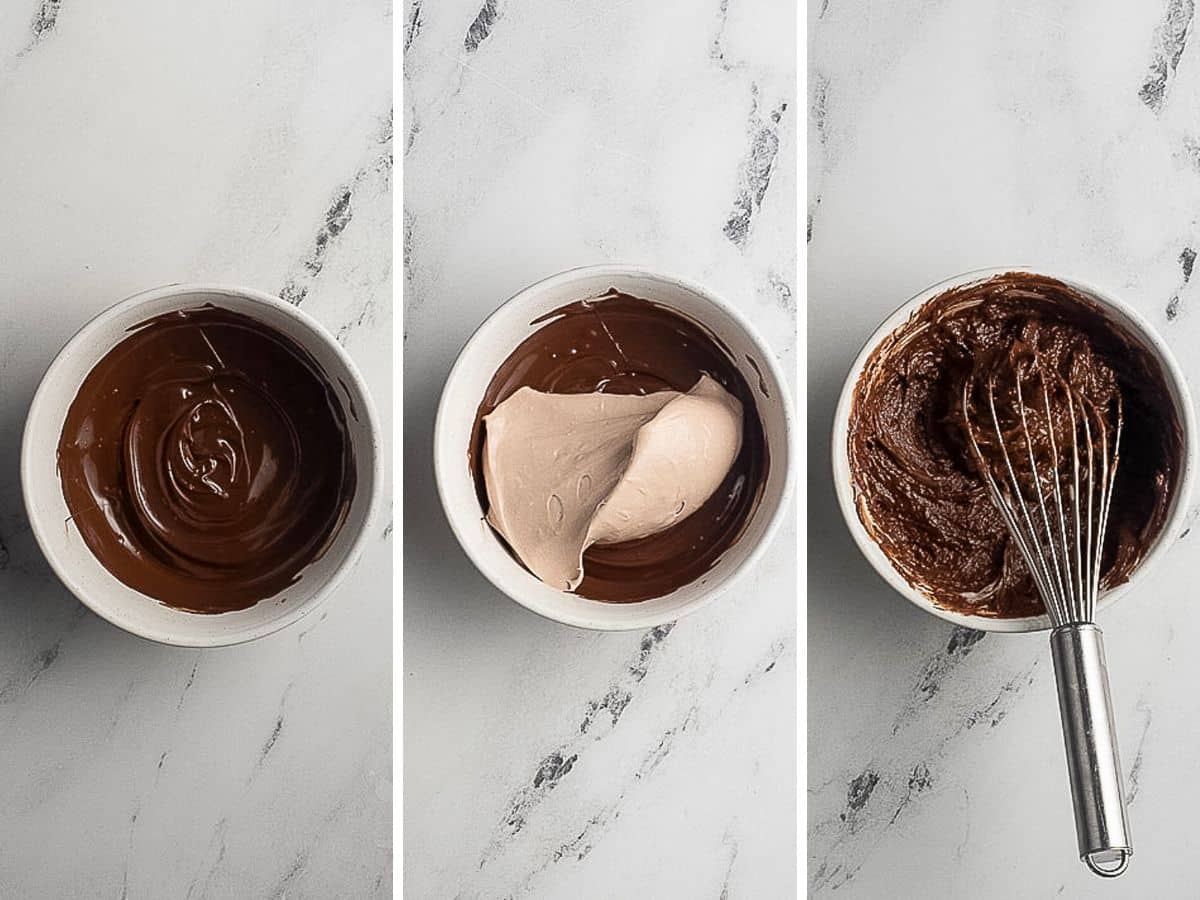
Melt the Chocolate
Adding a scoop of the filling to the melted chocolate will thin it out and cool it, making it easier to incorporate into the base.
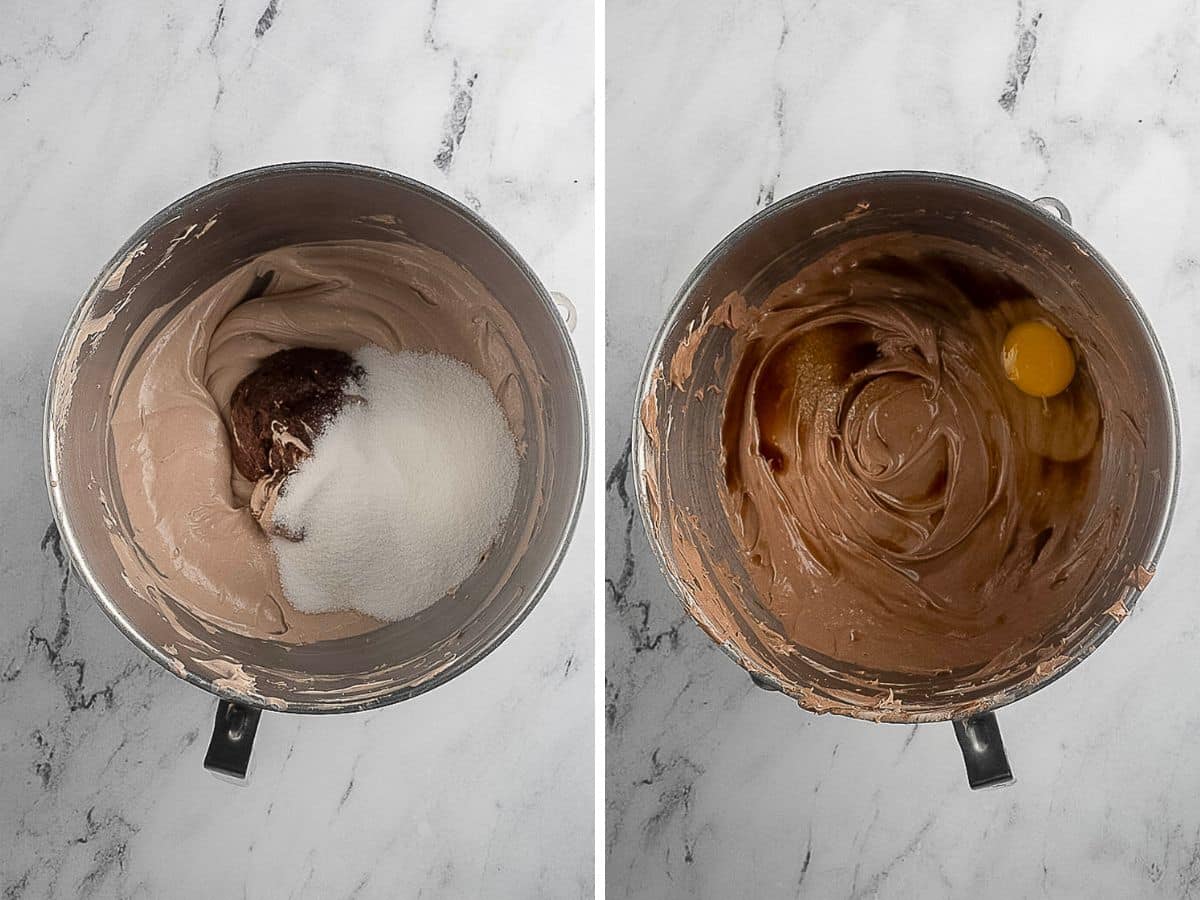
Add the Sugar and the Eggs
The eggs are last, and you'll want to beat them on low speed-just until combined. You want to avoid incorporating too much air.

Water Bath
For the best results, bake the cheesecake in a water bath. Wrapping the pan in foil keeps water from seeping in, while the steam ensures gentle, even cooking. T
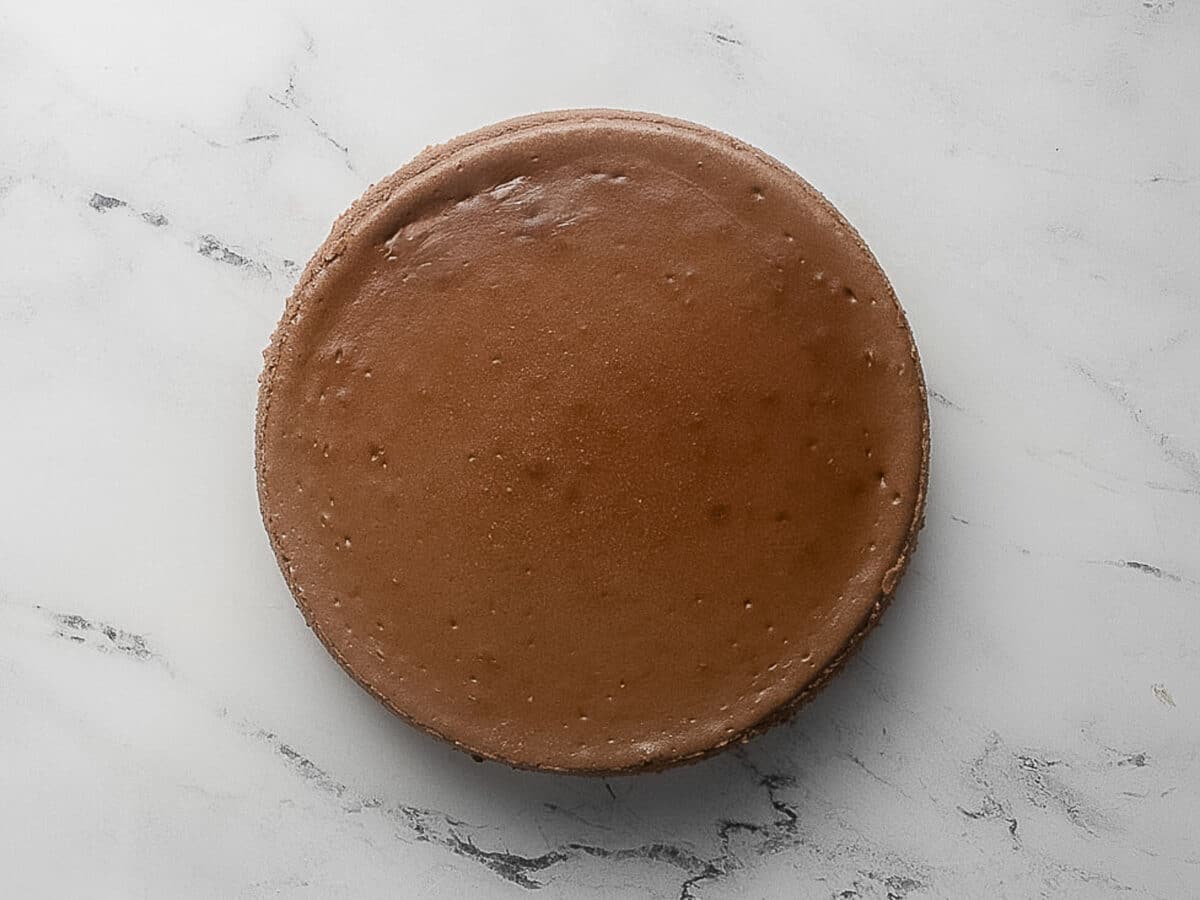
Bake
The center should still jiggle slightly when it's done. Do not remove from the oven!
Cool
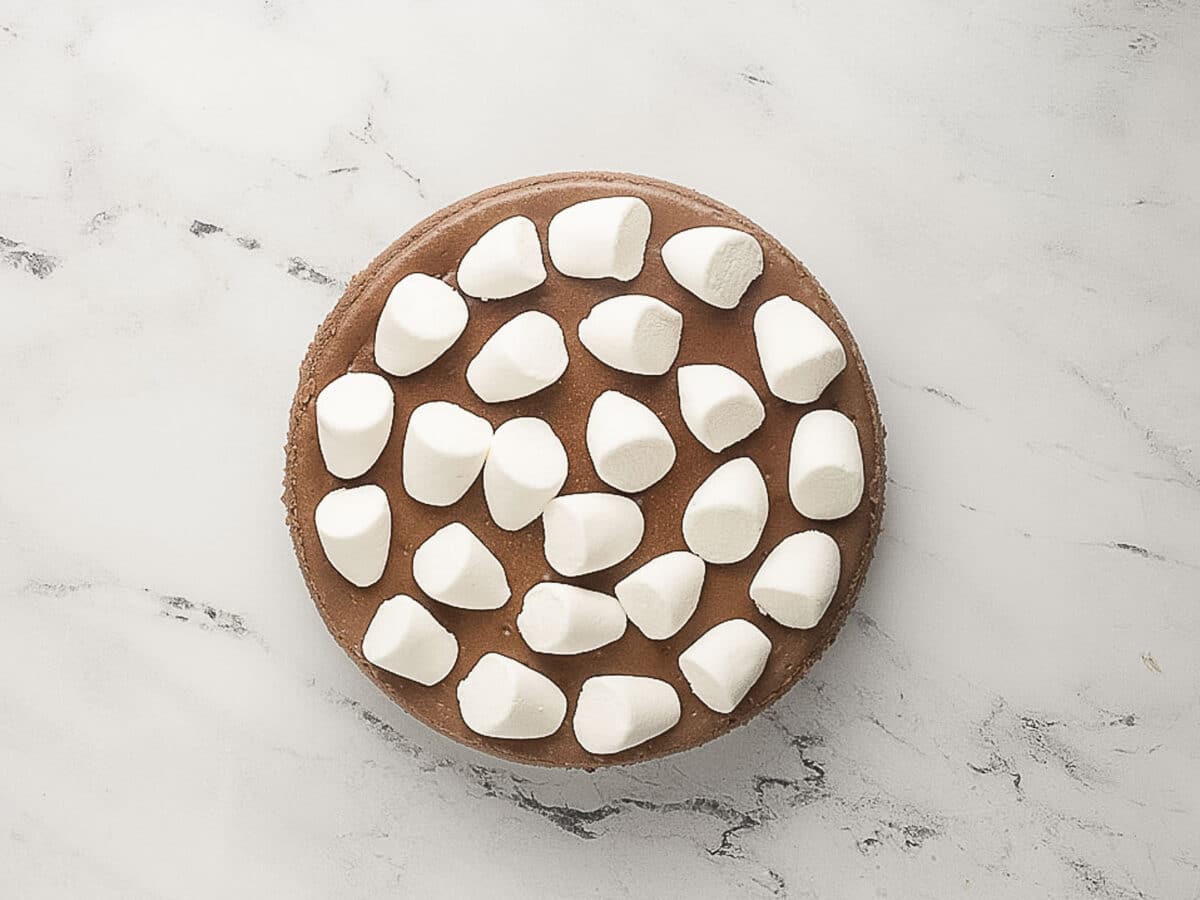
Once baked, turn off the oven, top with marshmallows, and leave the cheesecake inside with the door closed until the oven is completely cool (or at least 1 hour). This gradual temperature change keeps the top from cracking and adheres the marshmallows to the cake
Jen's Recipe Notes
- A tight layer of foil around the base of the pan keeps water from sneaking into the crust during the water bath. No soggy bottoms here.
- Bring ingredients to room temperature. Soft cream cheese, eggs, and sour cream mix together into a silky, lump-free batter. Cold ingredients will fight you and leave chunks behind.
- Don't overmix the eggs. Add them one at a time and mix on low just until combined. This will create a smooth finish on top.
- It may feel fussy, but the steam from the water bath ensures gentle, even baking and that signature creamy texture. This is the same method we use when making crème brûlée!
- When the timer goes off, turn off the oven and leave the cheesecake inside with the door closed for at least an hour. This gradual cooling keeps the top from splitting.
- Chill overnight. The hardest part is waiting, but a long chill in the fridge sets the texture so you can slice cleanly.
- Dip your knife in hot water, wipe it dry, then cut. Repeat between slices for edges as neat as a bakery case.
- You can skip the marshmallows and top with your favorite whipped cream and shaved chocolate.
More Cheesecake Recipes

Make Ahead and Storing
Make Ahead: Cheesecake tastes even better the next day. You can bake and chill it up to 2 days in advance. Add marshmallows before the final chill.
Storing: Keep covered and refrigerated for up to 5 days.
Freezing: Do not freeze.
📖 Recipe
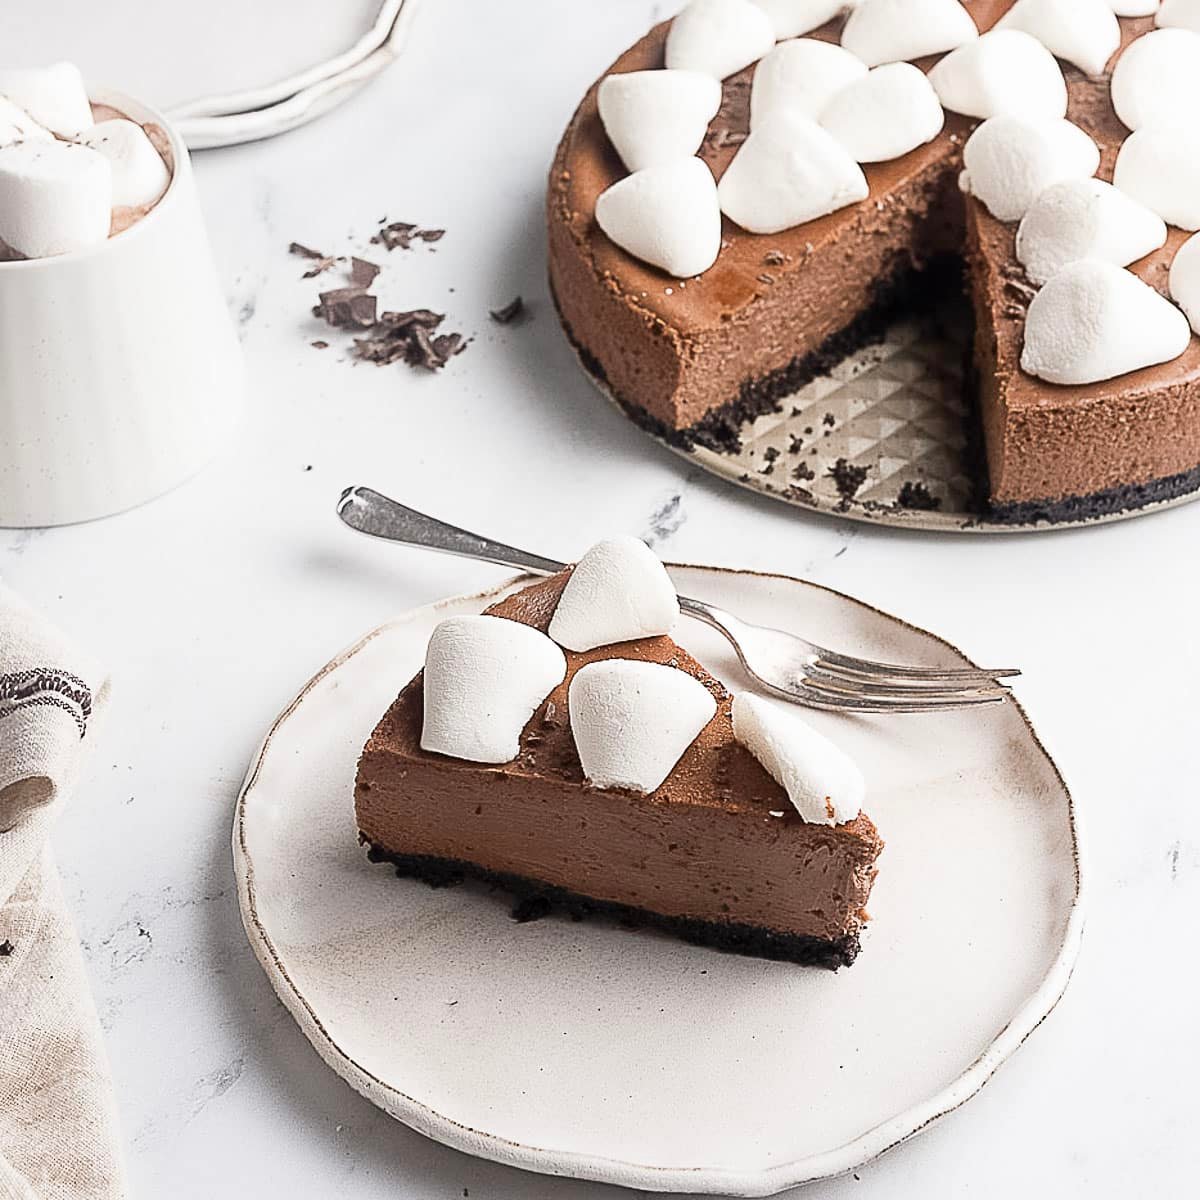
Gluten Free Hot Chocolate Cheesecake
Save This Recipe!
Ingredients
- 20 gluten free Oreos about ⅔ of a regular sized package
- 1 teaspoon kosher salt divided
- 4 Tablespoons unsalted butter melted
- 24 ounces cream cheese room temperature- 3 blocks
- ½ cup sour cream
- 3 packets instant hot chocolate mix like Swiss Miss
- ½ cup semi sweet chocolate chips
- 1 cup granulated sugar
- 4 large eggs
- 1 Tablespoon vanilla extract
- 12 large marshmallows cut in half lengthwise (can use 1 cup mini marshmallows if desired)
Instructions
- Preheat the oven to 350°F. Grease an 8-inch springform pan and set aside.
- Place the gluten-free Oreos, sugar, and ½ teaspoon salt into a food processor and purée until finely ground. Add the melted butter and pulse until combined. Press the crumb mixture firmly into the bottom of the springform pan. Place in the oven and bake for 5-8 minutes, or until the mixture is set. Remove from the oven and set aside while you prepare the cheesecake batter.20 gluten free Oreos, 1 teaspoon kosher salt, 1 cup granulated sugar, 4 Tablespoons unsalted butter
- Reduce the oven temperature to 300°F. Wrap the bottom of the pan with aluminum foil.
- Add the cream cheese, sour cream, and hot cocoa packets to a large mixing bowl. Beat on medium speed until smooth. Scrape down the sides of the bowl and repeat. While the cream cheese mixture is beating, place the chocolate chips in a microwave-safe bowl and microwave on high for 1 minute. Stir, then microwave in 20-30 second intervals until the chocolate is melted. Add about ½ cup of the cream cheese mixture to the melted chocolate and stir to combine. Add the chocolate mixture to the mixer and beat on medium speed until combined.24 ounces cream cheese, ½ cup sour cream, 3 packets instant hot chocolate mix, ½ cup semi sweet chocolate chips
- Add the sugar and beat the mixture on medium speed until combined. Scrape down the sides of the bowl. Turn the mixer on high and cream together until light and fluffy, about 4 minutes.
- Once the mixture is light and fluffy, add the eggs one at a time, scraping down the sides and bottom of the bowl between additions. Add the vanilla extract and remaining salt. Turn the mixer on low speed until just combined. Remove the bowl from the mixer and scrape down the bowl one more time, ensuring that all ingredients are very well incorporated.4 large eggs, 1 Tablespoon vanilla extract, 1 teaspoon kosher salt
- Pour the batter into the prepared pan and place it onto a sheet pan with at least a 1-inch lip. Place the sheet pan in the oven and gently pour warm water into the pan until it is about ½ inch deep. Bake for 40-45 minutes, or until the center is set but still jiggles slightly. Check the cake halfway through baking, and if needed, loosely lay a piece of foil over the cake to prevent it from overbrowning.
- Once the cake is baked, turn the oven off and place marshmallows on top of the cake in the desired pattern. Close the oven door and let the cake remain inside until completely cool, about 1-2 hours. Remove the cake from the water bath and gently cover it. Place in the refrigerator until the cake is completely chilled, 4-6 hours or overnight.12 large marshmallows
Equipment
- 8-inch springform pan
- electric mixer or stand mixer
Notes
Nutrition
Recipe Questions
Yes. The water bath is what keeps the texture silky and prevents cracks. It's worth the extra step.
A springform pan makes cheesecake easy to release, but you still have options. A deep 9-inch pie pan works if you don't mind serving straight from the dish. For cheesecake bars, line an 8x8 or 9x9 square pan with parchment and lift it out once chilled. You can also use a deep 8 or 9-inch cake pan lined with parchment, then carefully flip it once the cheesecake is cold and firm. Even a disposable aluminum pan will do in a pinch-just slice and serve directly from the pan.

Brian says
This was so good. Add chocolate sauce to the top!